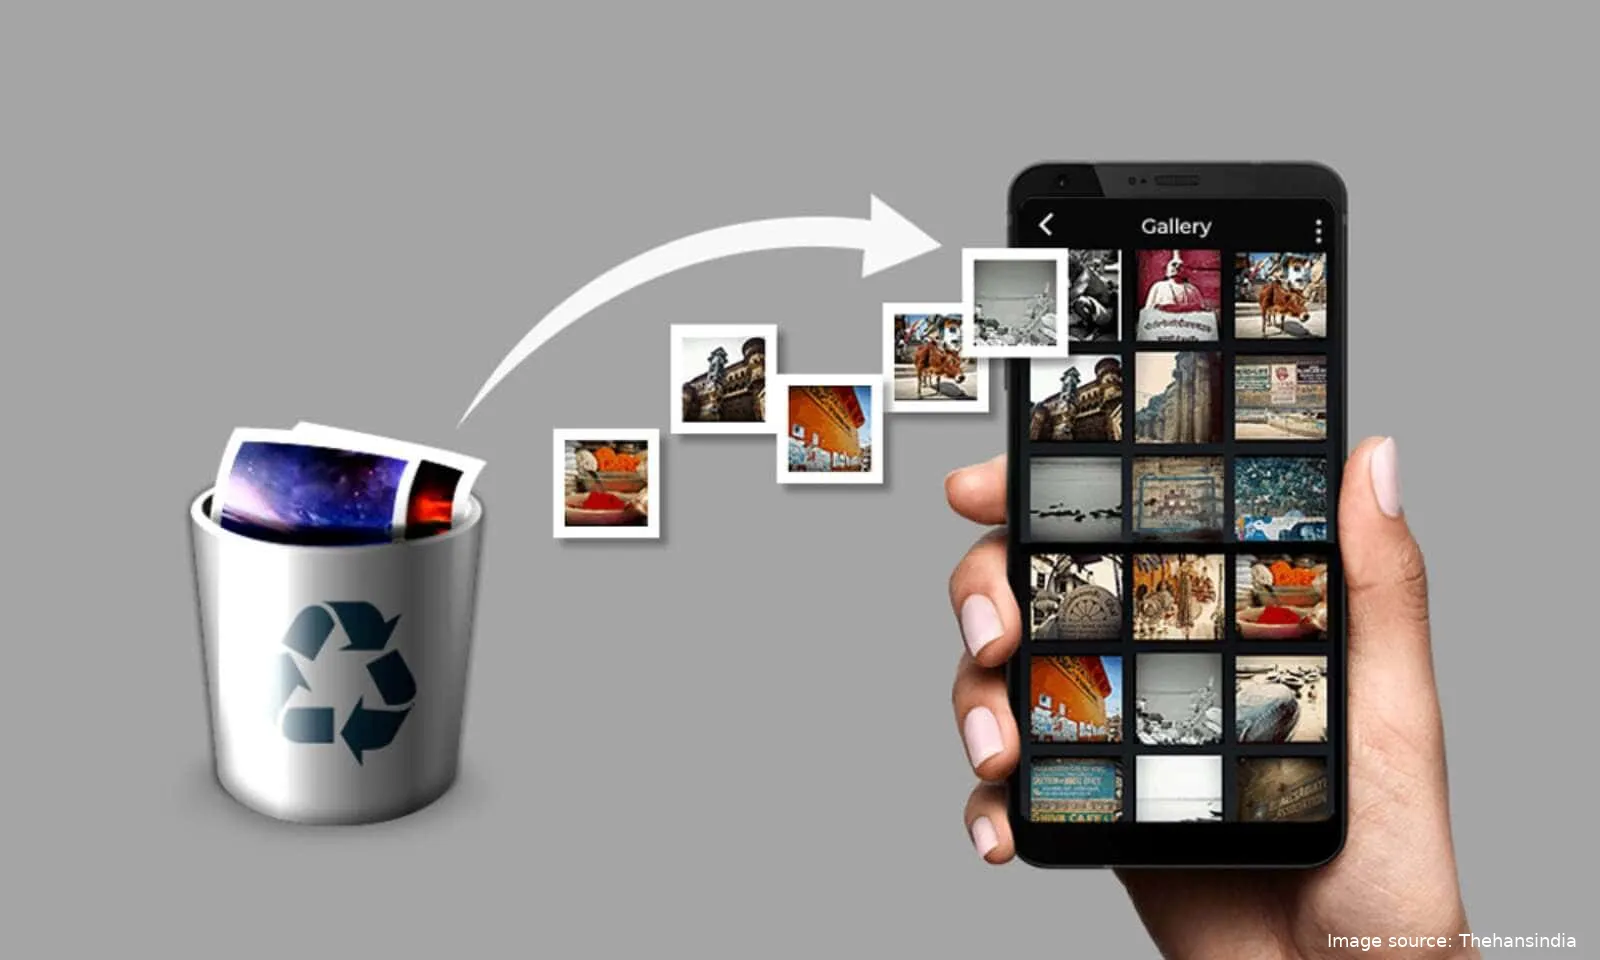
Certainly, have you ever experienced the situation where you intend to view a photo only to discover that, inadvertently, you deleted it while cleaning up the day before? On personal computers, there exists a multitude of applications designed to retrieve deleted files, provided they haven't been deleted too long ago. However, the scenario changes somewhat when dealing with mobile devices. Can you recover deleted photos from them? The answer is yes, but the ease of doing so depends on a variety of factors.
Numerous methods are available, each with varying levels of complexity, especially when discussing the recovery of photos on Android devices. Furthermore, we'll explore how to recover that recently deleted photo from your iPhone. Additionally, we'll provide some preventive measures to ensure you won't find yourself in such a predicament again.
On Android

Let's begin with Google's operating system. Presently, there exists a feature within the gallery app that acts as a temporary storage for photos, preserving them for a limited time before they are permanently erased. If your phone employs Google Photos as its default gallery app, you can breathe easy, as it comes equipped with this "trash" functionality.
Inside the Google Photos app, the operational mechanism is as follows: "Items that are copied will be automatically removed from the trash after 60 days, while items that are not copied will be deleted after 30 days." Consequently, you have a month to recover any inadvertently deleted photos, so there's no need for immediate concern.
Hence, before embarking on the complexity of utilizing additional applications or racking your brains trying to recover a photo, it's wise to inspect your gallery app's menus (the specific route may vary depending on your device) to check for an option labeled "Trash." If you recently deleted the photos, they should be safely stored there. Simply select the ones you wish to retrieve, and voila, they'll be restored to their original location.
However, if your gallery app lacks a trash feature, you'll have to resort to using third-party applications. The likelihood of successful recovery will hinge on whether your device has root access or not. Let's delve into both scenarios. But first, it's worth noting that if the deleted photos were stored on the microSD card, you can attempt to recover them using a tool like Recuva.
Without root
It's highly likely that your phone isn't rooted, and this limitation affects the extent of what you can do. Recovery apps can only access cache and thumbnails, commonly known as "thumbnails" in tech jargon. What this means is that you can recover only small photos, not the original files. It's better than having nothing, but far from what you had before – you won't get the photo at its full resolution.
One of the widely-used apps for this purpose is DiskDigger. Its usage is straightforward: grant it access to your device's storage, and wait for it to scan all your phone's internal memory. It will display all your photos, including both deleted and existing ones. In my case, when I tested it on a Motorola One (my secondary mobile), it unearthed more than 1,000 photos. This mix of deleted and undeleted photos can make finding a specific one a bit challenging.
Deleted photos are intermingled with the ones that weren't deleted, making the search for a particular image quite complex.
Now, you simply need to scroll through the entire collection of displayed photos and locate the one you want to recover. Once you find it, tap on it and select the "Recover" option. The result will be a thumbnail, not the original image, which will reappear in your gallery. At least you'll be able to view it again as many times as you like. To provide some perspective, from a photo with dimensions of 4,128 x 2,322 pixels, we were able to recover a thumbnail sized at 640 x 360 pixels.
With root
If your device is rooted, the situation improves because applications can conduct a deeper scan and sometimes display the original photos. However, the final outcome largely depends on how long ago the photo was deleted. If it's a recent deletion, there's a chance you can recover it with minimal damage. Keep in mind that gaining root permissions carries certain risks, so proceed with caution.
Having root access doesn't guarantee the retrieval of the deleted photo; it simply increases the likelihood.
If you are rooted, open DiskDigger and grant it superuser permissions. Then, choose the specific partition you wish to analyze, although it's often best to stick with the default one. Lastly, select the file format you're searching for. In the free version, you can only select photos or videos; if you need something else, you'll have to purchase the Pro version for 3.34 euros.
Now, it's time to be patient. The advantage is that once the scanning is complete, you'll only see the deleted photos and videos, making it easier to locate what you're seeking. That doesn't mean they're few in number, but they are likely fewer than what was initially displayed. When you locate the file, tap on it, and choose "Recover." You're all set.
On iPhone

Recovering deleted photos on an iPhone is a straightforward process thanks to the "Photos" app, which includes a handy trash can that retains files for a month. If you've recently deleted a photo, rest assured it should be there (unless you manually deleted it, in which case recovery becomes more challenging).
To retrieve a deleted photo on your iPhone (or iPad), follow these steps: Open the "Photos" app, navigate to "Albums," and scroll all the way down. In the "More items" section, you'll find the "Deleted" option. Here, you'll discover all the files, both photos and videos, deleted within the last 30 days, along with the time remaining until they're permanently removed. Select the ones you want to restore to your gallery and click on "Recover." Your photos will return to their original state. If you can't locate them under "Deleted," you can try your luck with your backup.
From a Backup
By default, iPhones are configured to back up photos to iCloud Library. However, the free storage space is quite limited, at just 5 GB. If you've been accumulating photos and videos since you got your phone, it's highly likely that your most recent ones haven't been uploaded yet. Nevertheless, it's worth trying, as you have nothing to lose.
Here are the steps to check if your photos are safely available in the cloud:
- Open the Settings app on your iPhone.
- Tap on your name at the top.
- Select "iCloud."
- Verify that the "Photos" section is turned on, and inside it, ensure that "iCloud Photos" is enabled. If so, your photos may be securely stored in the cloud.
On your computer, navigate to icloud.com and sign in using your Apple ID. Enter the code displayed on your iPhone when prompted and select "Trust this browser." You'll arrive at a window similar to the one depicted above. Choose "Photos."
If you're fortunate and the photo was synchronized with the cloud, you're in luck because it should be there. Simply select the ones you wish to recover and click on the cloud icon with the downward arrow. This action will download the photo to your computer in its original size.
If you have a subscription to any of the iCloud plans, having your photo library in the cloud is certainly one of the service's most valuable advantages.

Don't let this happen to you again
Have you successfully recovered the photo? Thank goodness for that. It's been a scare, but as they say, everything eventually falls back into place. Now, let's explore some options to ensure this doesn't recur. You have several alternatives, but the simplest methods are these two: either use a cloud storage service or regularly transfer your photos and videos to a physical medium like your computer.
- Cloud Storage Solutions: The most recommended option is Google Photos. It works seamlessly with a Google account and is available for both iOS and Android, ensuring you'll never lose a single picture or video again. If you're not keen on Google Photos, you can consider alternatives like Dropbox, Google Drive, or any other cloud application. For iPhone users, iCloud is a solid choice due to its deep integration with the system.
- Physical Storage: This method involves connecting your mobile device to your computer, locating the DCIM folder, and copying all the files to your computer's hard drive. While it's a bit slower and demands some periodic effort on your part, it's a reliable way to prevent such scares. You might designate a specific time, perhaps on Saturday mornings, to spend a little time moving your weekly photos to a designated folder on your computer.
- Wireless Sharing Systems: Another option is to transfer photos through wireless sharing systems like NearDrop, AirDrop (for Apple devices), or Nearby Share (for Android devices). This eliminates the need for cable connections to your PC and offers a relatively fast transmission process.
By implementing one of these strategies, you can significantly reduce the chances of experiencing a photo loss scare in the future.
Tips and tricks for recovering deleted photos from your phone:
- Act quickly. The sooner you start the recovery process, the more likely you are to be successful. This is because the deleted photos are still in the phone's memory. And they can be overwritten if you take any new photos or videos or if you format the phone's storage.
- Do not use the phone. Once you have deleted the photos, do not use the phone until you have recovered them. This is because every time you use the phone, there is a risk that the deleted photos will be overwritten.
- Try the Trash folder first. Most Android phones have a Trash folder where photos you deletes are there for a certain period of time (usually 30 days). If your photos are in the Trash folder, you can restore them by following the steps in the previous section.
- Check your cloud backups. If you have backed up your photos to a cloud service like Google Photos or iCloud, you can restore them from the backup. To do this, open the backup app and sign in to your account. Then, select the photos you want to restore and tap on the "Restore" button.
- Use a data recovery tool. If your photos are not in the Trash folder and you do not have a backup, you can use a data recovery tool to try to recover them. There are many data recovery tools available. But some of the most popular ones include EaseUS Data Recovery Wizard and Recuva.
- Be careful when using a data recovery tool. Data recovery tools can be very powerful, but they can also be destructive. If you are not careful, you can damage your phone's data. Make sure to read the instructions carefully before using a data recovery tool.
I hope these tips help you recover your deleted photos.
Popular News


Latest News
Loading