Valve’s entrance into the market of consoles has been eagerly anticipated in the past few years. Empowered by the success of Steam, many players have been waiting for a product that could run most of the games in the Steam catalog. The company surprised the world with the launch of the Steam Deck. Instead of a regular console, the company innovated with the launch of a handheld PC. The device allows players to enjoy most of Steam games without issues. You can do more on the device, as long as it is supported by the native SteamOS. Since it’s a handheld PC, it’s even possible to install Windows 11 and Windows 10 with official Valve drivers. In this guide, you will learn how to install Windows on the Steam Deck, both on the internal SSD and from a microSD card. (Source: DigitalTrends).
Installing Windows on the Steam Deck – Things You Must Consider
It’s worth noting that Windows is not perfect on the Steam Deck. However, installing the OS or booting it from a microSD Card, can turn it into a nice portable Windows PC. Through this article, you will learn how to do a full installation of Windows on the SSD. Alternatively, you will learn how to simply boot Windows from a microSD card. The former will delete SteamOS, while the latter allows you to keep both OS installs.
Another thing to consider is that Windows 11 is not technically supported on Steam Deck. With the latest OS, Microsoft added the TPM (Trusted Platform Method) as a requirement for PCs that want to install Windows 11. Steam Deck does not have that enabled. However, you can still install Windows 11 with the instructions below. However, you may not receive Windows Update and will need to flash updated Windows 11 versions manually.
Booting from a MicroSD Card or USB Drive
The first method to install Windows on the Steam Deck is booting it from a micro SD card or a USB Drive First. This method keeps the installation on the memory drive. It’s completely reversible because you can simply detach the microSD or USB drive and boot from the internal SSD. Windows has some issues on Steam Deck, so you may need to keep the SteamOS in case things go down the hill.
You can use a micro SD card with the UHS-1 label or a USB 3.0 drive with at least 32 GB of Storage. Steam Deck supports both Windows 10 and Windows 11. The process is the same regardless of which OS you use.
- Step 1 – Head to Microsoft’s website and download the Windows Media Creation Tool. Head to this link if you want Windows 10, or this if you want Windows 11.
- Step 2 – Download Rufus, which is the tool you use to create a bootable version of Windows on your micro SD card or USB Drive. Rufus also removes the TPM requirement on Windows 11 ISO, allowing you to install it on the Steam Deck.
- Step 3 – Download Steam Deck Windows Drivers from Valve. Pay attention in this step, because the Steam Deck and Steam Deck OLED have different drivers. Put them all in a folder together on a spare USB drive for access later.
- Step 4 – Open the Windows Media Creation tool and select Create Installation Media. on the next page, choose the ISO file, and choose a place to store it on your PC. Wait until the process is finished, and make sure to keep a note about where you stored the ISO.
- Step 5 – Plug in your micro SD card or USB Drive and Open Rufus. The following method will erase all data on your micro SD card / USB Drive. In Rufus, select your micro SD card or USB Drive under Devbice. Then, choose Select next to the Boot Selection section. Navigate to your Windows ISO that you created earlier and select it.
- Step 6 – Under the Image Option, select Windows To Go. Then, choose MBR under the Partition scheme. Rename the drive if you want, and select Ready to begin the flashing process.
- Step 7 – If you’re flashing Windows 11, once you click on the Start Button, a Windows User Experience box will open. From here, you can apply all the customizations you want to the Windows 11 bootable USB drive. Click on the checkbox in front of the Remove Requirement of TPM 2.0. You can also remove the requirement for 4 GB RAM and remove Secure Boot if you want.
- Step 8 – Once it’s done, eject the microSD card or the SSD and insert it in the Steam Deck. Turn off your Steam Deck completely. Hold down the Volume Down button as you power it on. This will enter the boot manager.
- Step 9 – Select your SD card to boot into Windows. It will boot in portrait mode on the Steam Deck.
Windows on your External Drive
Through this method, there isn’t a real Windows 10/11 installation on your Steam Deck. It’s running through the micro SD card or USB Drive. Using a micro SD card offers the advantage of having it conveniently inserted into your device all the time. Proceed through the setup process as normal by selecting your language, keyboard layout, etc. A keyboard and mouse will help you to navigate here, however, you can also use the touchscreen.
- Once in Windows, head to Settings > System > Display and find the Display Orientation option. Select Landscape to flip the screen to the proper orientation.
- Plug the USB Drive that you stored the Windows drivers for Steam Deck. Plug it in using your USB-C hub (not directly into the Steam Deck) and install the drivers.
Important: This method is also valid for an external SSD which is a more recommended way to use Windows for a long time.
After that, the Windows installation on the Steam Deck will be done. If you simply reboot the Steam Deck, you will return to Steam Deck. You will need to boot into Windows through the boot manager. It’s not a full-fledged dual-boot installation, because you can’t conveniently select the OS. However, it’s the best way for users that don’t want to mess with the SSD.
Installing Windows 10 on the Steam Deck’s Internal SSD
If you want a Windows-only experience on the Steam Deck, Installing it directly to the SSD is possible. You will need to erase all of the data on the SSD to do so. That includes your games, settings, and SteamOS itself. Valve promised a native dual-booting option with a future SteamOS 3 release. However, the update is yet to arrive. The process will completely remove the SteamOS installation on your Steam Deck. It’s possible to revert it, but it will require some work. If you want to simply experiment with Windows, use the microSD method. If you still want to flash Windows on SSD, then continue and follow the steps below.
- Step 1 – Head to Microsoft’s website and download the Windows Media Creation Tool. Head to this link if you want Windows 10, or this if you want Windows 11.
- Step 2 – Download Rufus, which is the tool you use to create a bootable version of Windows USB Drive. Rufus is needed here because it also removes the TPM requirement on Windows 11 ISO, allowing you to install it on the Steam Deck. If you’re installing Windows 10, you can use the Windows Media Creation tool to prepare a flashable USB drive. You will need a USB Drive with at least 8GB.
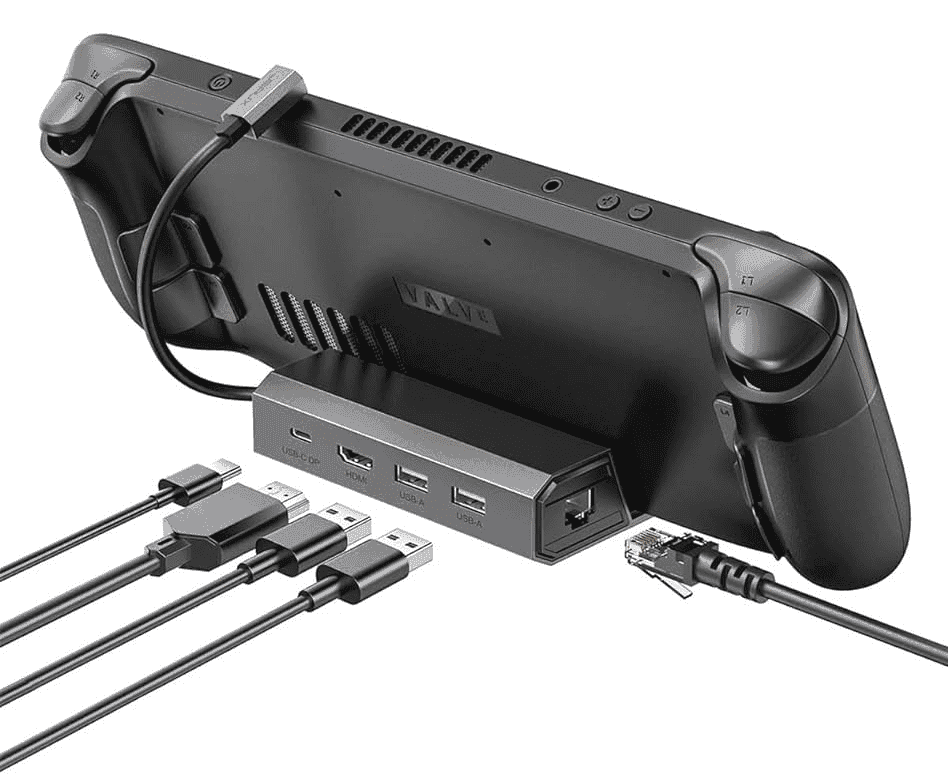
- Step 3 – Power down your Steam Deck completely and connect your USB Drive with a USB hub. Although you can connect the drive directly. You can use a USB-C hub to avoid issues. A keyboard and mouse are also good for installation. The USB-C hub will allow you to connect the peripherals.
- Step 4 – Windows will boot in portrait mode. Select the Windows version you want and then choose Install Now. Connect a keyboard and mouse to ease the process. You can still use the touchscreen though. The Steam Deck’s keyboard and the touchpads won’t work at this point.
You’ll need to activate Windows after. Enter your product key, or choose I Don’t Have a product key to continue.
- Step 5 – On the following screen, choose Custom: Install Windows only. You will need to delete partitions on the Steam Deck to install Windows.
WARNING: This process will delete all data on your Steam Deck. It includes games, settings, and saves/media that haven’t been uploaded to the Steam Cloud. It’s possible to restore SteamOS, but you will need to reinstall all of your games and reconfigure your settings.
- Step 6 – Choose the partition you’ve deleted. It will show up as Unallocated space, and select Next. Windows will begin installing on the drive.
- Step 7 – The process will take some time. After that, the Device will auto reboot and load into the Windows setup. Proceed to configure the Windows and skip the Wi-Fi section.
- Step 8 – Windows is installed at this point, so you only need to adjust things. Head to Settings >> System >> Display and Switch Display Orientation to Landscape.
- Step 9: Pick the USB Drive in which you’ve placed the Windows drivers for Steam Deck, and install them as well. SteamOS is gone, and whenever you reboot, you will be back to Windows.
If you’re installing it on the internal SSD, make sure that the partition selected is NTFS. Otherwise, it won’t be compatible with Windows.
It is worth noting that some games will run better in Steam OS than they will in Windows. If you’re running into with your game, the reason could be the non-optimized Windows Install. Still talking about games, some games will require Steam on Windows to use the Control Pad.
How to Restore SteamOS on the Steam Deck
As we’ve said above, if you install Windows on the internal SSD, you will lose the SteamOS install. Since Windows isn’t perfect on Steam Deck, you may want to return to the standard system after some time. It’s perfectly possible to restore SteamOS and make your Steam Deck brand new again. You’ve learned how to install Windows on both external and internal drives. Now, it’s time to learn how to restore your device to the stock system.
Valve provides a convenient Steam Deck recovery image to get Steam OS back and working in order. Of course, once again, reverting to Steam Deck means completely wiping the memory of your device. So if you’ve installed Windows and stored important files, we recommend you make a backup of these precious files.
- Step 1 – To Start, Download the SteamOS Recovery Image from Valve.
- Step 2 – Download Rufus on a separate Windows PC and insert a USB drive. Write the SteamOS recovery image to the USB drive and eject it from your PC.
- Step 3 – Power down the Steam Deck completely and connect the USB drive using a USB-C hub. Hold the Volume Down button while powering on the Steam Deck and enter the boot manager. Select your USB drive from there.
- Step 4 – You will boot into the recovery environment. There are a few options here that will attempt to preserve your data. However, the best way is to go through the Re-Image Steam Deck option.
If you’re coming from Windows, you’ll need to factory reset the Steam Deck to get it working. Other options won’t keep your games if you’ve installed Windows, and could lead to file system conflicts.
Conclusion
Installing Windows on Steam Deck is a nice way to get a handheld desktop experience. However, you need to consider if the benefits are enough to sacrifice the gaming experience. Installing Windows will allow you to install .exe programs on your Steam Deck. However, the device’s ergonomics may not be the best for using it like a tablet. You can use it as a portable PC assuming you have a lightweight keyboard, mouse, and a USB-C hub to quickly build a setup.
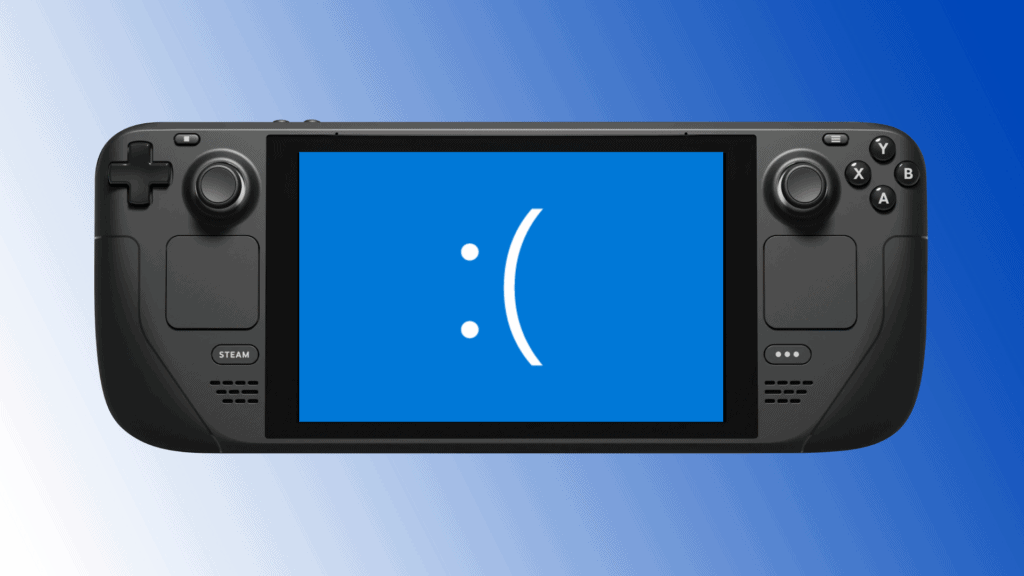
When it comes to games, you can use it to run certain games, but the experience may not be the best. Steam Deck can run Windows games, but not all Windows games. The device may not be powerful enough to run some games through Windows. Check the system requirements and be aware of possible issues with compatibility.
If you want to simply experiment with Windows on the device, I strongly recommend using the microSD card method. Therefore, you can simply run Windows through the Boot Manager. One thing to consider is, that if you plan to use Windows for a long period, the best option might be to use an external SSD rather than a microSD card. After all, the microSD card might die after a certain time due to the intense task of running Windows and all its processes.
Another option over the Steam Deck is the ASUS ROG Ally. The handheld is more expensive, but has better specifications and natively runs on Windows.

