For a monthly fee of $20, a ChatGPT Plus subscription offers more than just access to GPT-4. Beyond accessing the latest iteration of the GPT model, subscribers gain the ability to explore and utilize OpenAI's advanced features to craft personalized GPT-based chatbots. Despite the initial perception of complexity, constructing your own custom GPT chatbot is a surprisingly accessible endeavor, even for those without coding expertise.
By leveraging the resources and guidance provided within the subscription, users can navigate the process with relative ease. Through tutorials, templates, and intuitive interfaces, the path to creating a bespoke chatbot becomes clear and manageable. The feature exceeds expectations and shows the true potential of personalized GPT applications. (Via: DigitalTrends)
You Won't Need Coding Skills
What's truly remarkable is that coding skills are not a prerequisite for this endeavor. OpenAI's user-friendly tools and comprehensive support enable individuals from diverse backgrounds to engage in the creative process of building and refining their own chatbot experiences. This democratization of AI empowers users to harness the capabilities of advanced language models for their specific needs, whether for personal projects, business applications, or creative pursuits.
In essence, a ChatGPT Plus subscription offers not only access to cutting-edge AI technology but also the opportunity for users to become creators in their own right, shaping the future of conversational AI without the barriers of technical complexity.

To explore the new Custom GPT feature, you'll need a GPT Plus subscription. So, make sure to sign up for one or borrow a free trial from someone if you're eager to give it a try. This feature opens up exciting possibilities for tailoring GPT-based models to your specific needs, whether for personal projects, business applications, or creative endeavors. Don't miss out on the opportunity to unleash your creativity and explore the full potential of conversational AI with Custom GPT.
ChatGPT and GPT

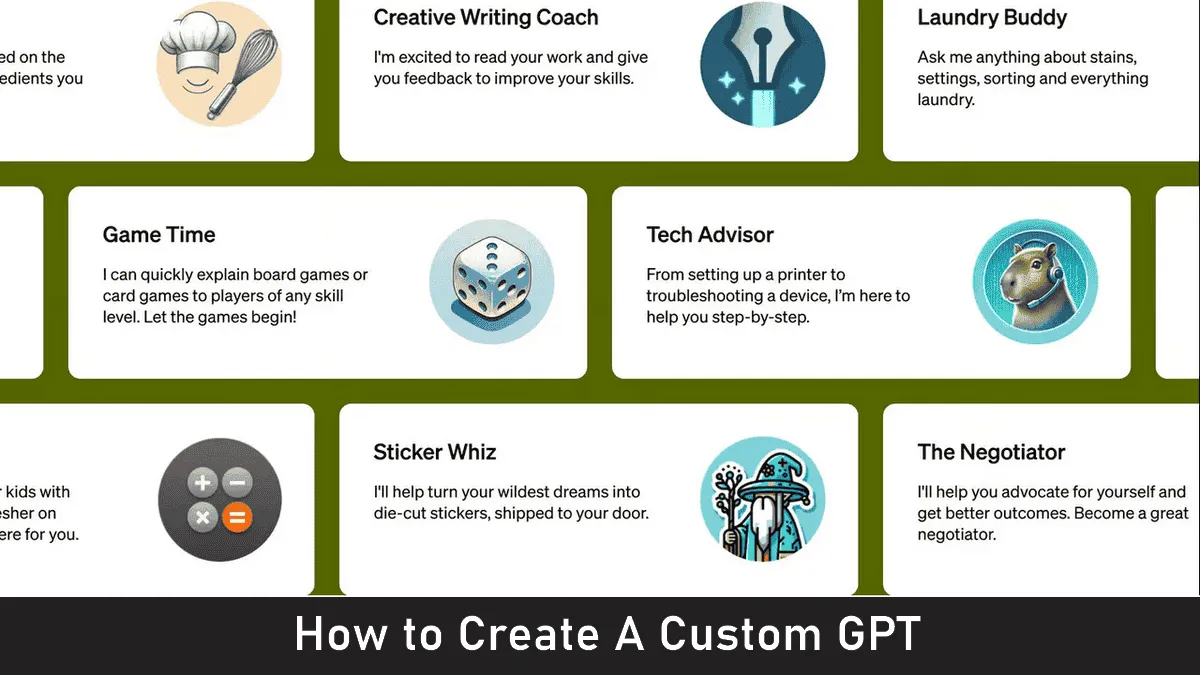
Image Credit: DigitalTrends
First of all, do not confuse the term "GPT" with the ChatGPT that we all know. The latter is OpenAI's chatbot that revamped the world and started a new race for AI models. IChatbots like ChatGPT can do a lot of things using AI and won't need you to navigate through multiple websites seeking answers. Below you will see the difference between GPT and ChatGPT.
- GPT (Generative Pre-trained Transformer): GPT is a family of language generation models developed by OpenAI. These models are built upon the Transformer architecture, a deep learning architecture initially proposed for natural language processing tasks. GPT models are pre-trained on vast amounts of text data, enabling them to generate coherent and contextually relevant text given a prompt. The models are capable of tasks such as text generation, text completion, translation, summarization, and more. GPT models have seen significant advancements over the years, with iterations such as GPT-2, GPT-3, and beyond, each offering improvements in terms of scale, performance, and capabilities.
- ChatGPT: ChatGPT is a specific instantiation of the GPT architecture optimized for conversational interactions. It is trained on a diverse range of conversational data from the internet, allowing it to understand and generate human-like responses to text-based input. ChatGPT is designed to engage in open-ended conversations on various topics, provide information, answer questions, offer suggestions, and more. It leverages the capabilities of the underlying GPT architecture while fine-tuning its parameters for improved conversational abilities.
How To Create a Custom GPT Model
As you delve into ChatGPT, you'll find that much of your experience revolves around utilizing custom GPT models, whether crafted by yourself or others. To begin harnessing this personalized AI power, here's how to get started on creating your custom GPT:
- Step 1: Head to the ChatGPT website, or launch the ChatGPT app and log in to your account.
- Step 2: At the top of the page, locate and click on the "Create a GPT" button to initiate the process. This will set you on the path to crafting your very own customized AI model.
- Step 3: Give your Custom GPT a name, and a description, and provide custom instructions. Think of these instructions as a personalized guide for your AI, shaping its behavior and responses uniquely. Utilize the Preview window on the right-hand side to observe how your AI interprets prompts. Experiment with different prompts to gauge performance, adjusting instructions on the left until you're satisfied with the AI's behavior.
- Step 4: Optionally, enrich your AI's capabilities by adding specific data sources, such as documents or files. Assess how this additional data influences your AI's operations, and refine instructions accordingly.
- Step 5: Customize your AI's functionality by selecting options such as DALL-E art generation abilities, search engine access, or advanced data analytics. Tailor its capabilities to meet your specific needs, and choose which plugins it can access if desired.
- Step 6: Once you're content with your custom GPT's performance, click the green "Publish" or "Update" button to finalize your creation. Your custom GPT will then be accessible in the left-hand menu alongside other OpenAI GPT models and your previous creations.

Sharing Your Custom GPT Model
Now that you have successfully created your own ChatGPT, it may be a cool idea to share it with others. Therefore, you will show your AI abilities, and at the same time, get help and improvements from others. Here are the simple steps required to share your GPT with others:
- Step 1: Create a new custom GPT following the steps outlined earlier. Also, you can edit an existing custom GPT by selecting the three-dot menu next to it and choosing the edit function.
- Step 2: Make any desired changes to your custom GPT. However, instead of immediately selecting the green "Update" button, first click on the three-dot menu icon next to it.
- Step 3: From the pop-out menu, choose the sharing settings for your AI. You can opt to restrict usage to only yourself. You can also make it accessible to everyone who uses those plugins, or allow access to anyone with a link. To share it with anyone you want, select "Anyone with a link."
- Step 4: After publishing or updating your custom GPT, you can now share it with others by providing them with the custom link generated.
With these steps, you can easily create and share your custom GPT models with colleagues, friends, or the wider community.

Conclusion
Working to bring custom GPT models is a nice way to tailor AI capabilities to specific needs and preferences. With this simple step-by-step process, you can create custom AI experiences. You can shape behaviors, responses, and functionality according to your requirements.
Through customization options such as providing instructions, adding data sources, and selecting additional functionalities, users can fine-tune their custom GPT models to suit various applications and scenarios. Whether for personal projects, business solutions, or creative endeavors, custom GPT models empower users to leverage AI technology in innovative ways.
Furthermore, the ability to share custom GPT models with others enhances collaboration and knowledge sharing within the AI community. As AI continues to evolve and shape the future, creating custom GPT models enables individuals to be active participants in this transformative journey. There are endless ways for customization and collaboration. By allowing users to create custom GPT models, OpenAI is taking an important step in democratizing AI. As a result, it is truly unlocking the full potential of this technology.
Popular News


Latest News
Loading