Forgetting the passcode of your Apple iPhone can turn into a real problem if you keep trying with the wrong attempts. After a certain number of failed attempts, the iPhone will be “disabled”. If your screen reads as “iPhone is disabled”, the most likely cause is too many wrong passcode attempts. Sometimes this can happen without you realizing it. For example, when the phone is in the pocket or the back. You need to erase your device to remove the lock or passcode. If your iPhone is disabled you can also connect t iTunes. However, there are some solutions that can help you to avoid and undisable your iPhone such as PassFab.
Recover your iPhone with 5 methods
Through this article, we’ll teach how to undisable an iPhone. The process of how to undisable your iPhone can be done in five top ways. Among them, we’ll provide the steps through powerful software such as Passfab. The application can help you to bypass the lock screen and recover access to your iPhone.
Without further ado, let’s go through the processes that will teach you to unlock your iPhone. These steps can work even if you’re running iOS 16 or any of its incremental updates.
1 – PassFab – How to unlock your iPhone screen lock
Your iPhone or iPad will show a “disabled” message after a couple of wrong password attempts. If you’ve lost your password or turned your device into a “disabled brick” you can use PassFab to recover access to your device.
- Step 1: Download and Install PassFab, then launch the newly installed app on your computer.
- Step 2: You see four key features, click “Start” and continue to the next step.
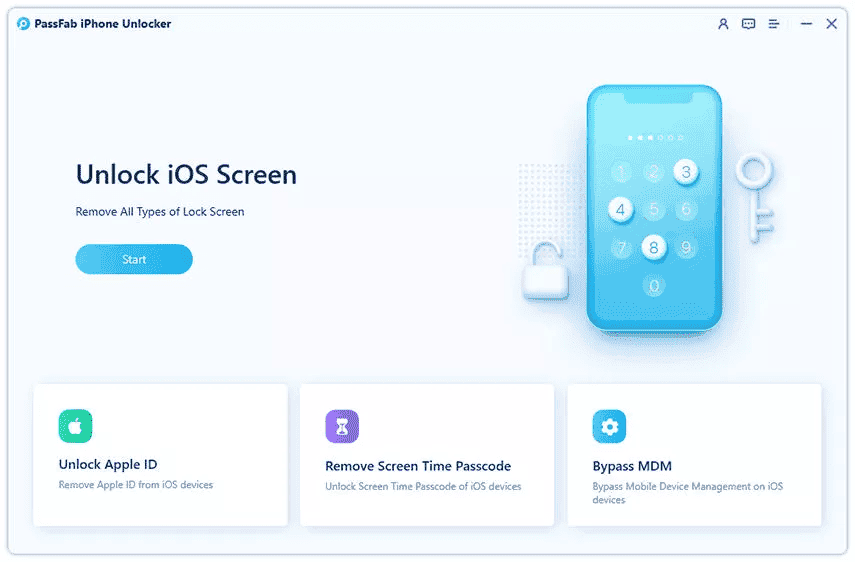
- Step 3: Connect your iPhone to the computer. After the app detection, you need to click on the “Next” button.
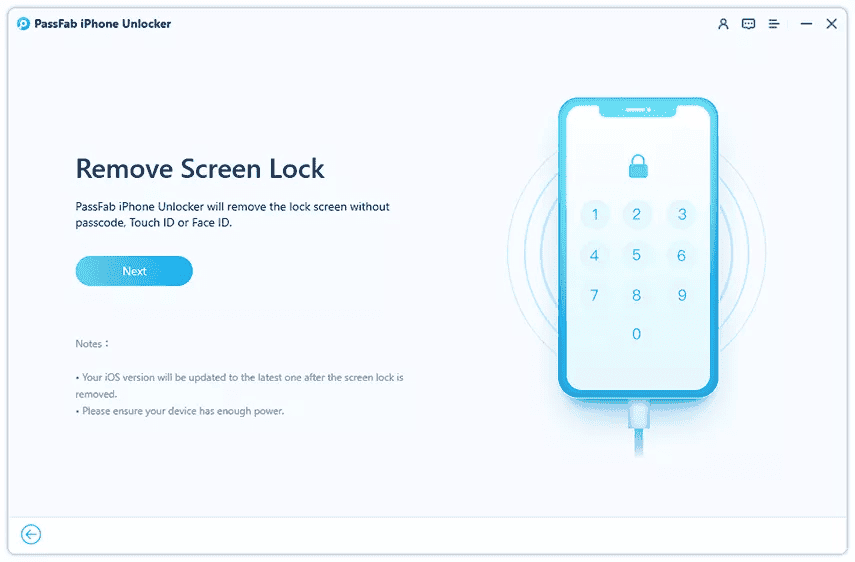
Once the app detects your iPhone, it will start to download the firmware for it. Wait a couple of minutes, depending on your internet, and the app will do the process.
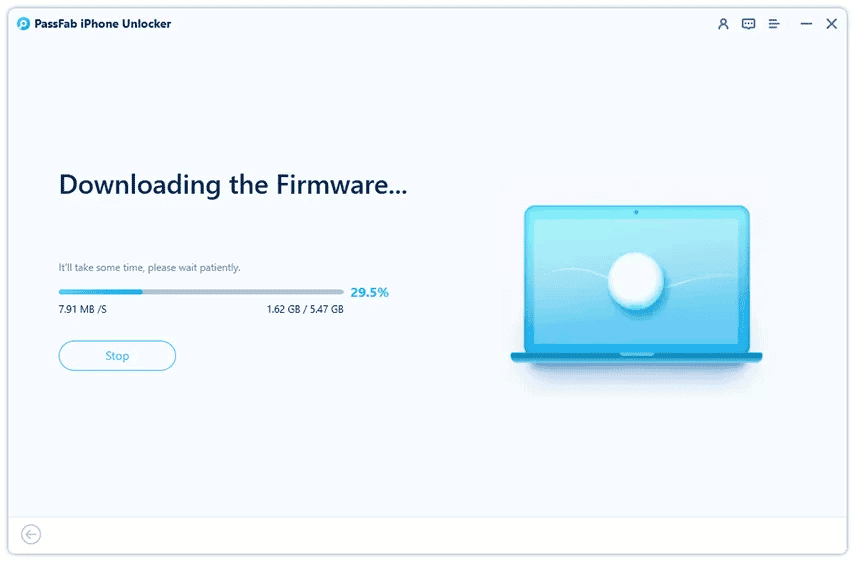
- Step 4: After the firmware is downloaded, click on the “Start Remove” button to remove the passcode. After that, your disabled iPhone will be back to its normal state. You can set up a new passcode, Touch ID, or Face ID if you have forgotten the previous one.
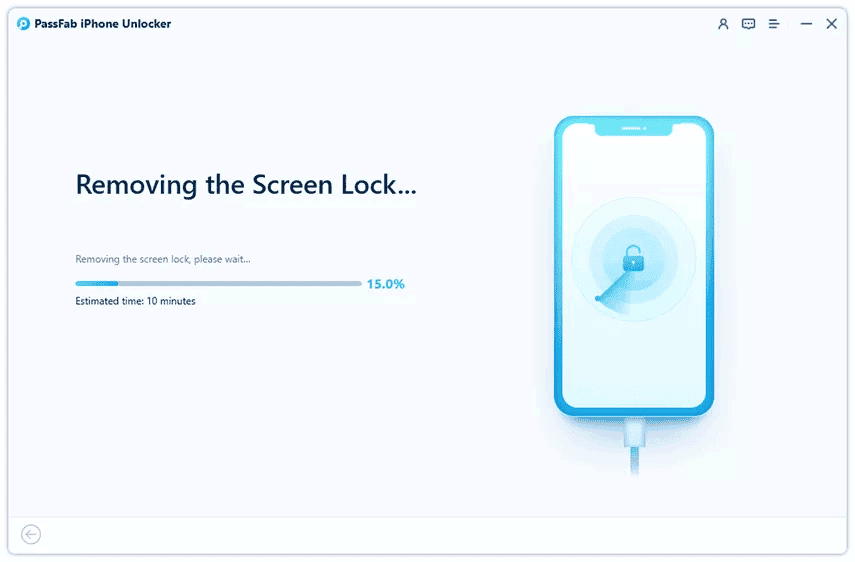
This certainly is the simplest way to undisable your iPhone. PassFab is a simple-to-use, intuitive application. It does the job without much hassle. However, we’ll teach you other ways to undisable your iPhone or iPad.
2 – Fix your Disabled iPhone or iPad with iCloud
The process of undisabling your iPhone can also be done through iCloud. It’s among the recommended steps, but it’s not the most convenient in my opinion. It’s a valid alternative over iTunes anyway. However, It will require you to remember your Apple ID and the login password. You’ll need to visit iCloud.com to unlock your device remotely. Worth noting that the “Find My” option needs to be on.
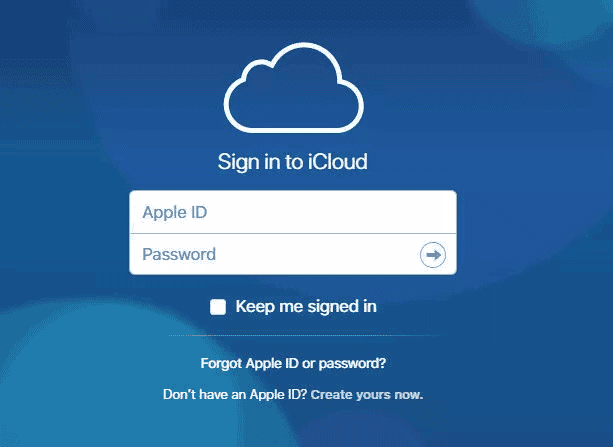
You’ll need to go to options and select the “Find My iPhone” option.
- Click on “All devices” at the top of the window and select your disabled iPhone or iPad from the list.
- After that, you’ll just need to click on “Erase iPhone”.
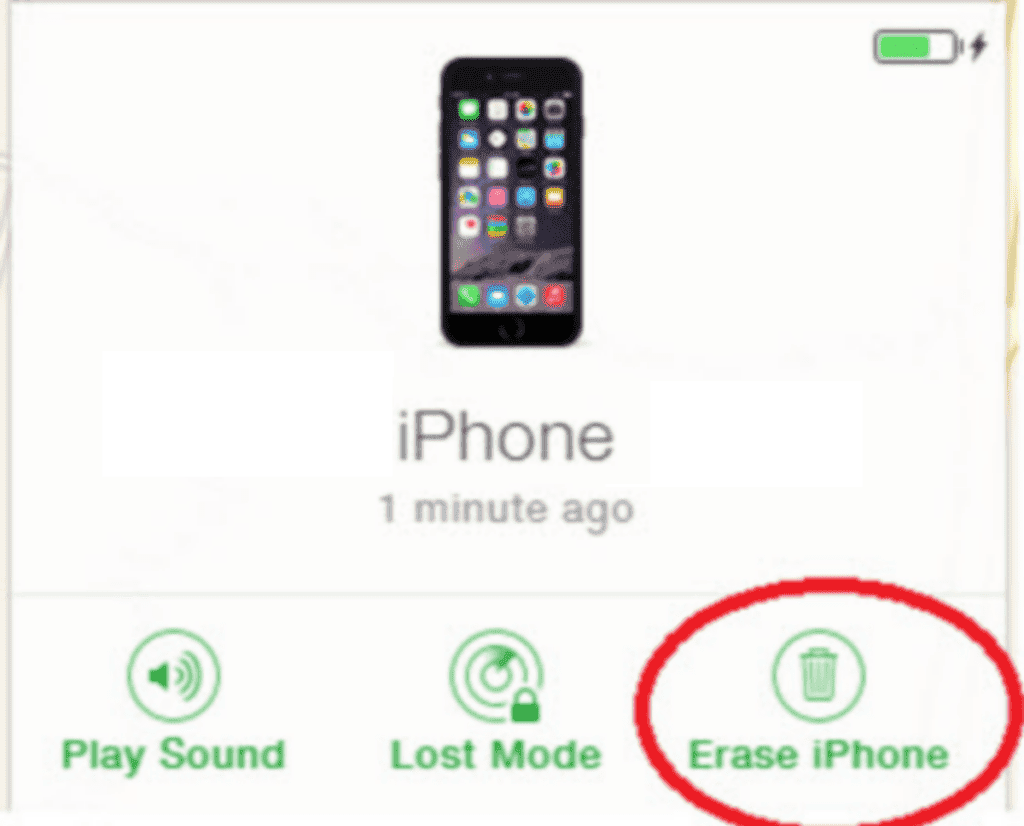
- Worth noting that all your data and settings will be gone. So it’s good to have a backup laying around.
One of the downsides of this process is how easy it will erase your data. Anyway, let’s move on to the next possible way to unlock your iPhone.
3 – Use Finder
If you have a Mac that has not been updated to Monterey or an earlier macOS all the way back to Catalina, you can use the Finder to unlock your disabled iPhone.
- Connect your disabled iPhone or iPad with a USB or USB-C cable or even through Wi-Fi. Your computer may initiate Trust This Computer and ask for a passcode, so it’s necessary to know the Passcode in this case.
- Click Finder
- Choose the device from the menu
- Click Restore Backup. (You’ll need a backup, of course)
- Click on the latest back, if they are encrypted, you’ll need to enter a password.
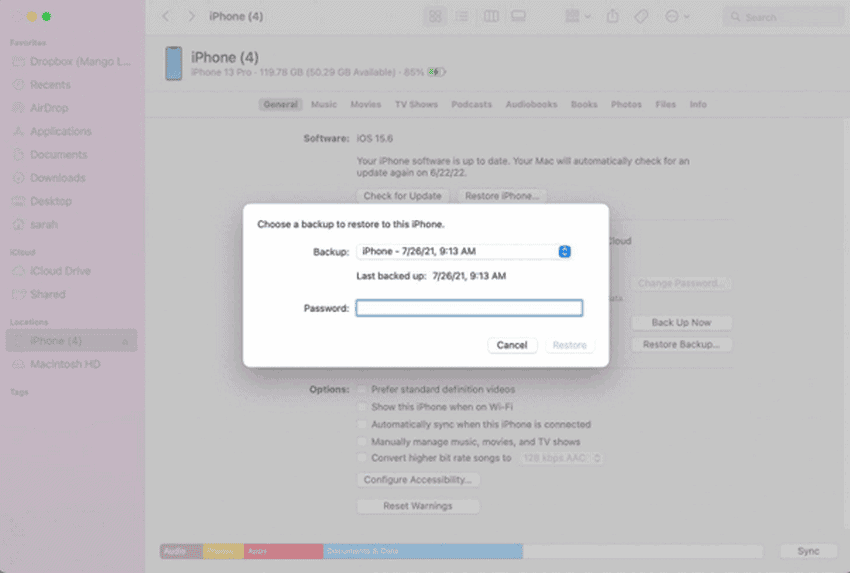
- Click on Restore, and Keeps your Device connected until it restarts and Sync. After that, the device will be restored to its normal state.
4 – Using iTunes to Undisable an iPhone
Another valid way in the race to undisable your iPhone is to use iTunes. The solution can, in the same way as the above steps, help you to unlock your iPhone or iPad device. So without further ado, let’s see how to use iTunes in your own favor.
- Plug your iPhone into your Computer.
- iTunes may automatically open, if not launch it manually.
- In iTunes, click on the icon of your device at the top left of the screen. This will open all information about the device and what’s on it.
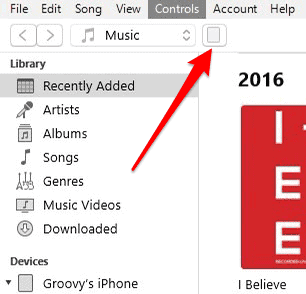
- Tap Summary and Click on Restore iPhone/iPad
- If you get an error asking you to turn off Find My iPhone, you’ll need to go to the iCloud method or Recovery Mode instead.
- Follow the On-Screen instructions. Again, this process will completely erase your device. So you’ll need to have a backup.
- Once your iPhone is restored, it will start as an all-new device. So you’ll need to re-sync it.
5 – Use Recovery Mode to undisable your iPhone
If your computer is not recognizing the device or says it’s in recovery mode, you can use the Recovery Mode to undisable your iPhone.
- Connect your iPhone to the Computer.
- If you have an old macOS release, launch iTunes. If you have a later version use Finder.
- For iPhone 6s or earlier, iPad with a Home Button, or iPod Touch 6th Gen and earlier, Hold down the Top or Side and Home Buttons Simultaneously. When you see the Apple Logo, do not let go of the buttons. Keep holding both until your device enters Recovery Mode.
- For iPhone 7 series and iPod Touch 7th gen: Hold down your Top and Volume Down buttons at the same time. Keep holding them until the device enters Recovery Mode.
- iPhone 8 series, X, 11, 12, and 13 models: Quickly press and release the Volume Up button, Followed by the Volume Down button. Next press and hold the side button until your device enters recovery mode.
- Once your device enters the recover mode, find your device in iTunes or the Finder and click on it.
- A box will show up asking you to restore or update or device. Select Restore.
- It will take some time to download and reinstall the restored software.
- Once your device has been restored, it will start up like a new device. So it’s time to restore a backup.
Conclusion
As we’ve said, the above top 5 methods are all functional to recover your disabled iPhone. However, there are certain limitations. It’s always recommended to keep a device if you don’t like to keep your passwords or accidentally make it a disabled iPhone.
Taking all the methods above, we have to agree that PassFab sits as one of the most convenient methods. It’s a simple installation that can save you from a headache. Worth noting, that you won’t need a Mac device to run it. The app is useful even when you have a broken screen.
The methods are compatible with iOS 16, 16.1, 16.2, 16.3, and the subsequent updates. Worth noting, that it may also work on older versions, but you’ll need to check out.

