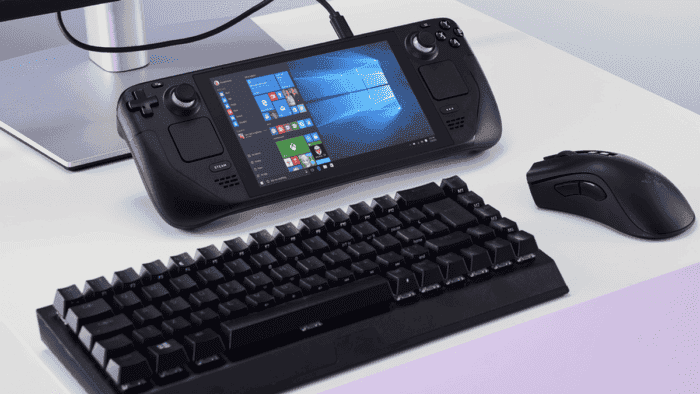
The Steam Deck is kicking off the handheld fever! After the successful debut of Valve’s handheld and its popularity with nearly 3 million sales, many players are joining the segment. Recently, we saw the debut of ASUS in the category with its ROG Ally. However, the Steam Deck is still safe thanks to its lower pricing point and all the value it brings. The console is a complete package with enough hardware to handle modern games with great quality. Apart from its strong gaming capabilities, owners of the Steam Deck are constantly exploring the capabilities of this handheld. Some even wonder what else the console can do besides running Valve’s native OS and Steam’s catalog. If you’re curious to learn how to Install a Windows build and try it on Steam Deck, we are here to teach you. (Source).
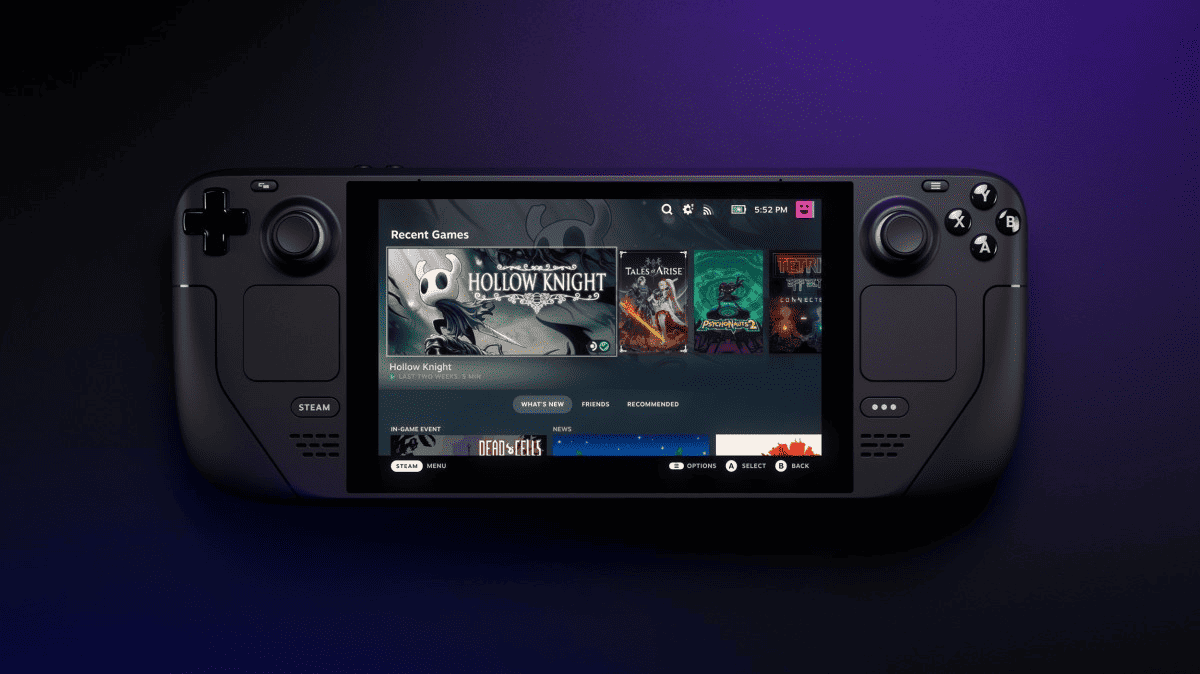
Introduction – Is it Possible to Install Windows 10 or Windows 11 on the Steam Deck?
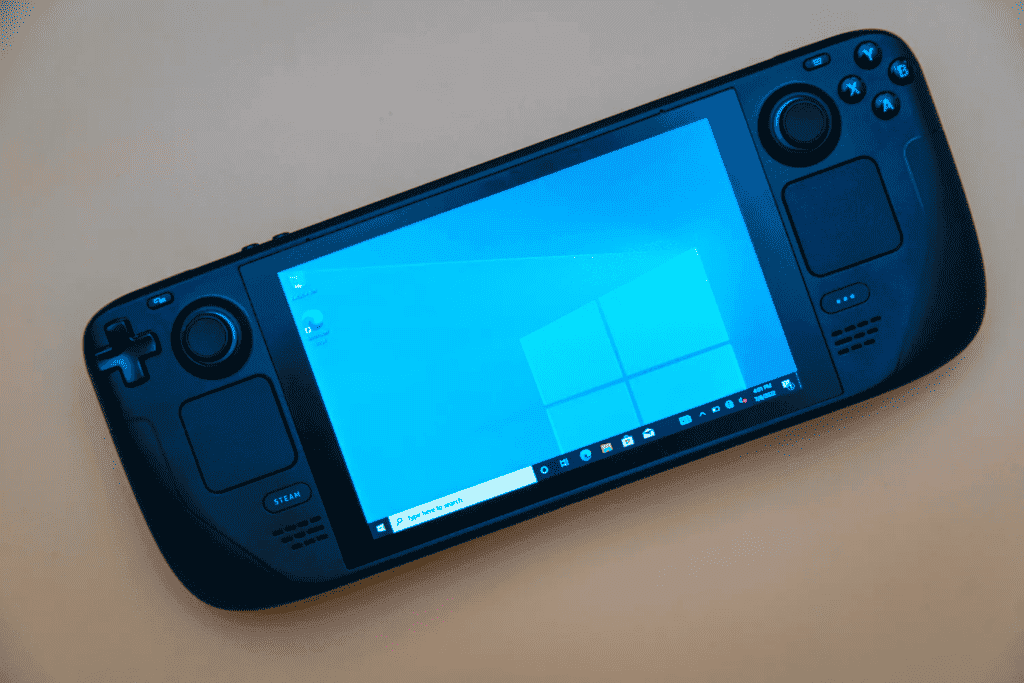
The Steam Deck is quite interesting as a gaming device that runs games via the Steam catalog. However, it could do much more when running a complete operating system like Windows 10 or Windows 11. If you’re considering this possibility, we are here to give you some of the steps. The Steam Deck can run Windows 11 or Windows 10 without much issue with Valve’s official drivers.
However, installing it is not as simple as hitting a download button. Through this guide, we’re going to teach you how to effectively run Windows on the Steam Deck. Typically, it’s possible to run Windows by booting on a micro SD or by installing it in the internal SSD. Through this article, we will teach you how to boot Windows 10 or Windows 11 via the microSD card and we will explain why.
First Considerations
Before proceeding with the tutorial, it’s important to know that Windows is not perfect on the Steam Deck. It works, but you may encounter some issues through usage. Still, it will serve as a decent replacement for a basic laptop. It’s possible to do a full-fledged installation on the console’s SSD, but alternatively, you can boot Windows from a micro SD card. The latter allows you to keep the original SteamOS install intact. If you get bored of Windows, you can simply detach the micro SD and put another one for use with SteamOS.
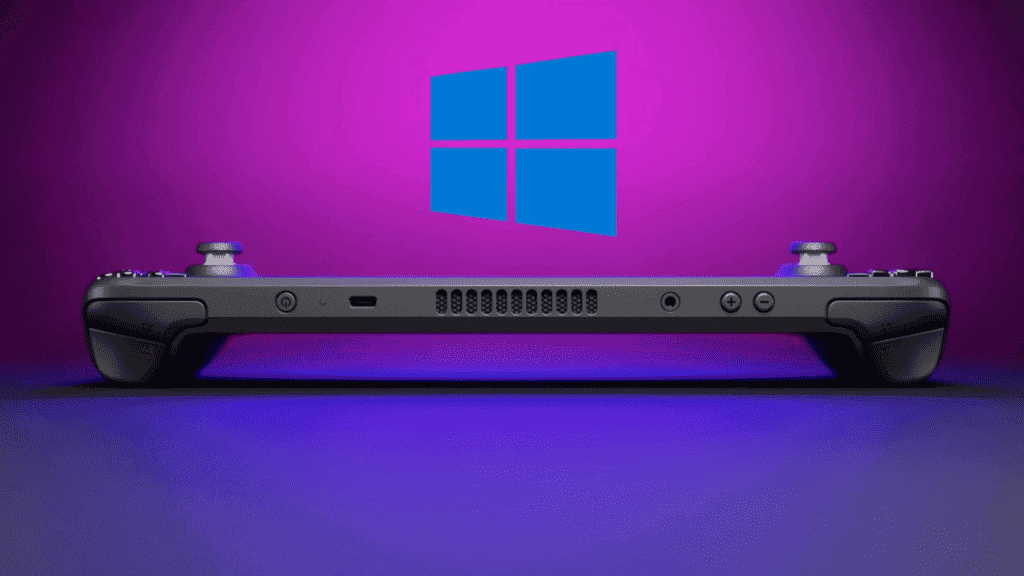
Another consideration is that Windows 11 is not technically supported on the Steam Deck. As you can imagine, Windows 11 requires TPM, and Steam Deck does not have that enabled. You can still install the OS via the instruction below, but you may not receive all Windows updates.
With these considerations in mind, let’s dive into the process to get a Windows build working on your handheld!
Boot Windows 10 or 11 from a MicroSD card
Before installing Windows on the Steam Deck, one good recommendation is to boot from a micro SD card or USB drive first. As we’ve said before, this method allows you to keep SteamOS intact. Therefore, you can try out Windows without erasing anything on your Steam Deck. If you don’t enjoy the experience, you can remove the micro SD card, put in another one, or simply format it and resume the use with SteamOS. Windows is not perfect on the Steam Deck, and if you don’t enjoy it, this method saves you time.
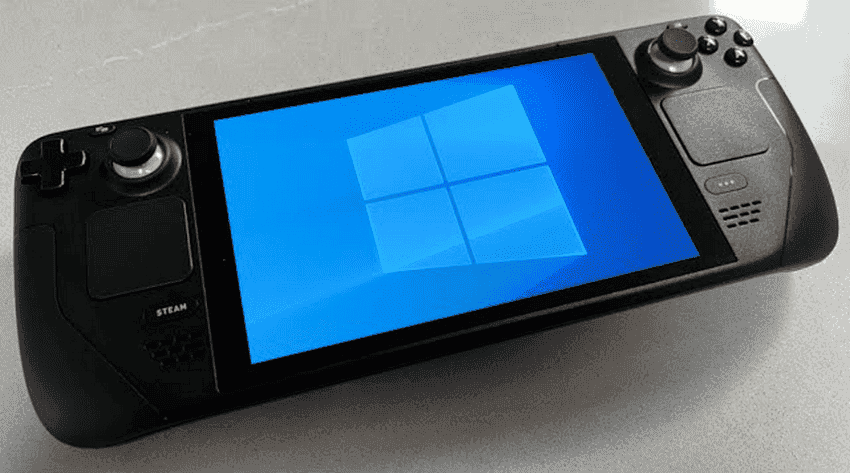
It’s recommended to use a decent micro SD card with fast read and write speeds. One UFS-1 or a USB 3.0 drive with at least 32 GB of Storage will Work Flawlessly. The more, the better. The Steam Deck offers support for Windows 10 and Windows 11, and the process will be the same regardless of which OS you use.
The Installation Process
Step 1 – Go to Microsoft’s Website and Download the Windows 10 Media Creation Tool. For Windows 11 users, download the Windows 11 Creation Tool.
Step 2 – Download Rufus, which will allow you to create a bootable version of Windows on your micro SD card or USB drive.
Step 3 – Head to this website and download the Windows drivers for Steam Deck from Valve. Put them all in a folder together on a spare USB drive for access later.
Step 4 – Open the Windows Media Creation Tool and Select Create Installation Media. On the next page, pick the ISO file, and choose a place to store it on your PC. Wait until the process is done, and make sure to keep a note about where you stored the ISO.
Step 5 – Plug in your micro SD card or USB drive and open Rufus. This step will erase all data on your microSD card / USB drive. In Rufus, pick the micro SD card or USB drive under the Device. After that, select Next to the Boot Selection Section. Navigate to the Windows ISO that you created earlier. Under Image Option, Select Windows To Go. Then, choose MBR under Partition Scheme. Rename the drive if you want, and select Ready to start the flashing process.
Step 6 – Once It’s Done, Eject the Micro SD card and insert it in the Steam Deck. Turn off your Steam Deck, completely, and then hold down the Volume Down Button as your power it on. This will enter the Boot Manager.
Step 7: Pick your Micro SD card to boot into Windows. It will boot in portrait mode on the Steam Deck. Go through the regular process by selecting your language, keyboard layout, etc.
Step 8: Once the Windows Install is complete, head to Settings >> System >> Display and Find the Display Orientation Option. Windows had started in portrait mode, so we’re now changing it to operate in the Landscape. Select Landscape and it will flip the screen to the proper orientation.
Step 9: Plug in the USB drive that you’ve stored the Windows drivers on. Plug it into a USB-C hub and install the drivers.
You’re Ready to Enjoy Windows on your Steam Deck
Upon the completion of these steps, you will now have a full-fledged installation of Windows on your Steam Deck via the micro SD. If you reboot the console, you will go back to Steam OS. However, you can always boot into Windows provided you head to the boot manager. It’s an interesting and safe approach to experiment with the OS on the console. With this, you can try some emulators, and other PC related stuff on your Steam Deck. You can evaluate the OS performance to make better decisions in the future.
Unfortunately, Steam Deck does not offer support for dual boot at the moment. So you will always need to go to the boot manager to choose either Windows or SteamOS. Hopefully, a dual-boot option will be offered in the future.
Conclusion – Booting Windows 10 or Windows 11 via Micro SD
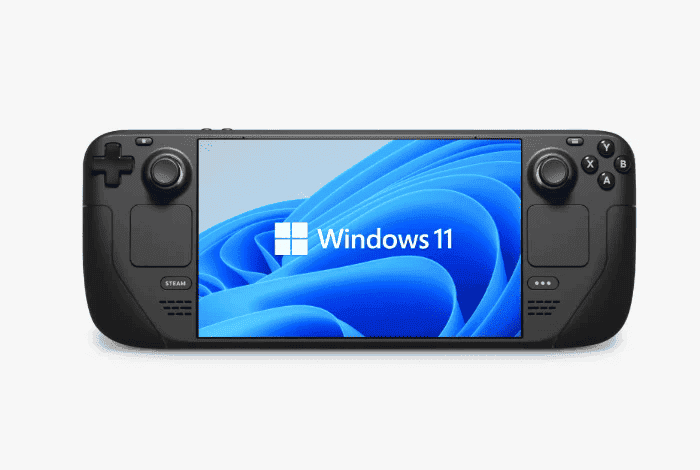
As you’ve learned, the process to boot/install Windows 10 or Windows 11 on your Steam Deck via the Micro SD is quite useful. You can experiment with the OS on your handheld console, or perhaps get a temporary laptop solution when the console is the only hardware you has near. The method is also good because it does not harm your SteamOS installation. You can always resume the regular use by rebooting the console. A Dual-Boot feature would make this feature even more interesting, but for now, things should be done manually.
With this method, it’s possible to try the most varied Windows apps on your handheld console. However, don’t expect anything to run flawlessly. The console has some issues with Windows, and it will be a matter of attempt and error to get your apps working. Adding a mouse and keyboard can improve the experience, but the touchscreen should take you through the basics without much hassle.

