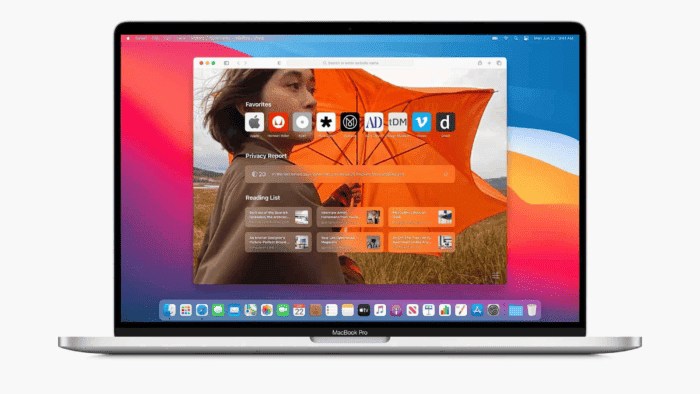
macOS is the Operating System behind every Mac computer. While Windows might be the predominant OS among PC Players, Mac has a massive community. The fact is that Apple’s OS is the place to go for many users that work with the computer. It also has certain advantages over Windows PCs, because the OS is designed specifically for the hardware it runs on. Linux and Windows are developed with multiple hardware, components in mind. Apple’s OS is developed to work with Apple’s hardware. The OS also has a robust suite of applications, and brings iCloud integration to keep your photos and documents up to date on all your devices. (Via).
There are loads of features in macOS. While the OS is quite intuitive, it can be difficult for newcomers to adapt. There are plenty of interesting shortcuts and tips that will improve your workflow. In this article, we aim to teach some of the tips can greatly enhance your experience with the OS. Whether you’re a new user or an Apple Mac veteran, you probably will find a useful tip among the Top 10 MacOS Tips and Tricks.
Where to Begin with MacOS? The Mac User Guide
One of the best tools to start your Mac experience is the macOS User Guide. It will help you become familiar with the software and find info about macOS, Mac, and the apps you use. The Finder is represented by the blue icon with the smiling face and is the home base for your Mac. This is where you can organize and access almost everything stored on your device. The Finder and most apps on your Mac have a Help menu in the menu bar.
MacRumors has an interesting video offering useful tips. Check it below if you want to dive within MacOS world.
Top 10 Tips for macOS
One of the greatest benefits of macOS is its iterative nature and the customization options. Even the less “curious” users will find something nice and will play with macOS. There are multiple ways to do things. In the following section, we will provide a list of tips.
1 – Take Full-page screenshots
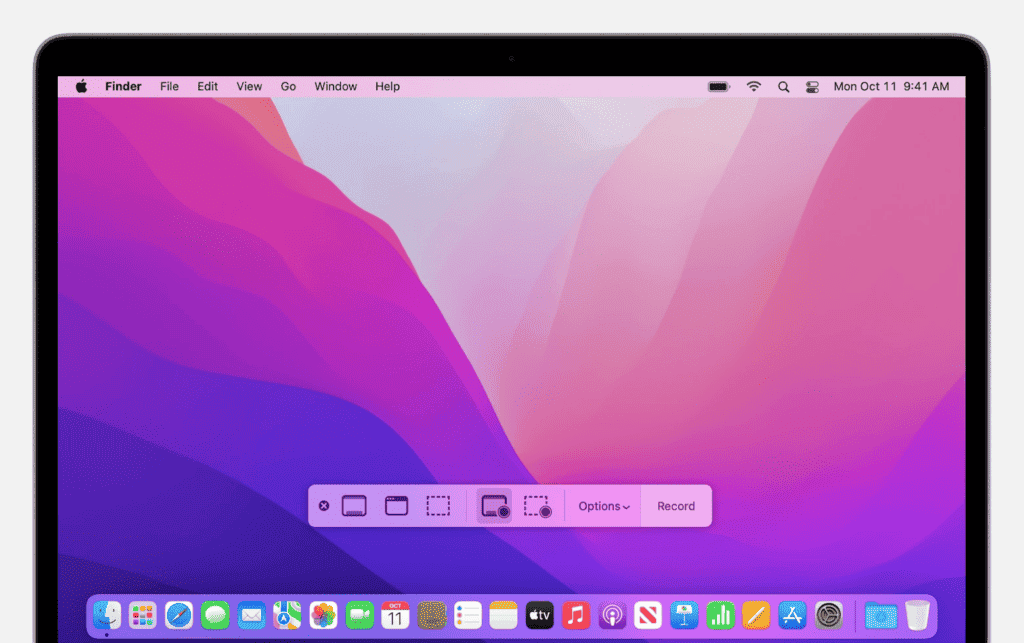
With macOS it’s possible to capture a screenshot of your entire screen or a partial area of your screen. They will both automatically save to your desktop and appear at the bottom right corner once taken. Follow the steps below:
- To take a Full Screenshot, press Shift + Cmd + 3.
- To capture a partial screenshot, press Shift + Cmd + 4 and draw the box around the area you want to take the screenshot of.
2 – Hot Corners
One of the most interesting features in macOS are the hot corners. You can set tasks that will happen when your mouse hovers in a specific corner of the screen. For instance, if you plan to show your desktop or launch Mission control – you can set either option for one of the corners.
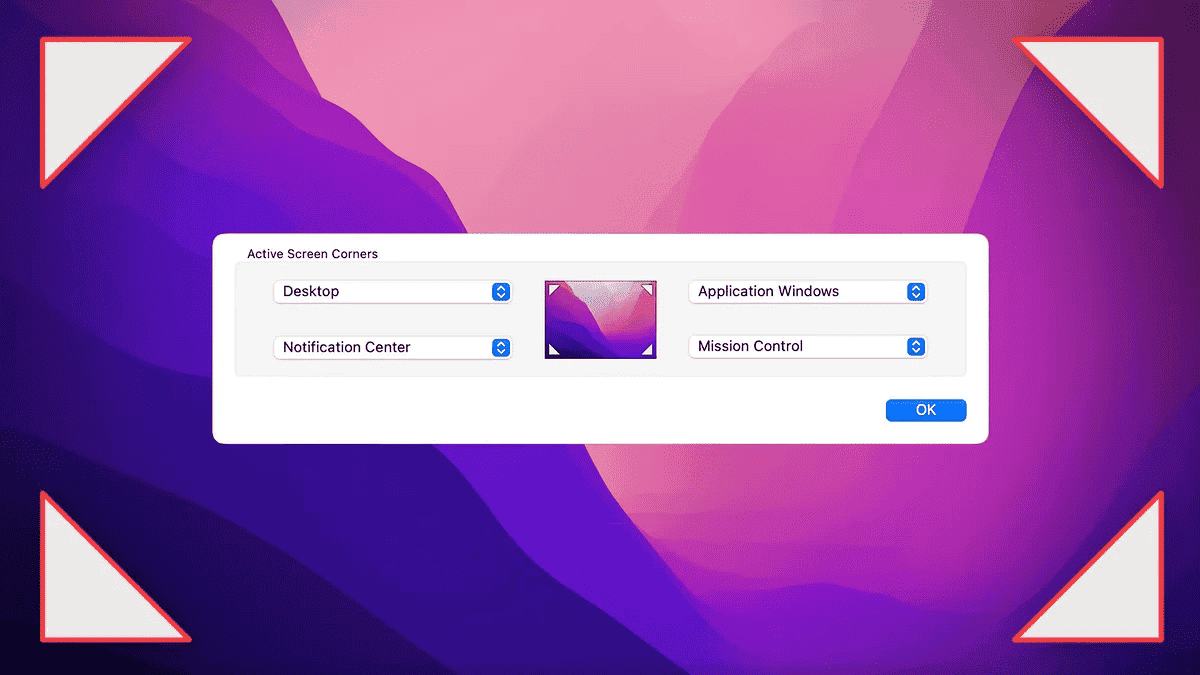
- On Your Mac, choose Apple Menu (Apple Logo) > System Settings >> Desktop & Dock in the sidebar.
- Click Hot Corners on the Right
- For Each Corner you Aim to Use, click the Pop-Up menu. Choose an option such as Launchpad or Lock Screen.
- Click Done.
3 – Make your Own Keyboard Shortcut
Mac has multiple keyboard shortcuts, however, you’re not limited to the native ones. It’s possible to create your own shortcut to perform a task from any app. Here is how:
- Tap on the Apple Menu, Select System Settings from the drop-down menu, then click Keyboard in the sidebar.
- Open “Keyboard Shortcuts” followed by “App Shortcuts”.
- Hit the “+” and select the application you want to create a shortcut for.
- Enter the menu command and the combination of keys you want to use for the shortcut.
4 – Open Apps Automatically at Bootup
An interesting feature allows you to set up your favorite apps to open up immediately after login. For example, you can set Safari to launch immediately after login, so you can quickly start your navigation in the web.
- Tap on the Apple Logo in the top left corner and select System Settings from the drop-down menu.
- Tap on “General”, followed by “Login Items”.
- To add an app, click on the “+” and search the Finder for the app or document you want to open at login.
- Select the app or document from the list and press “Open” to add it to the list.
5 – Use Mission Control to See all Open Windows
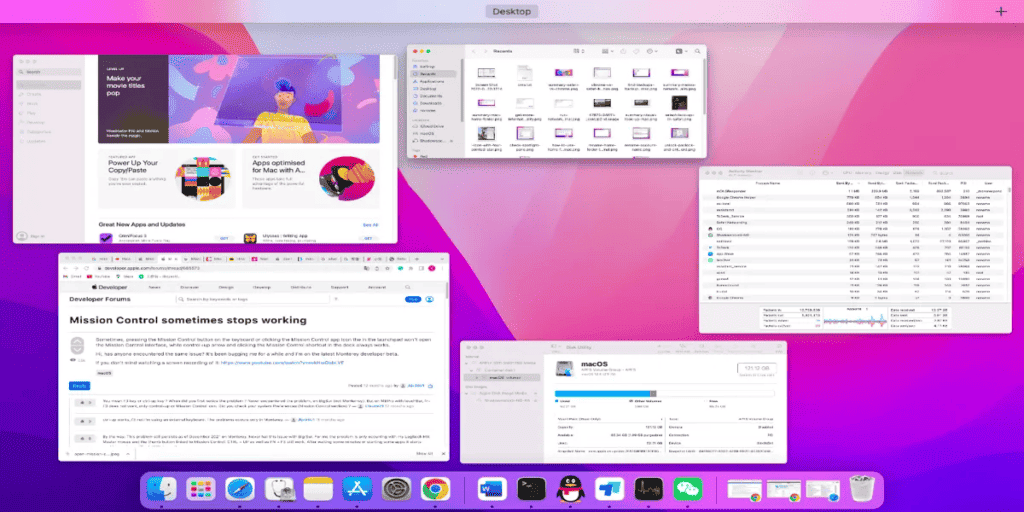
You’re the kind of user that opens many windows at once to ensure maximum productivity. It can be a mess sometimes, and you need a quickly way to monitor everything that is open. You can use the Mission Control app to do so. It’s Apple’s name for the gesture that reveals your open windows so you can see everything you’re working on at a glance. There are different ways to see all of your open windows, and one of them comes from the steps below:
- Press Mission Control (F3) key on the keyboard.
- Tap on Any of the Open Windows or Apps to Switch.
6 – Play With the Multiple Desktops Feature on macOS
Nowadays productivity is everything, and Mac allows you to have multiple desktops (or spaces) open at once. This way, you can have your email on desktop and Photoshop on another, for example. You can easily toggle between desktops by swiping three fingers across the trackpad. This is a useful feature that can greatly enhance your productivity. Also, it’s really interesting when your setup has more than one monitor as you can set different desktops for each monitor.
- Open Mission Control by Tapping F3 on the keyboard.
- You’ll see the Desktops that are open at the top of the screen along with a “+” in the rightest corner of the top bar.
- In the Spaces bar, Click the “+” to create up to 16 Desktops (Spaces).
7 – Sign Your Documents Digitally
With the rise of remote work, we also started to perform many of presential tasks in a “digital way”. With this new environment, we saw the rise of documents signed digitally. So, with macOS there are some simple steps to follow in order to sign documents digitally:
- Open Preview, then from the menu bar click Tools >> Annotate >> Signature >> Manage Signatures.
- Select Create Signature from the pop-up box.
- You can then use Your Trackpad or iPhone to write your signature or your Mac’s camera to capture your signature written on paper.
- Anytime you need to sign a document, simply open it in Preview, click Tools >> Annotate >> Signature, click the signature, and drop it in pace.
8 – Split Your Screen For Multi-Tasking
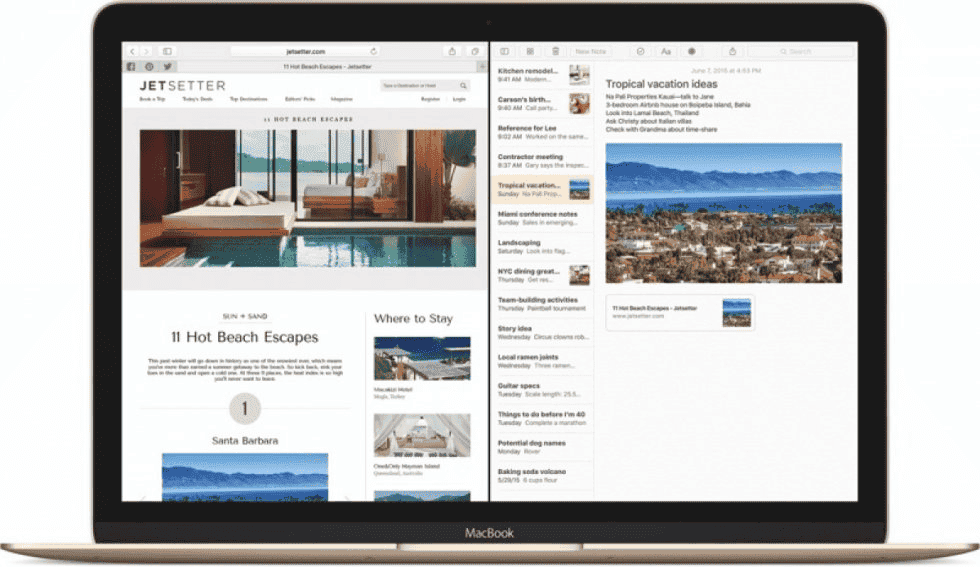
The split-screen is a feature that came to stay, especially in the age of large displays with high resolution. The name is self explanator and allows you to work in two apps side by side at the same time. For example, you can open Mail or Safari in one side of your screen and write a document on the other. To enter the Split Screen View Follow these tips:
- Hover your cursor over the green icon in the top left of the app you want on one side of the screen.
- Then choose from one of these three options: Enter Full Screen, Tile Window to Left of Screen, and Tile Window To Right of Screen.
- Choose either the left or right option, then select a secondary app to use on the other side.
- To exit the Split Screen View, tap on the green button in the top left corner of the app you want to close.
9 – Add a Guest User on macOS
With macOS it’s also possible to add multiple users. Therefore, you can create distinct profiles if you’re sharing your PC with more people. In fact, it’s even possible to set a particular guest account if you plan to share your PC with one person that visits your home and needs to use your device. Each user can personalize the experience with distinct wallpapers, layouts, preferences, and apps. To add a new user follow these steps:
- Tap on the Apple logo in the top left-hand corner.
- Scroll down to Users & Groups and select Add Account.
- Tap on the “I” next to Guest User above Add Account, then toggle on “Allow guests to log in to this computer”.
10 – Change your Folders and File Icons
I have to say that I simply love the stock visual of macOS. When it comes to the design of this Operating System, the development team has a very good taste. With every update its get better. But perhaps, my preference isn’t you preference. If you don’t like the Mac interface as it is, you can pretty much customize it to meet your standard. You can have specific logos or images for files, and etc.
- Create the image you want to use in the default image editing app.
- Select the image, press Cmd + C, and copy it.
- Right-click on the file or folder you want to change the icon and select “Get Info”.
- Select the Preview Image in the Top-Left of the Info Card that Appears.
- Press Cmd + V to paste in your custom image.
Conclusion – There are still many ways to customize and improve macOS
The tips above can easily improve your experience when using macOS. No matter if you’re a newcomer to Apple’s ecosystem or an expert. Some of theses can certainly be useful and improve your workflow or enhance productivity. So, keep these tips and mind and be ready to improve your experience with software.
Obviously, there are many other features within the OS. The more time you spend on the system, the more features you will get familiar with.

