A report from WSJ has pointed out the surge of phone thieves. These thieves are using smarter tactics than before to get hold of devices. In response to this, Apple has introduced Stolen Device Protection.
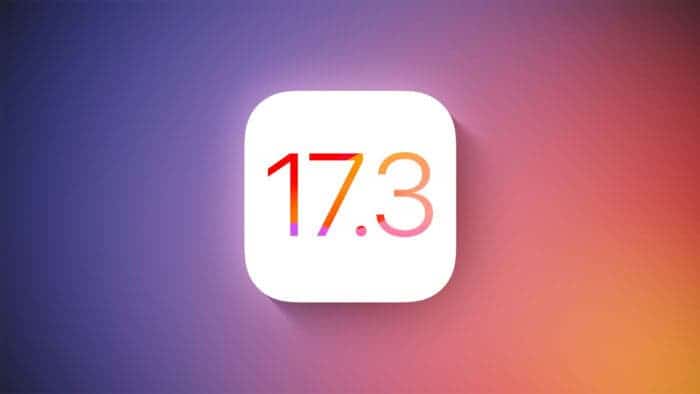
At the core, it’s a crucial security feature available in the iOS 17.3 beta. This guide will walk you through Stolen Device Protection and how to enable it. You will also learn why safeguarding your data from potential theft matters.
Understanding Stolen Device Protection for iPhone
Stolen Device Protection is a security feature integrated into iOS 17.3. Apple designed it to counter the escalating issue of iPhone thefts. It acts as a secondary defense layer. And it comes into action when a thief gains access to your passcode.

The feature remains inactive if your iPhone reaches the wrong hands without the passcode. But with the passcode in play, Stolen Device Protection will protect your device.
When activated, the feature imposes extra security measures:
- Face ID is a must to view saved passwords.
- Specific private settings will have a security delay.
- Some functions won’t work when the iPhone is in an unfamiliar location.
How to Enable Stolen Device Protection on iOS 17.3
To fortify your iPhone against potential theft, follow these steps to enable Stolen Device Protection:
- Open the Settings app on your iPhone.
- Scroll down and tap on “Face ID & Passcode.”
- Enter your passcode to access the settings.
- Under “Stolen Device Protection,” tap “Turn On Protection.”

Once activated, your iPhone gains an extra security shield. It will need biometric authentication for sensitive actions. And many features will be inactive in unfamiliar locations.
The Urgency Behind Apple’s New Feature
Apple’s decision to introduce Stolen Device Protection stems from increased iPhone thefts. As reported by Wall Street Journal, thieves have exploited new tactics. They wait and observe the user’s interaction with the phone before snatching it away. That has led to unauthorized access to users’ accounts, money, and sensitive information.
With this feature, Apple aims to mitigate these risks. It also emphasizes Apple’s commitment to user security.
Should You Enable Stolen Device Protection?
You should enable it. The feature offers enhanced security with minimal impact on user experience. Users can still perform regular functions like texts and calls even when Face ID or Touch ID malfunctions. The added security measures only come into play for sensitive actions. It provides a balance between protection and convenience.
How to Get iOS 17.3 Beta To Activate the New Feature
If you’re eager to experience the new security feature, you can install the iOS 17.3 beta on your iPhone by following these steps:
- Open the Settings app.
- Tap on “General.”
- Go to “Software Update.”
- Tap on “Beta Updates.”
- Select “iOS 17 Developer Beta.”
- Let your phone check for a software update and tap “Update Now.”
Remember that beta versions may come with bugs. So, be ready for potential issues alongside early access to new features.

Some of the Best Practices in Public Spaces
Stolen Device Protection adds a crucial layer of security. But adopting good practices in public remains essential even with it turned on.
- Avoid handing your iPhone to strangers.
- Use Face ID or Touch ID instead of entering passcodes in public.
- Store your iPhone securely when not in use.
- Exercise caution with public WiFi networks and chargers.


