How to Screen Record on Mac, Windows, Linux and Chromebook
How to's | GuidesFriday, 01 March 2024 at 22:47
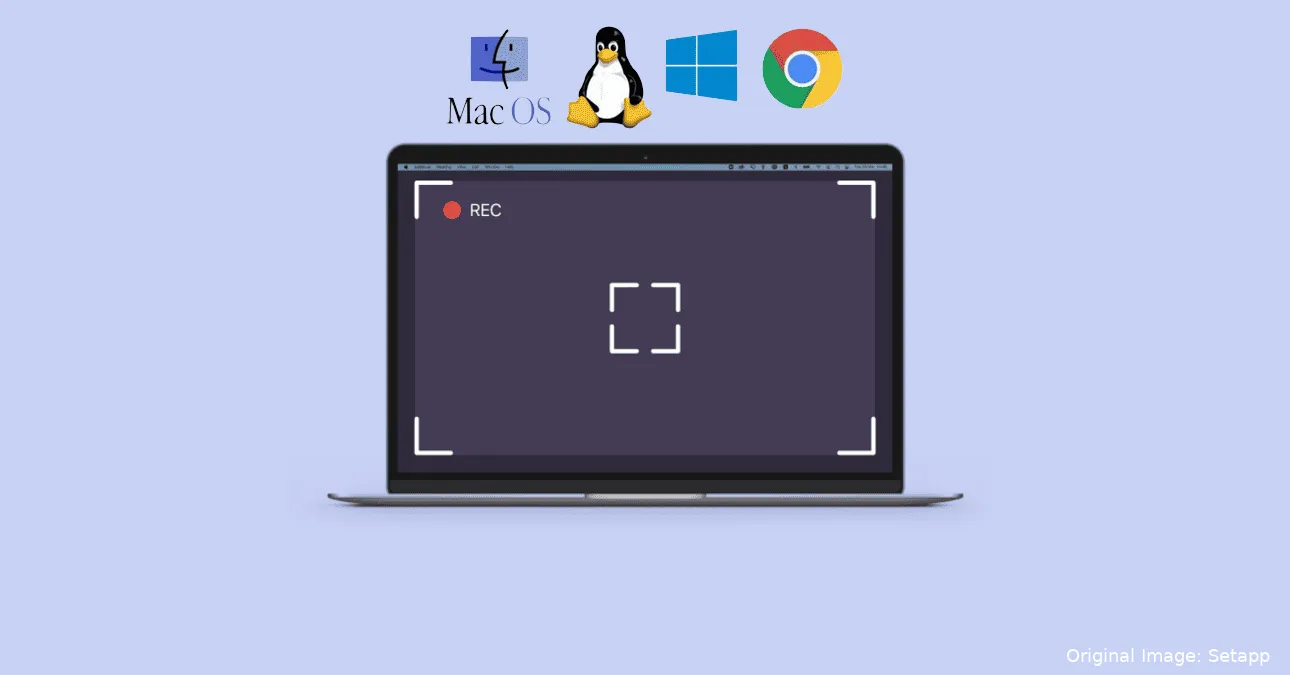
Screen recording on your Mac, Windows PC, or Chromebook presents an exciting opportunity to showcase your gaming prowess, create informative tutorials for the software you use, and demonstrate your creative techniques in digital art. However, compared to the simplicity of capturing a screenshot, embarking on screen recording can initially seem daunting. Fortunately, there's an abundance of methods available to simplify this process, ensuring that you can swiftly master screen recording on Windows or any other device. With just a few minutes of exploration, you'll unlock a powerful tool for sharing your skills and knowledge with the world, adding depth and richness to your digital interactions. (Via: DigitalTrends).
The Benefits of Knowing How to Screen Record
Screen Recording is a valuable tool for educational purposes. Teachers and students can utilize screen recording to create engaging tutorials, lectures, or demonstrations. Thus enhancing the learning experience by providing visual aids that cater to various learning styles. Additionally, screen recording facilitates remote learning, enabling educators to share lessons and presentations with students who may not be able to attend in person.
Furthermore, screen recording is indispensable for troubleshooting and technical support. Users can record software bugs, glitches, or errors as they occur, providing developers or support teams with detailed visual feedback for quicker resolution. This not only streamlines the troubleshooting process but also fosters clearer communication between users and technical support personnel.

In the realm of content creation, screen recording opens up endless possibilities. Content creators can capture gameplay footage, software demonstrations, or creative processes in digital art, enriching their content with dynamic visuals. This versatility extends to various platforms, allowing creators to share their work on social media, streaming platforms, or educational websites.
Moreover, screen recording enhances collaboration and productivity in professional settings. Teams can create instructional videos, training materials, or project documentation, ensuring that knowledge is shared efficiently within the organization. Whether it's for onboarding new employees, conducting remote meetings, or collaborating on projects, screen recording facilitates seamless communication and knowledge transfer.
So without further ado, let's dive into the steps to Screen Record Your Display on Windows 11.
How to Screen Record on Windows 11 with the Xbox Game Bar
Perhaps, you're a power Windows 11 user but never noticed there is a native screen recording app. Well, the app comes with a screen recording feature that has been primarily design for gamers. It can still be used for any open application. In the end, it offers a convenient way to record the screen and add audio if needed.
All the steps for Windows will work on Windows 10 and Windows 11, including PowerPoint. There will be some differences between Windows 10 and Windows 11 in terms of UI. Of course, to make use of the Xbox Game Bar feature, your PC will need support for some encoders. Most modern graphics cards or processors support them.
Encoders for Using Xbox Game Bar
- AMD VCE
- Intel Quick Sync H.264 (Intel second-generation CPU or newer)
- Nvidia NVENC (most Nvidia GeForce 600 or newer; most Quadro K series or newer)
Steps to Screen Record on Windows with Xbox Game Bar
Step 1: Select the Start button, followed by the Gear icon located in the Start Menu. In Windows 11, by pressing the Start Button will immediately see the Settings Icon.
Step 2: Select Gaming in the Settings app.
Step 3: You'll notice that the Xbox Game Bar section loads automatically. Look for a toggle below the second paragraph. If it says Off, simply switch it to On. This ensures that the Xbox Game Bar feature is enabled for effortless recording and sharing of gameplay and other in-game activities.
Step 4: Select Captures listed on the left to view and adjust further customization options if needed.

Within the Captures section, you have the flexibility to customize various settings. You can modify the save location for your recordings and screenshots, activate background recording, and allow recordings even when your PC/laptop is not connected to a power source. Additionally, you can enable recording during screen projection, define a maximum recording duration, and fine-tune your audio and video quality preferences. These options empower you to tailor your recording experience to suit your specific needs and preferences.
Step 5: After adjusting your settings, simply press the default keyboard shortcut to open the Xbox Game Bar: Win + G.
Extend the possibilities of Xbox Game Bar
You might encounter a prompt asking if the highlighted application on your screen is a game. If prompted, select Yes. Although Xbox Game Bar is primarily designed for capturing gameplay, this workaround extends its functionality to other applications. However, it's important to note that the Xbox Game Bar doesn't record the desktop or File Explorer; it only activates when applications are in use.
Step 6: Upon activation, the Xbox Game Bar will appear near the top-center edge of your screen. It provides convenient buttons to access overlays and settings.
- Widget Menu
- Audio
- Capture
- Performance
- Xbox Social
- Gallery
- Looking for Group
- Settings
The Game Bar's Capture overlay typically appears automatically. If it doesn't, you can activate it by clicking on the Webcam icon within the Xbox Game Bar.
Note: If your PC is connected to multiple displays, such as a setup with three monitors, the Xbox Game Bar interface will show up on the screen where your last interaction occurred.
Step 7: To kick off your recording session, simply hit the round Start Recording button on the Capture overlay. When you're ready to wrap things up, click on the Stop Recording button, distinguished by a square enclosed within a circle.
Alternatively, you can initiate and conclude recordings using the Win + Alt + R key combination, provided the Xbox Game Bar is enabled. All recordings are saved in MP4 format and can be found in the Videos > Captures directory under This PC in File Explorer.
Now Let's move to One Alternative for Screen Recording on Windows - PowerPoint.
How to Screen Record on Windows 10 and 11 with PowerPoint
To screen record on Windows using PowerPoint, follow these steps:
Step 1: Open a PowerPoint file. Then, click on "Insert" on the menu bar, and select the "Media" icon located on the far right side. From the drop-down menu that appears, choose the "Screen Recording" option.
Step 2: Once you've selected the "Screen Recording" option in PowerPoint, your screen will dim white, and a toolbar will appear along the top-center edge, as illustrated below. Click on the "Select Area" button and use your mouse to draw a box around the specific area you wish to record. This selected area will then be outlined with a red dashed line and will no longer have the white transparency.
Alternatively, you can initiate a recording of the entire screen by pressing the Windows + Shift + R keys simultaneously.

Step 3: After choosing your desired recording area, click on the "Record" button within the toolbar, or simply press the Windows + Shift + R keys simultaneously to commence the recording process.
Step 4: During the recording process, if you need to pause, simply click on the "Pause" button, which replaces the "Record" button. To conclude the recording, click on the square "Stop" button.
Step 5: After stopping the recording, right-click on the video displayed within PowerPoint. From the pop-up menu, select the "Save Media As" option. Follow the on-screen instructions to save your recording.
Once saved, you'll have the option to store the video as a separate file, making it accessible for further use or embedding. Keep in mind that editing and control options are limited thereafter. Nonetheless, PowerPoint serves as an excellent tool for quick and straightforward recordings, particularly useful for impending presentations.
How to Screen Record on Mac

Popular News

Latest News
Loading