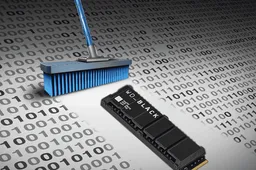
Even though spinning hard drives can store a ton of stuff and give you more bang for your buck in terms of gigabytes, they're pretty slow compared to solid-state drives (SSDs), especially if your HDD is your boot drive. If your PC is taking forever to launch apps and boot up, swapping out that old mechanical hard drive for an SSD is hands down the cheapest and easiest way to boost its speed.
Got yourself a shiny new SSD but clueless about transferring all your files from your old hard drive without losing anything important? No sweat! This guide (via) has got your back with all the info you need to clone your HDD to an SSD hassle-free.
Why Should I Move My OS Install from the HDD to SSD?
Opting for a solid-state drive (SSD) over a traditional hard disk drive (HDD) for your operating system (OS) comes down to speed, plain and simple. SSDs are like the speed demons of storage. They don't have any moving parts like HDDs do, which means they can access data fast. So, when you use an SSD as your OS drive, everything just feels snappier. Your apps launch quicker, your system boots up in a flash, and overall, your computer just feels more responsive. HDDs, on the other hand, are slower because they rely on spinning disks and mechanical arms to read and write data. They're fine for storing a bunch of files, but when it comes to running your OS, SSDs are where it's at for that need for speed.

The HDDs are still reliable workhorses. Their problem? They're very slow compared to SSDs. They're slower because of those spinning disks, which take time to find and retrieve your data. Also, they're more fragile to physical damage, impacts, or sudden shutdowns than SSDs are.
If you need more storage, the HDD is still one viable solution. After all, its price-per-gb ratio is much lower than SSDs. So the best combination is to have one SSD for your Operating System, and one HDD for storing your precious files and perhaps less demanding apps.

SSD Types
When it comes to SSDs, there are a few types to consider, each with its perks:
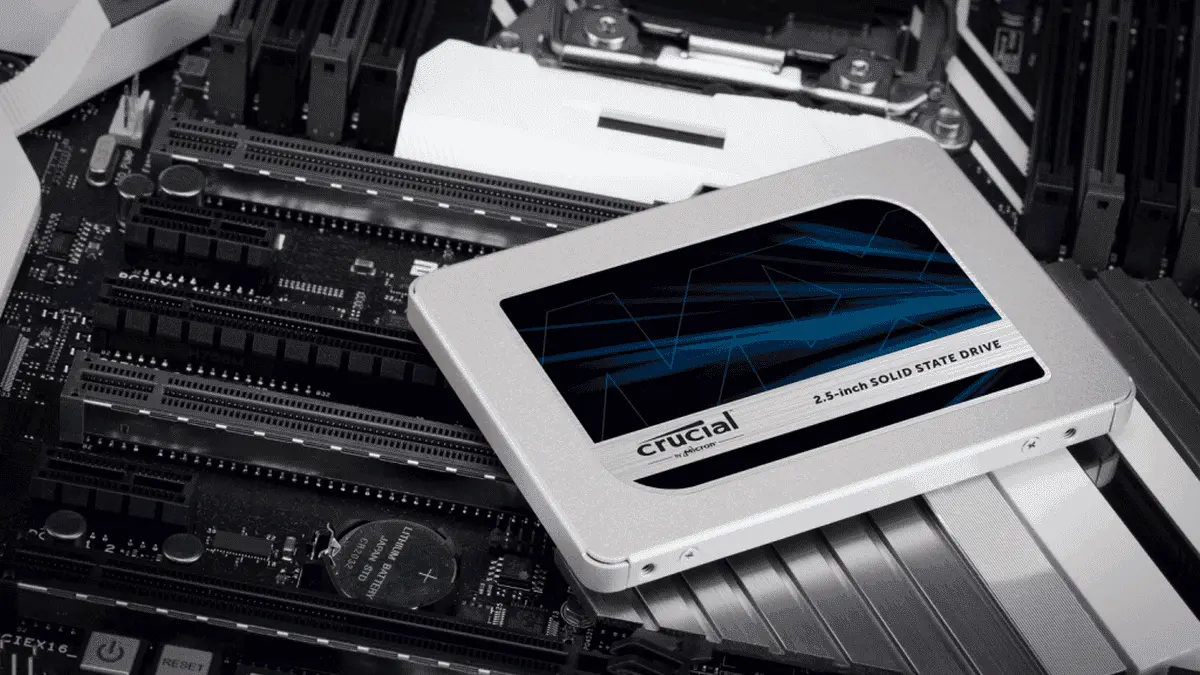
- SATA SSDs: These are the most common and widely used SSDs. They connect to your computer's motherboard using a SATA interface, just like traditional hard drives. While they're faster than HDDs, they're not as speedy as some other SSD types due to limitations in the SATA interface's bandwidth.
- NVMe SSDs: NVMe (Non-Volatile Memory Express) SSDs are the speed demons of the SSD world. They connect directly to your computer's PCIe (Peripheral Component Interconnect Express) interface, bypassing the SATA bottleneck and offering blazing-fast speeds. NVMe SSDs are perfect for tasks that require high-speed data transfer, like gaming, video editing, or running demanding applications. Nowadays, we can find good NVMe SSDs at lower prices. If you grab one for Windows, you have an excellent experience when starting the OS and launching apps.
- M.2 SSDs: M.2 is a form factor for SSDs that are becoming increasingly popular. These SSDs are smaller and more compact than traditional 2.5-inch drives, making them ideal for ultra-thin laptops and mini PCs. M.2 SSDs can use either the SATA or NVMe interface, so you have options depending on your needs and hardware compatibility.
- PCIe SSDs: These SSDs plug directly into your computer's PCIe slots, just like a graphics card or network card. They offer similar speeds to NVMe SSDs but may come in different form factors, like add-in cards or U.2 drives. PCIe SSDs are often used in high-performance workstations and servers where speed is paramount.
Each type of SSD has its advantages and considerations, so it's essential to choose the one that best fits your needs and hardware setup.
How to Clone your old HDD into a new SSD
Before you dive into cloning your hard drive, ensure you have both the SSD and the hard drive plugged into your system. If you're working with an M.2 SSD, slot it into the designated M.2 slot on your motherboard and secure it in place with an M2x3mm screw. For SATA SSDs, the setup is a bit more involved: you'll need to connect the drive to the motherboard using a SATA cable and power it up using a 15-pin SATA cable from your PSU.

Now, onto the software side of things. We'll be using Macrium Reflect, specifically the Home Edition, as it offers the essential features you need and comes with a free 30-day trial. If you prefer other disk cloning tools, the general steps should be quite similar. Here's how to get started with Macrium Reflect:
-
-
- Head over to the download page for Macrium Reflect and select the 64-bit version from the drop-down menu.
- You'll need to register using a valid email ID to access the latest version of Macrium Reflect. Once registered, you can download and install the software hassle-free.
- Click on Download Trial under Reflect Home.
- Run the Setup.exe file with admin privileges once it finishes downloading. In the next step, press Next when the setup wizard appears. Accept the user license agreement, then select Next three times.
- Enter the email address and the registration code you received after signing up on Macrium Reflect's website, and press Next.
- Configure the custom installation settings as per your needs and press Next. Click on the Install button and reboot your system.
-

Let's get your HDD partitions cloned onto the SSD:
- Launch Macrium Reflect with administrator privileges.
- Choose the drive you want to clone (your original hard drive) and select "Clone this disk..."
- Click on Select a disk to clone to… and pick the SSD you installed earlier as the destination disk.</li>
- In case your SSD has a different storage capacity than your HDD, click on Copy Partitions and press Finish after selecting Shrink or Extend to fill the target disk.
- Choose OK when prompted to create a backup definition file.
- Finally, press Continue on the Confirm Override pop-up window to begin the cloning procedure.
- Once Macrium Reflect is done cloning your HDD partitions, click on the Finish button.
Disclaimer: There are other alternatives to Macrium Reflect. However, when it comes to cloning HDD to SSD, some apps tend to lock this feature under the paid package. For now, Reflect allows you to use this feature without having to pay.
Setting the SSD as Your Boot Drive
The work is useless if you don't set the SSD as your primary booting device. Until now, the system has been booting through the HDD. Now that you've cloned the HDD, you can easily set the SSD as your booting unit and there won't be any issue. However, you will need to do this manually in most cases. You can remove the HDD, but if you plan to keep the HDD as a file repository, then you will need to change the order of your booting devices.
How to Change the Boot Order
To make the SSD your primary boot drive, you'll need to adjust your system's boot priority settings in the BIOS. Here's how:
- Restart your computer.
- As your system begins to boot up, repeatedly tap the Del key (or whichever key your system prompts for accessing the BIOS) to enter the BIOS settings.
- Navigate to the Boot tab.
- Choose the SSD you configured earlier as Boot Option #1.
- Click the Exit or X button and save your BIOS configuration before rebooting your system.
Once you've finished these steps, your computer will be loading through the SSD. The BIOS Interface will vary depending on your PC/Laptop's hardware. Some will have a friendly UI, others are much simpler and will require certain keys to change their settings. In the end, the principle is the same for most computers.
Now that you've successfully booted into your new drive, you can navigate to "My Computer" and use the "Format" option on your older HDD. You can format it into NTFS for optimal performance in Windows and start using it as a repository for your files.
Conclusion
As you can see the process is simple for moving your Windows OS from an HDD to a SSD. This process will greatly improve performance and you will certainly notice the difference.
Popular News


Latest News
Loading