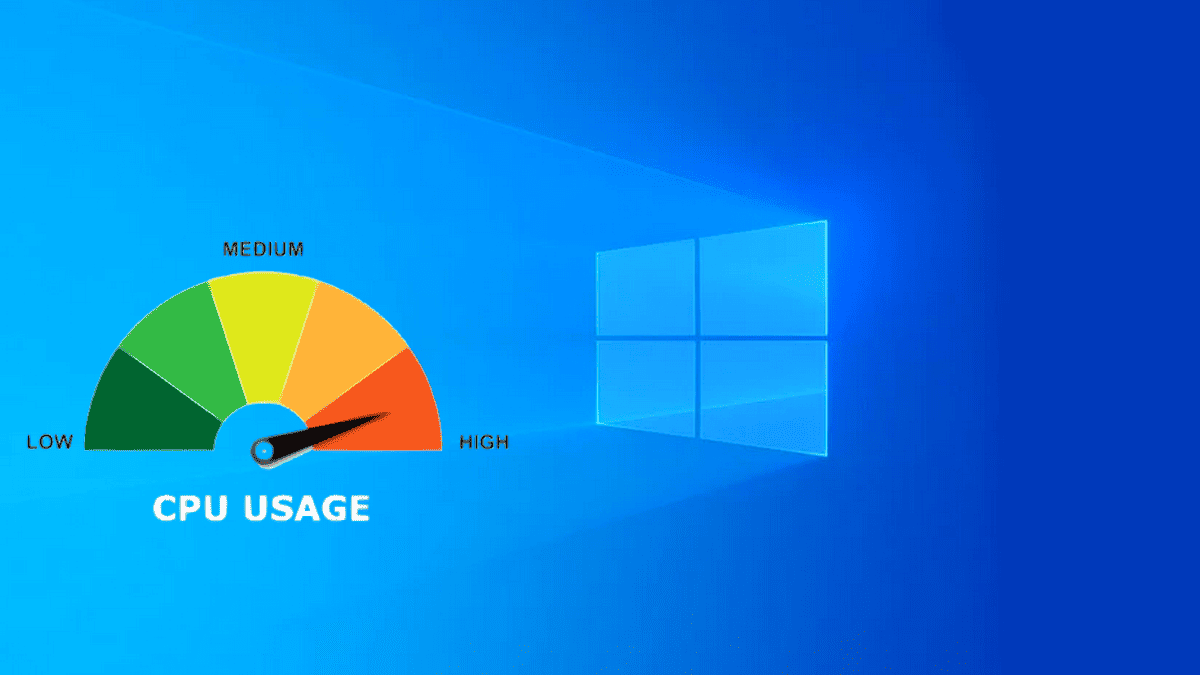
Windows is constantly evolving as an operating system, and Microsoft built a Windows Update that allows the software to evolve. Windows 11 is already different from what it was back in the first update, and we can say the same for Windows 10 which is completely different from the first versions. Unfortunately, since this is an Operating System that keeps being updated over time (at least during its life cycle), some system updates can cause issues on the OS. Some users have serious problems with the high CPU usage on Windows 10 as it can be annoying. The CPU gets stressed and the computer starts to work slowly. Apps become sluggish, things start to load slowly and hang. Through this article, we will help you how to reduce the High CPU usage on Windows 10.
High CPU usage is an annoying problem that causes your PC to work slowly. Through this article, we will try to mitigate this issue and give you control over your machine. When one user experiences High CPU usage, most of the tasks will become annoying and slow. Therefore, it’s important to keep things on balance and keep an eye on the Task Manager to see if your CPU is on the limit while you’re performing just basic tasks.

Why You Need to Avoid High CPU Usage Issues?
Having your CPU usage near the limit is more than a small inconvenience. It can be dangerous for your equipment. When your computer is operating under heavy load for long periods, it may start to overheat and damage itself. Without a proper cooling system, the CPU may heat up to levels that physically damage the hardware. This can lead to a huge loss of money as you will need to replace your processor, and in some cases, even the motherboard.
All methods in this article can be followed by regular users and don’t require expertise in Windows 10. (Source: SoftwareKeep).
When your computer overheats, in some cases, it can reboot automatically. There is a high risk you’re going to lose open files that haven’t been saved. This can also set you back hours upon hours of work. In addition, no user likes a slow computer. We’re not in the 1990s anymore when computers were sluggish. When the CPU is overloaded, you will not be able to experience the best of your equipment as there is no room to handle operations.
How to Fix High CPU usage on Windows 10
Below, you will find multiple methods you can use to fix the high CPU usage on your Windows 10 operating device. These work for most of the users and can be performed even if you don’t have much knowledge in the field of troubleshooting or lack certain expertise in computing.
1- Disable the Superfetch feature
Superfetch can be considered a useful feature, but it’s also resource-heavy. It learns more about you and the apps you use and gets them ready before you even click on the launch icon. This is a big task for the system and may lead to CPU overload. This is how to disable Superfetch on Windows 10.
- Press the Windows + R Key on your Keyboard to bring up the Run Utility. Here, type in “services. msc” and click the OK button.
- Scroll down until you locate the Superfetch service. Simply right-click on it and choose “Properties”.
- Click on the Drop-down menu and next to “Startup Type” select “Disabled”.
- Click the Apply Button and Restart your PC. You will be able to see whether or not your CPU usage got lower.
2 – Switch the Power Plan to Balanced
Some computers have a hard time handling a limitless power plan. This happens often with laptops that have different power plans set for battery or plugged state. In this case, you can optimize your computer to run in a balanced mode. It might decrease your CPU usage.
- Press the Windows + R keys on your keyboard to launch the Run Utility. Here, type in “control” and press the OK button.
- Change your View Mode to either “Large Icons” or “Small Icons”.
- Click on the “Power Options” Menu
- Change Power Plan to Balanced.
We recommend you restart your computer to begin everything from scratch. After a certain time of use, check via the Task Manager if the CPU usage got lower.
3 – Adjust Windows 10 for the best performance
Your CPU usage issue could also be happening due to poor system adjustment. You can try to fine-tune this by adjusting some things on Windows 10. Follow the steps below and learn how to do so.
- Open the File Explorer by clicking on its icon or pressing the Windows + E keyboard shortcut.
- Right-click on This PC from the left side panel, then choose “Properties”.
- Click on the “Advanced System Settings” link in the left side panel of the new window you’ve opened.
- Press the Settings button in the Performance section.
- Make sure the “Adjust for Best Performance” option is selected
Click the Apply button and restart your computer. When your computer boots up, check if this has reduced your CPU usage or not.
4 – Disable Startup Applications
Having multiple apps starting alongside Windows may also lead to system issues and slowdowns. The situation can go to intense CPU usage when you have multiple apps starting and working in the background even though you’ll never use them. In this case, we recommend you turn off most of the non-Microsoft startup process. Test them, and see one by one which is driving your CPU usage so high. Honestly, I highly recommend you keep only the apps that you use most in the Windows startup. You’ll lose just a few seconds opening manually apps that you will use only once.
- Open the Task Manager. You can use the Right-click on your taskbar and choose “Task Manager” from the context menu. Alternatively, use the Ctrl + Alt + Esc keyboard shortcut.
- If your Task Manager launched in the compact view, click on the “More Details” option seen in the bottom left of the window.
- Switch to the “Startup” tab at the top of the Task Manager window. here, you can see all the apps that start along with your computer at launch.
- Click on an app that does not have “Microsoft Corporation” stated in the “Publisher” column. Now, click on the “Disable” button in the bottom right of the window. The status of the app should change to “Disabled”.
- Repeat this for every single non-Microsoft app, then restart your computer.
Now, your computer will launch without any third-party apps automatically launching. This gives you the ability to test if your CPU usage is back to normal. If you’ve noticed that the CPU usage has gone down, it’s most likely because one of the apps is causing the error. Try and re-enable some apps, and test if your CPU remains stable until you find the culprit.

5 – Optimize Your Hard Drives by Using Defragment
If none of the above methods is working, you can try the alternative of optimizing your hard drives. Your hard drive may be the culprit of the system slowdown due to fragmentation. Therefore, the CPU starts to operate less efficiently.
- Press the Windows + R keys on your keyboard. Launch the Run utility. Here, type in “dfrgui” and press the OK button.
- Select the hard drive you’d like to defragment. Click on the “Optimize” button. We recommend starting with the drive where you have Windows 10 installed. Typically, it is the “C:” drive.
- Wait for the Defragmentation process to finish. Afterward, you can optimize other drives and possibly lower your CPU usage even further.
6 – Tweak the Registry (KB4512941)
Some users reported issues with Windows 10 after the KB4512941 update. If this is your case, you can simply try to apply a Registry Tweak to restore everything to working order. Here is what you need to do:
- Press the Windows + R keys on your keyboard simultaneously to open Run, then type “Regedit” into the input field. Press the OK button to launch the Registry Editor.
- You can navigate the Registry Editor by expanding folders using the arrow icon next to their names. Using this, locate the following Registry key: HKEY_CURRENT_USER\Software\Microsoft\Windows\CurrentVersion\Search. Alternatively, you can also copy and paste the key into the Registry Editor’s address bar for faster navigation.
- Locate then double-click on the DWORD value named “BingSearchEnabled.” This is going to bring up a new window.
- Change the value data from “0” to “1” and click the OK button. Don’t make other changes.
- Restart your computer. When your computer boots up, you should be able to see whether or not your CPU usage got lower.
Conclusion
The above steps can help you to try to mitigate the issues with your Operating System by reducing the high CPU usage issue. Some valid ways will help you to identify the culprit. It could go from a system update to a particular app that is causing issues on your OS. The best alternative is to try each of the steps to improve your CPU usage. If none of this works, check if you’ve installed an update recently and opt for a system restore.
You also need to take into consideration the conditions of your setup. If your CPU is old, then the system will require more of it to work properly. The CPU could also be overheating due to old thermal paste, you may also need to consider some maintenance to get everything running smoothly.


