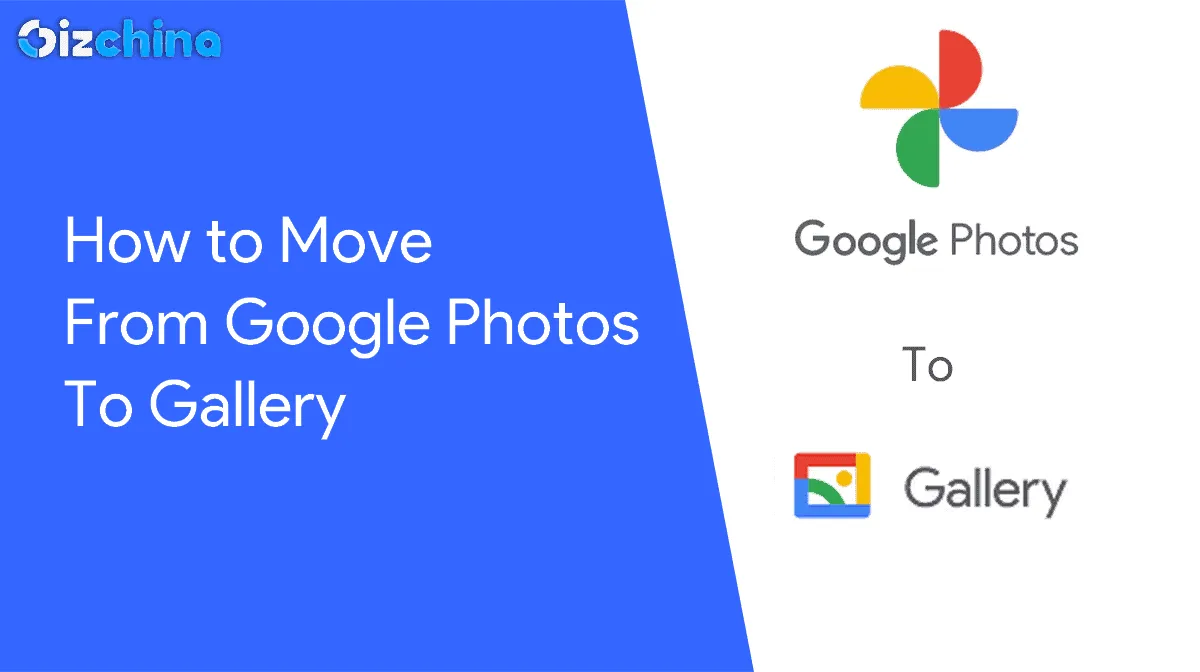
How to Transfer Photos From Google Photos to Gallery And Free Up Space
How to's | GuidesTuesday, 20 February 2024 at 16:51
Managing and handling data has become a significant concern in today's technology-driven world. Nowadays, we use smart devices for a lot of things from capturing photos, recording sounds, and storing sensitive data. Users prioritize data safety, which is why many opt for cloud backup solutions. When it comes to images and videos, Google presented a neat solution dubbed Google Photos Auto-Backup a few years back. It gave the users the ability to quickly and easily upload their photos and videos to the cloud without any limits. However, this unlimited storage reached a dead end. That left many users without storage on their Google Accounts.

With the end of Google Photos Unlimited storage, many users quickly filled up the 15 GB available for data on Google Drive, Gmail, and Google Photos. While it's possible to upgrade to one of Google One plans for more storage, many users don't see this as an option. If you're in this situation, you'll be pleased to know that you can store and manage your photos and videos on your smartphone using Google Gallery. The company's native Gallery is a neat alternative and one of the best galleries available on the Google Play Store.
Once you download your files from Google Photos and Move them from the Gallery, you will also be able to easily move them to external drives. Therefore, you can keep copies of your photos and images for management on different devices. Through this article, we will guide you on how to Transfer your files from Google Photos to Google Gallery. You can use this tutorial to move old photos and files to external drives and leave your Google storage free for new photos. That way, your most recent captures will be uploaded and you will be able to manage them later if something happens with your device.
Introducing Google Photos and Google Gallery
Google Photos
The simplest way to introduce Google Photos is to say it is a backup service provided by Google. Of course, it goes beyond that by providing multiple AI and Editing tools. Right now, it's the best service to sync and save your photos, as long you have enough storage.

Google Gallery
It organizes your photos into three categories: People, Places, and Things. It's able to recognize people, and pets and create and organize your images based on this. You can easily access the photos saved on your Google Photos app on any other device logged into your Google Account.
Key benefits of Google Gallery include:
- Simplicity and Efficiency: Google Gallery comes with a singular focus on gallery functions. It provides a clutter-free experience. Therefore, the app is an ideal replacement for app galleries that come with advertisements or a lot of things that you will never use.
- Offline Accessibility: Unlike Google Photos, there is no need for an internet connection to manage your photos on Google Gallery. The app works offline allowing you to manage your photos in any place at any time.
- Clean User Interface: The app interface is bloat-free. You will be able to quickly find and manage photos and videos without any hassle.
- Nice Replacement for Stock Gallery: The app fits as a nice replacement for your stock app gallery. Or perhaps, it's a valid alternative for those who have been using third-party galleries from shady companies.
Google Gallery is a simple but efficient gallery for the offline management of your photos. The app was born as Google's alternative for the stock gallery present on older AOSP versions of Android. It's a basic app but that comes with features that matter. For instance, the app is clean and user-friendly. It allows you to quickly access images and videos through organized albums or via a comprehensive image roll. The app also incorporates intelligent features for face and object detection. It's a nice alternative for those who want to lift the weight from Google Photos storage. For more details check this comprehensive article.
How To Transfer Photos From Google Photos to Google Gallery
If you're looking for a quick way to bring your photos offline to Google Gallery, check the step-by-step guide below. Although Google Photos can keep your files safe in case you lose or damage your smartphone, you will need to make sure it has enough storage to make the backups. If you're running out of storage, consider making offline copies of your images for management. You can bring them offline and then them move to external drives, SD Cards, the computer, or even to alternative cloud services.
- Step 1: Open the Google Photos Application on your Smartphone. Alternatively, for direct download on your PC, you can head to the Google Photos website via your Web Browser.
- Step 2: Make sure to be signed in the same Google Account where your photos are stored.
- Step 3: Once the app is opened, you will be able to see all images saved there and you will be able to move through them via a comprehensive carrousel. You can navigate through the months and even years that your photos have been stored in the backup.

- Step 4: Select the photo you want to Download to Google Gallery and press the three vertical dots in the top right corner. In some versions of the app, the option will be in the bottom toolbar. You need to go to save it offline / save to device option.
You can also use this process to save multiple photos. Select multiple photos by pressing and holding them, and click on the Download option. After some time, all your photos will be on your device. You will be able to manage them easily via the Google Gallery app. They will also be manageable via your file manager. You can move the photos to the SD card if your device has support, or to the PC via a USB cable.
Alternative: Save Photos From Google Photos to your PC or Mac
You'll be glad to know that it's also possible to save all your Google Photos to a PC or Mac at once. The process is simple (via GeeksforGeeks), and you only need to make sure you have enough storage for all the files stored in the cloud backup.
- Step 1: Go to your Google Account page and click on “Data & Personalization.“

- Step 2: Scroll down and find “Download Your Data.” Click it.
- Step 3: In the new window, click on the Select All option to move ahead.
- Step 4: Scroll down and find the Google Photos option and select it.
- Step 5: Move down the page and select Next Step.
- Step 6: Choose how you want to download Google Photos. Choose the option from the new dropdown menu. You can send the download link directly to your email.
- Step 7: Choose the file type from the dropdown menu. Having compatibility in consideration, we recommend the .zip option.

- Step 8: In the new dropdown menu, you need to select the file size. For the best possible quality, we recommend to pick the biggest size. However, you need to make sure you have such an amount of storage in the device you're downloading.
- Step 9: Check the Export Progress tab. Wait for an email at your Google email address. The process is not immediate, and the link may take a few days to arrive.
How to Save Photos from Google Photos to iPhone?
The process is also simple if you have an iOS device. Obviously, at the current time, Google does not offer a Google Gallery version for iPhone devices. However, you can still download photos from Google Photos to manage them via your local gallery.
- Step 1: If you use the Photo Backup service on your iPhone, you probably have the app installed. Open the Google Photos version for iOS. If you're managing from a new iPhone, head to the app store and download the Google Photos app from there.

- Step 2: Open the application and accept the terms and conditions to access your phone's photos.
- Step 3: Make sure to log in with the account in which you have saved the photos.
- Step 4: You will find all your photos and videos in your Google Photos.
- Step 5: Select the photo you want to transfer to the gallery. Click on the three dots in the top right corner.
- Step 6: Click on the 'Save to Device' option after clicking on three dots.
The photos you've saved will now be stored in the iPhone camera roll. Similar to Android, you can also repeat the process to download multiple photos. You only need to press and hold the images you wish to download and click on the Download option. After that, the images will be available for your management via the device's storage.
Conclusion
As you can see, it's pretty simple to move your photos from Google Photos to Google Gallery. The process works fine on Android and allows you to easily manage your pictures through a simple and intuitive application. It's also possible to repeat the process on the computer and iOS devices. Therefore, if you're running out of storage in your Google Photos this article also provides some valid tips to make copies of your images and videos.
Popular News
Latest News
Loading