Over time, the keyboards of our top-tier laptops inevitably gather a combination of oils, dust, beverage spills, and food particles. This phenomenon isn't exclusive to any particular user. Not even those well-versed in technology are free from suffering from this problem. Yet, fear not, for there exist methods to restore cleanliness to your laptop's keyboard and reclaim its pristine condition.
Before diving into the process of cleaning your laptop keyboard, it's essential to take a few critical preparatory steps. These preliminary measures will ensure that your cleaning efforts are effective and safe, whether you're aiming for a simple disinfection or a thorough deep clean.
Why It is So Important to Clean My Laptop Keyboard?
It's really important to clean your laptop keyboard. Keyboards can get super dirty with bacteria, dirt, and food crumbs. Cleaning it regularly helps keep you healthy and your laptop working well.
A clean keyboard means it works better. Dust and stuff can get stuck between the keys, making them sticky or not working right. Cleaning it often helps avoid these problems, so you can type and use your laptop smoothly for longer. Plus, a clean keyboard makes your laptop look better. Whether you use it for work, school, or just for fun, a clean keyboard shows you take good care of your stuff. It makes a good impression and makes using your laptop more enjoyable.
Don't Neglect the Need of Cleaning your Laptop Keyboard Constantly
Dirt and germs in laptops and keyboards can lead to various forms of damage, affecting both the device's functionality and user health. Here are some potential consequences:
- Keyboard Malfunction: Dirt and debris can accumulate between keys, causing them to become sticky or unresponsive. This can lead to difficulty typing and decreased productivity.
- Electrical Damage: If dirt or liquid particles penetrate the keyboard or laptop casing, they can cause short circuits or other electrical issues. This may result in permanent damage to internal components and require costly repairs.
- Overheating: Dust buildup inside the laptop's cooling system can obstruct airflow, leading to overheating. Over time, this can cause damage to internal components such as the processor or graphics card.
- Bacterial Growth: Keyboards can harbor harmful bacteria and germs, especially in shared environments. Continued exposure to these pathogens can increase the risk of illness and infection for users.
- Corrosion: Liquid spills containing corrosive substances, such as soda or coffee, can damage internal components and lead to corrosion. This can cause irreversible damage to circuitry and other sensitive parts of the laptop.
- Reduced Lifespan: Accumulated dirt, dust, and germs can accelerate wear and tear on laptop components, leading to a shortened lifespan. Regular cleaning and maintenance are essential for preserving the longevity of the device.
Overall, neglecting to address dirt and germs in laptops and keyboards can result in various forms of damage, ranging from functional issues to health concerns. Regular cleaning and proper hygiene practices are essential to mitigate these risks and ensure the longevity and performance of your device.
So, make sure to clean your laptop keyboard regularly. It keeps you healthy, helps your laptop last longer, and makes it look nice too.
Getting Hands Dirty - First Steps
Here are some common-sense precautions to follow:
1. Back up vital data on your laptop; it's always a good idea.
2. Turn off your laptop completely, and if possible, remove the battery.
3. Ensure your laptop is unplugged and free of accessories, including USB dongles.
4. Set aside enough space and time for cleaning; don't rush, as damaging a laptop keyboard can be problematic.
2. Turn off your laptop completely, and if possible, remove the battery.
3. Ensure your laptop is unplugged and free of accessories, including USB dongles.
4. Set aside enough space and time for cleaning; don't rush, as damaging a laptop keyboard can be problematic.
Tips and Tools Needed for Proper Laptop Cleaning
Cleaning your keyboard is an essential part of maintaining your computer. Here are some tips and tools to help you keep your keyboard clean and in good condition:
- Regular Maintenance: Make keyboard cleaning a regular part of your computer maintenance routine. Cleaning your keyboard every few weeks can prevent dirt and grime buildup.
- Use Compressed Air: Compressed air can effectively remove dust and debris from between the keys. Use a can of compressed air to blow away any particles that are trapped in hard-to-reach areas.
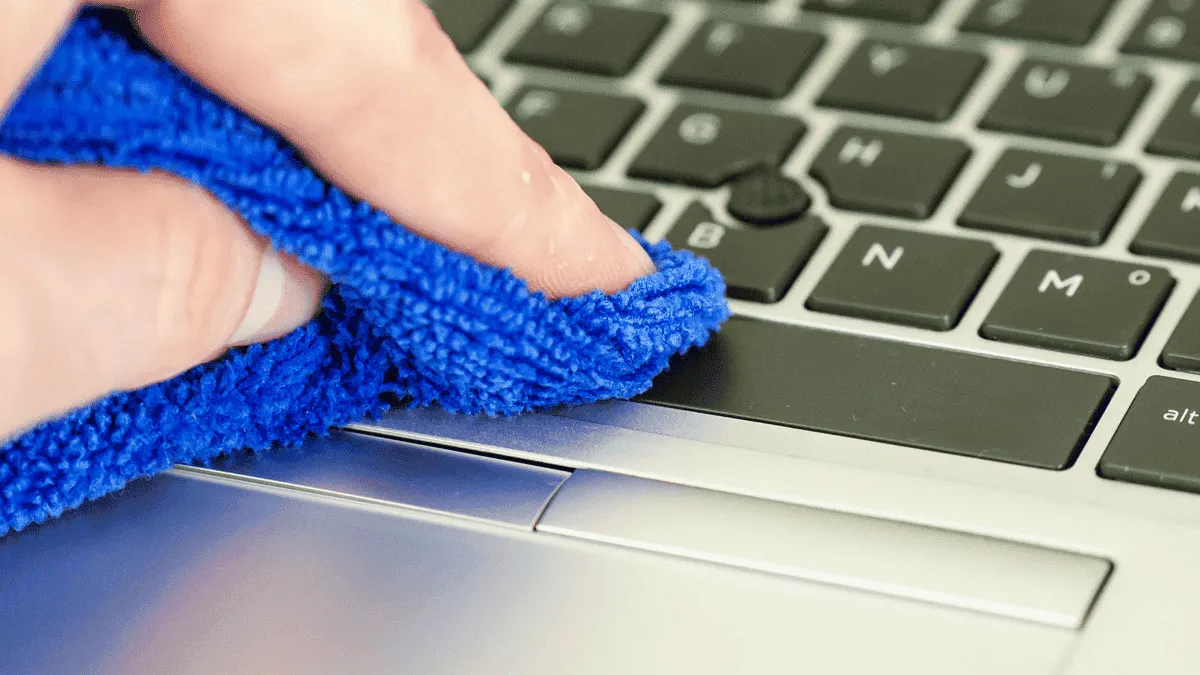
- Microfiber Cloth: A microfiber cloth is perfect for wiping down the surface of your keyboard. Dampen the cloth slightly with water or a mild cleaning solution and gently wipe away any smudges or stains.
- Isopropyl Alcohol: For tougher stains or sticky residue, dampen a microfiber cloth with isopropyl alcohol. Be sure to wring out any excess liquid before wiping down your keyboard to prevent damage.
- Cotton Swabs: Cotton swabs can be used to clean in between the keys and other small crevices. Dip a cotton swab in isopropyl alcohol and carefully clean around the edges of each key.
- Keyboard Cleaning Gel: Keyboard cleaning gel is a sticky, gel-like substance that can be pressed onto the surface of your keyboard to lift away dirt and debris. Press the gel onto the keyboard, then peel it off to remove the dirt.
- Keyboard Vacuum Cleaner: A small handheld vacuum cleaner with a brush attachment can be used to suck up dust and crumbs from your keyboard. Be sure to use a low suction setting to avoid damaging the keys.
- Keyboard Covers: Consider using a keyboard cover to protect your keyboard from spills and dust when not in use. These covers are easy to remove and clean, providing an extra layer of protection for your keyboard.
By following these tips and using the right tools, you can keep your keyboard clean and functioning properly for years to come.
Removing Long-Term Dust
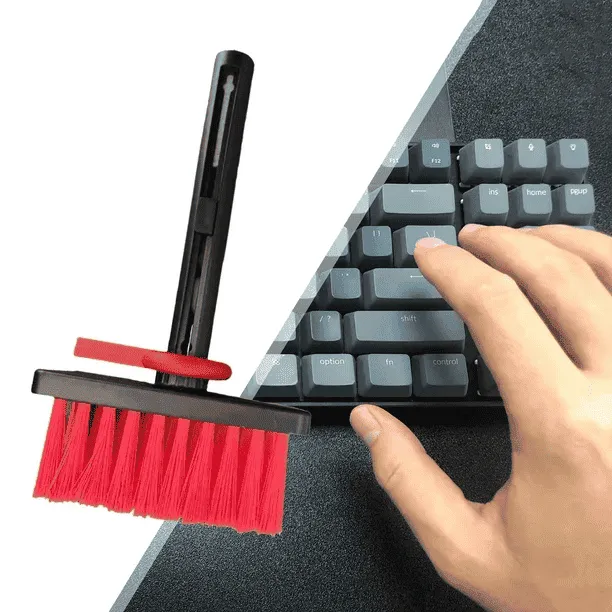
Long-term dust buildup is familiar to everyone. While not as problematic as sticky stains, dust naturally accumulates between and around keys. To remove it, simply use a vacuum cleaner. Make sure to choose the right vacuum cleaner. A hand vacuum with small brush attachments is ideal. Slowly maneuver around the keyboard, ensuring the vacuum isn't too powerful to avoid accidentally removing keys.
In an ideal scenario, a micro vacuum attachment would be the ultimate solution for meticulous keyboard cleaning. Unfortunately, such attachments are not commonly available outside of specialized environments like labs or workstations. However, if you're truly dedicated to maintaining your keyboard in pristine condition, investing in your micro vacuum attachment could be a worthwhile consideration.

Another method often considered for keyboard cleaning is the use of compressed air. While it can effectively dislodge dust and crumbs, it comes with its own set of risks. This method can inadvertently propel debris further into the intricate components of your laptop, potentially exacerbating existing issues. As a result, it's generally not recommended for thorough keyboard cleaning, especially if you're aiming to avoid causing additional problems.
On the other hand, utilizing a vacuum cleaner equipped with suitable attachments is typically regarded as a more efficient and safer approach. By carefully maneuvering the vacuum around the keyboard, you can effectively remove accumulated dust and debris without the risk of inadvertently causing damage. Thus, when it comes to selecting a method for cleaning your keyboard, starting with a vacuum cleaner is often the preferred choice for ensuring thorough and hassle-free maintenance.
Cleaning "Stubborn" Dirt
When dealing with stubborn grime on your keyboard, it's essential to tackle the buildup caused by oils, skin cells, grease, and food residue. While disinfecting wipes are an option, we recommend using a melamine cleaning sponge for superior grime removal.
To use a melamine sponge effectively, start by soaking it in water, then wring it out thoroughly to avoid leaving water streaks on your keyboard. Gently rub the damp sponge over the soiled areas of the keys until the grime is lifted. Take caution as melamine can be abrasive if used aggressively, so proceed slowly to avoid damaging key characters. Additionally, melamine is easily customizable, allowing you to trim it to the desired shape for precision cleaning.
While other types of sponges can be used similarly, they may not be as effective, particularly for stubborn stains. For optimal results, especially with tough grime, sticking with a melamine cleaning sponge is recommended.
Protecting Against Germs
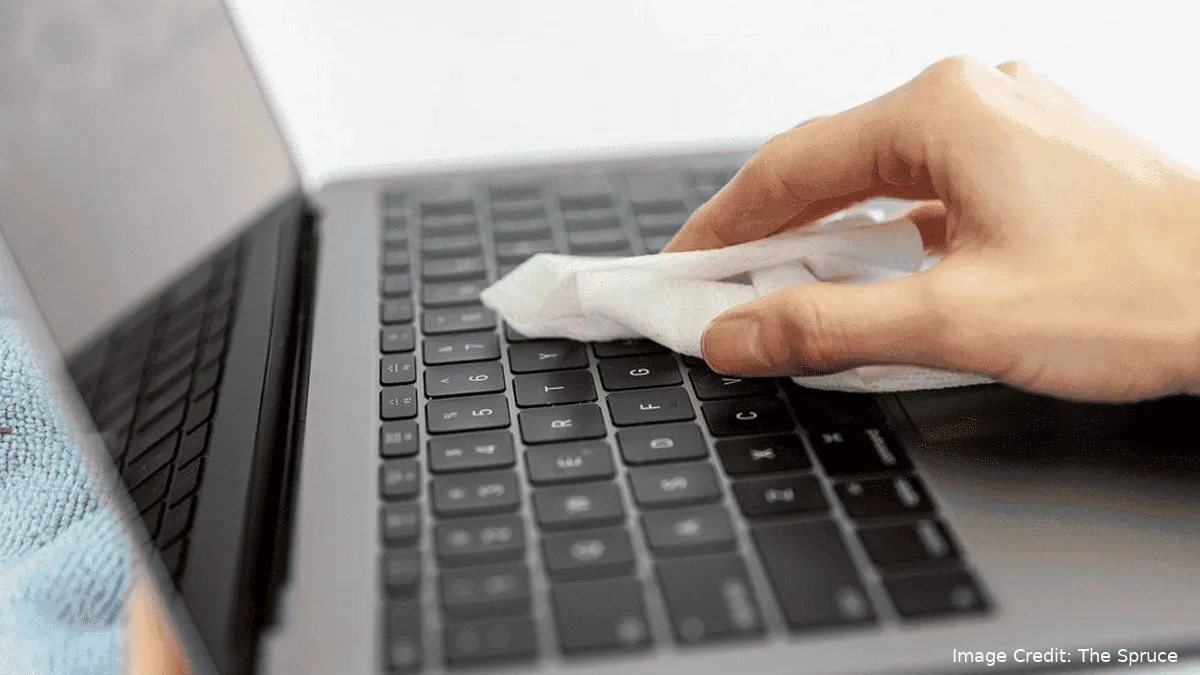
Concerns regarding the presence of germs on your keyboard are quite normal, particularly if you've been spending time in busy settings such as offices or classrooms where illnesses can easily spread. If you notice that your keys are visibly dirty and you start wondering whether they could potentially pose a biohazard, it's essential to take action by utilizing disinfectant products. Regularly disinfecting your keyboard can help mitigate the risk of harmful bacteria and viruses lingering on the surface, promoting a cleaner and healthier workspace environment for you and those around you. By incorporating disinfection into your keyboard maintenance routine, you can effectively combat the spread of germs and contribute to overall hygiene and well-being in your work or study environment.
For this task, gather isopropyl alcohol and a pack of cotton swabs. Isopropyl is vital because stronger variants could damage keyboard letters. Cotton swabs are essential to avoid excess liquid near the keyboard while cleaning. Dampen a swab without it dripping, then gently wipe each key. Though a bit time-consuming, this method is highly effective and suitable for leisurely moments.

For Spills
Spilling a sticky substance on your laptop keyboard can be alarming. To prevent permanent damage, protect your laptop's internal components. Shut down, remove the battery, and unplug if needed. Don't restart until you're sure any liquid inside has evaporated. Depending on the spill's severity, drying may take a day or two. If your system or data appears damaged, seek repairs promptly.
Now it's time to clean your keys. For the surface, a simple sponge or cloth will do. But for deeper cleaning, you might need to remove your keyboard. Laptop keyboards vary based on the manufacturer, design, and age. Some can be pried off as a unit, while others require key-by-key removal. Some keyboards can't be removed at all.

You can try removing each key by hand or with gentle tools. Be cautious not to damage the laptop's inner components.If you're unsure or hesitant, seek professional help to avoid damage. Professionals can clean the keyboard safely.
If you're confident in disassembling the keyboard, prompt cleaning after a spill might save it. However, excessive moisture exposure could render the laptop irreparable. When uncertain, consult a professional or consider replacing the laptop.
Conclusion
In conclusion, maintaining clean keyboard keys is essential for ensuring optimal performance and longevity of your laptop. Regular cleaning not only eliminates germs and grime but also helps prevent potential damage caused by spills and debris buildup.
However, it's crucial to exercise care and caution when cleaning your keyboard, considering the diverse designs and mechanisms of laptop keyboards. Taking appropriate precautions, using suitable cleaning methods and materials, and seeking professional assistance when necessary can ensure thorough cleaning without risking damage to your device. By prioritizing keyboard care and adopting responsible cleaning practices, you can enhance the hygiene, functionality, and lifespan of your laptop, ultimately contributing to a more pleasant and productive computing experience.
Popular News


Latest News
Loading