How To Utilize Your Smartphone Camera and Take The Best Photos
How to's | GuidesTuesday, 18 October 2022 at 10:41
Computational photography allows everyone to take amazing photos via their smartphones. However, it’s not as smart as it might seem. For instance, they might not be able to represent true colors in many cases, the blurring effect might not work well for complicated scenes, and what’s seen more frequently, there are only counted smartphones that can take good nighttime photos. So there is every reason to say that the current smartphone cameras are not as mature as you think.
There are various reasons why modern mobile cameras are not able to take realistic photos and fail in concrete scenes:
- Over-rendered algorithms drive to over-brightness in night shots.
- The photos with prominent colors have higher saturation.
- The beautification features focus more on marketing than the true reproduction of colors.
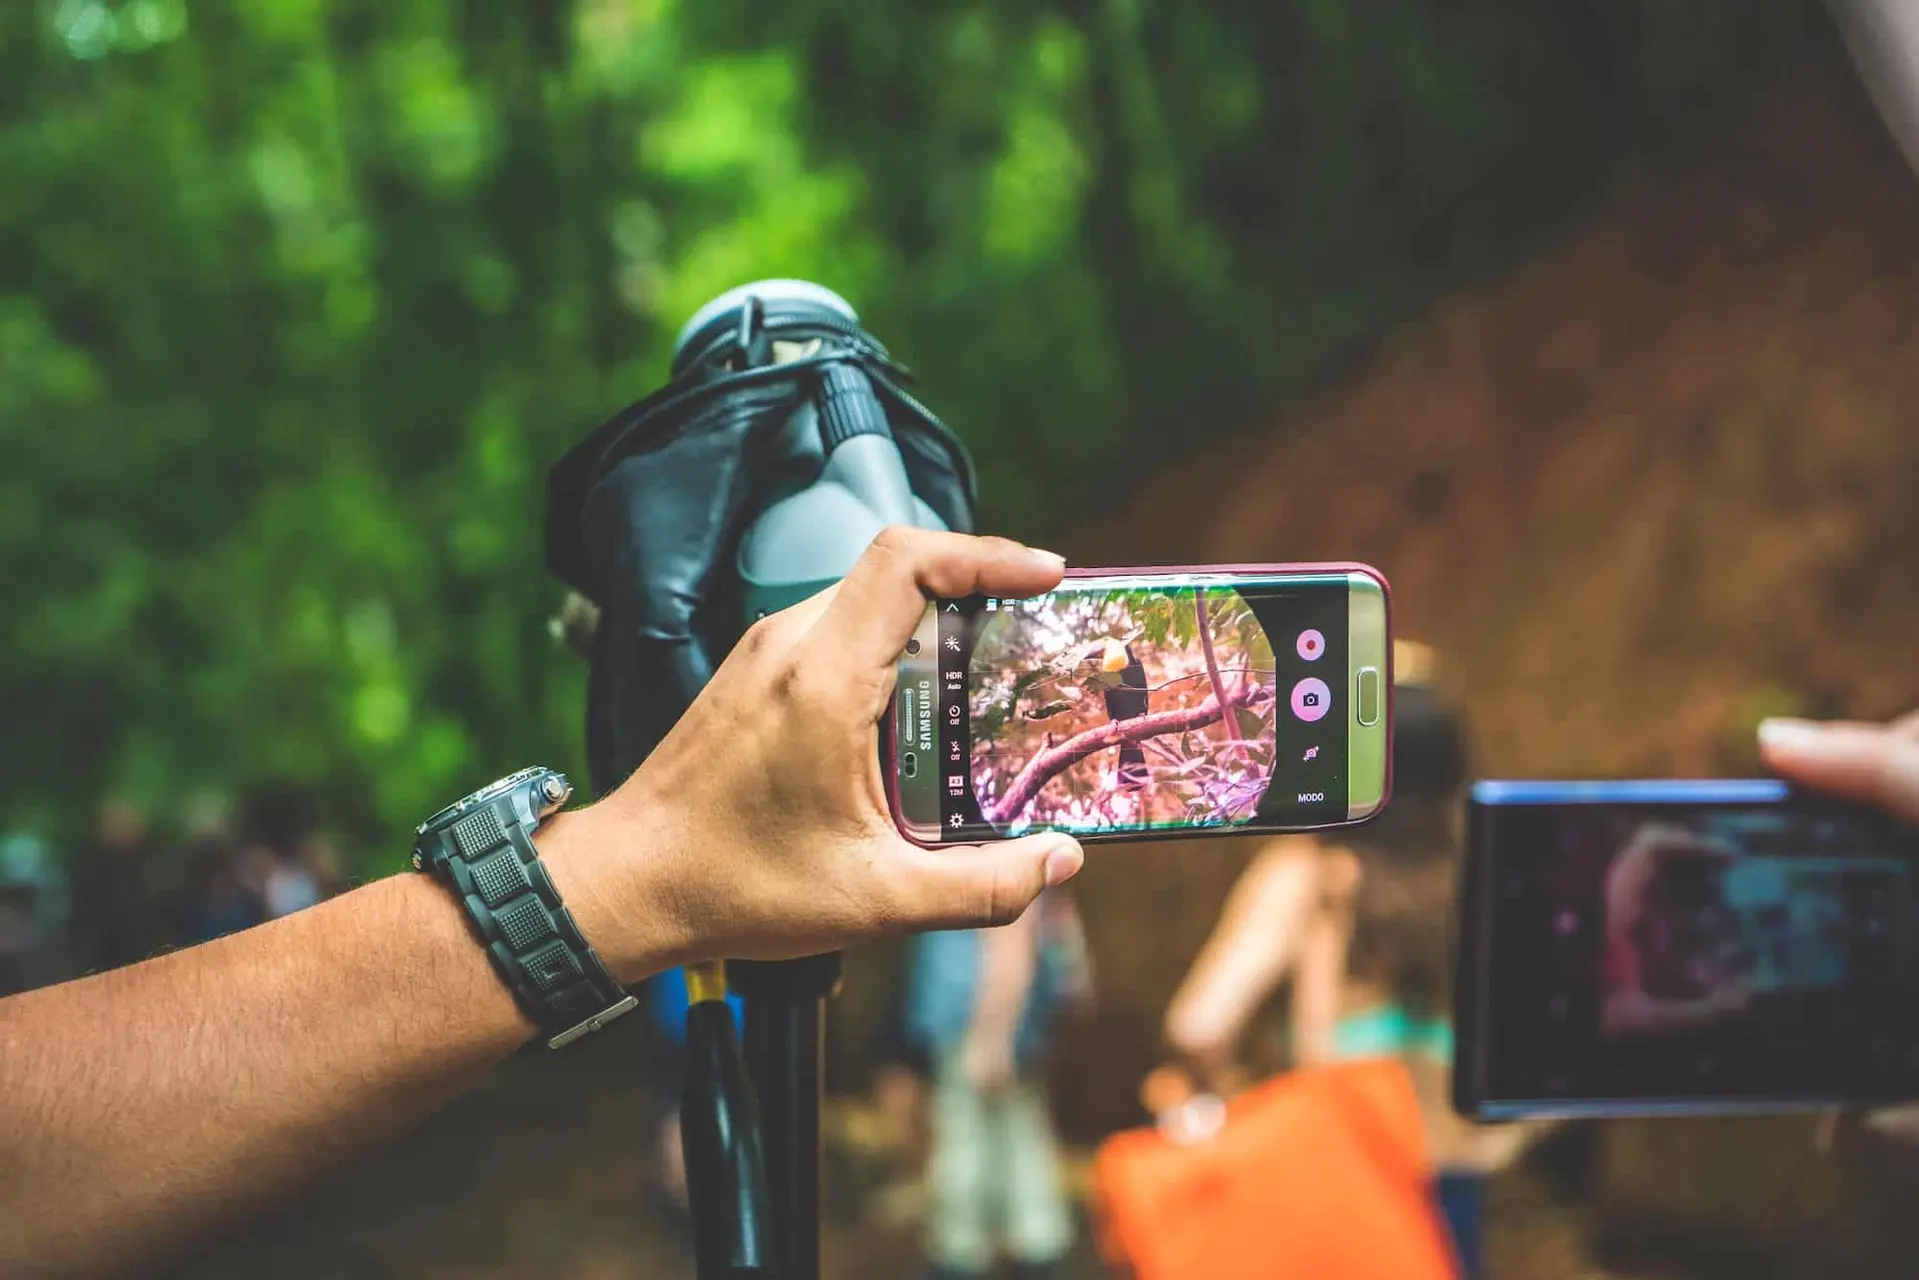
- Usually, both the main and the ultra-wide-angle lenses are wide-angle sensors. (When "the edge is elongated and the middle is compressed," we call them wide-angle lenses.)
- Lastly, the phone's screen will display colors that have nothing in common with the real colors. So the same photo will look different on different screens.
How To Solve Smartphone Camera Common Issues?
- Disable AI photography mode
Almost all smartphones released in the few years come with a special AI photography function, except the iPhone. Its purpose is to recognize the scene and make targeted optimization. Frankly, none of the current phones can accurately restore the real scene. When it’s turned on, the photos are always bright.
- Use a native camera app
You know that every smartphone maker has its own camera app. Generally, they all are good. But the software works well only for concrete hardware. So one camera app that works accurately on a concrete brand can provide terrible results on another. In this sense, maybe GCam is an exception. But in the rest of the cases, we do not recommend using apps from other manufacturers.
This is especially true for the front cameras that usually have lower resolution and come with more optimizations in the app.
- Take some photography courses
When saying this, we not only mean you should have some knowledge of light and shadow effects but also know how various lenses work. For instance, the edges will be stretched when the object is in the middle of the display.
- Use the professional mode correctly
Most smartphone cameras have the so-called Pro Mode. If not, you can get it via the app market. For instance, iPhone users can download ProCam from the App Store. The professional mode can manually control the shooting parameters we need and reduce the intervention of AI algorithms.
We recommend using the professional mode in the following situations:
Landscape photography
To shoot a good landscape photo, you must have a good camera position, timing, and post-processing method.

Trying to capture the real scene is better if you are a newbie in the field. This will leave more room for processing later.
In professional mode, setting the photo format to "RAW format" can preserve the camera's original data to the greatest extent. Also, it will obtain a higher dynamic range and adjust the exposure parameters according to the weather conditions.
Starry sky photography
We guess you are familiar with most phones' starry sky photography mode. Unfortunately, not all smartphone cameras can show off good results.

The reason is that the smartphone camera will face difficulties focusing on distant stars in a dark environment. To overcome this problem, first, we can increase the ISO to improve the picture's brightness; second, we can use manual focus. Afterward, we can adjust the ISO to around 800 once we reach the focus we like. The shutter time should not exceed 30 seconds. Otherwise, it will produce a smear. Lower the ISO if the photo is too bright, and lower the shutter time if the stars are smeared.
City night view
There are two options for shooting city night scenes. One of them is the night scene mode. The camera uses a similar stack method to present a photo with details in the dark and underexposed highlights. But you should know that the effect of this photo will be different from what we see with the naked eye.

The second method is the professional mode. To use professional mode to shoot night city scenes, you must prepare a tripod. When shooting, reduce the ISO to about 100, reducing the picture's noise. The shutter time is about 1 second. Of course, you need to adjust the shutter time according to the scene environment.
Sports snapshot
In low-light environments, the camera will "take care" of the exposure of the entire photo. So the success rate of motion capture in normal mode is often not very high.
When shooting a moving car, we can set the shutter at 1/100 and ISO at around 200 in professional mode and use continuous shooting mode.
Defocused photography
On smartphone cameras, the automatic focus and exposure are interrelated. So when we lock the focus, the exposure will also be locked. This will drive inaccurate exposure when we shoot distant scenes.
So we have to slide the focus point to the left in professional mode to make the picture blurred. Then, we can adjust the photo's exposure through ISO and shutter.
Smartphone camera glossary
ISO (sensitivity): Raising the ISO value will brighten the picture in low light. However, at the same time, there will be obvious graininess or noise in the dark parts of the photo. So keep in mind: the lower the ISO value, the less noise in the photo, and the clearer the picture.

EV (Exposure Compensation): Pulling to the left makes the picture darker overall, and pulling to the right makes the picture brighter. At the same time, the ISO and shutter values will also change.

The smartphone camera has three focusing methods: AF-S, AF-C, and MF.

AF-C (Auto Focus): The phone automatically adjusts the focus point according to environmental changes.
AF-S (Single Focus): Environmental changes will not affect the camera's focus point after clicking to focus.
MF (Manual focus): We can drag the focus ruler to control the distance of the focus. Drag it to the left to focus at close range, and drag it to the right to focus at a long distance.
There are also three metering methods:
Matrix metering: perform average metering on the shooting environment to obtain a photo with a relatively average exposure. It’s suitable for shooting landscapes.

Center metering: The camera performs spot metering on the center of the frame to obtain a photo with slightly darker edges in the middle.

Spot metering: The camera measures the light at a certain point in the screen to obtain a photo with a prominent subject, which is suitable for shooting silhouettes or petals with large contrast between light and dark.

Choosing the photo format
JPG: Through the pixel four-in-one technology, 48MP photos are compressed into 12MP. So you will get clearer photos under normal light conditions.
JPG-L: It’s a full-pixel format. So you can obtain more details in good light. However, the photos' effect is not as good as in the JPG format if there is insufficient light.
RAW: This format can retain the most original photo data. The original photo has more space for post-processing, but the photo storage data is high. Also, it should pass many post-processing steps. So this is mainly for professionals.
Popular News


Latest News
Loading