Supercharge Your Google Maps Experience With These Secret Features
GoogleFriday, 04 August 2023 at 06:21
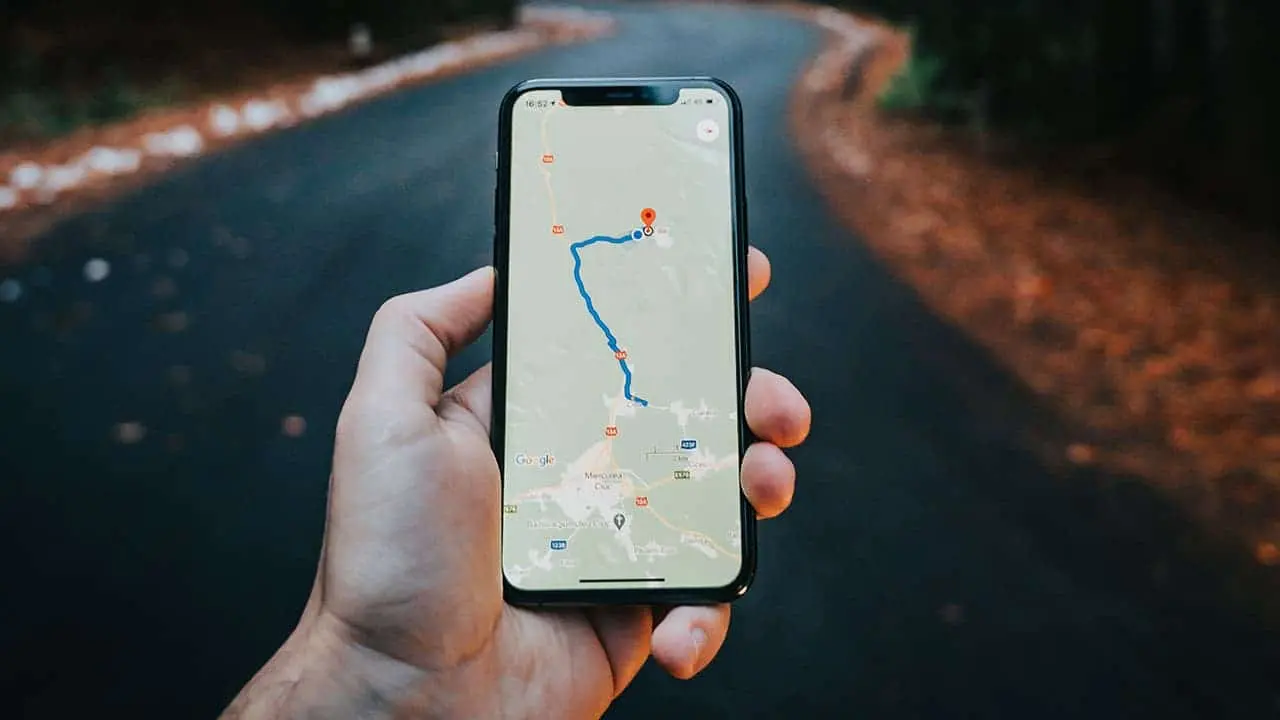
While many of you might know Google Maps as just a simple navigational app, it’s much more than that. And no, I’m not talking about the app’s feature to find the best restaurants or tourist spots worth visiting. Instead, I’m referring to all the other functionalities that Google packed into the app.
With these functionalities, you can make Google Maps the ultimate map app. And the great part is that turning or using each of them is a piece of cake. Interested to know all about them? Well, you would want to keep reading as I will describe all the extra functionalities in detail below.
Downloading Maps for Offline Use
I remember when I first got my hands on the Nokia Lumia 620. One of its highlighting features was offline maps, which Nokia offered through Here Maps. Thanks to that, I never really needed to worry about not having data when I was out. I knew that I could use the app and navigate to the place I wanted to go without having cellular data.

But did you know that Google Maps also has an offline map feature? It does! However, as you can guess, the offline mapping feature works only for navigational purposes. You won’t see live traffic information or even get some info regarding some of the places that might have been added after you have downloaded the map.
Nonetheless, downloading and using maps on Google Maps while you’re offline is pretty easy. You just need to go through these simple steps:
- Open Google Maps.
- Tap on your profile icon.
- Select offline maps.
- Tap on ‘Set your own map.’
- Adjust the blue rectangle and select the area you want to download.
- Press on download.
Before Google Maps download the map for offline use, it’ll let you know how much space the map will take on your phone. If you don’t have much space free, you can just reduce the area by adjusting the blue rectangle. The smaller the area you choose, the lower the storage requirement.

Make Google Maps Always Face North
To make it easier for you to navigate, Google Maps will point the map toward the direction you’re facing. But if you’ve used paper maps before, you might have adjusted the layout and manually made the map face north. But did you know that you can make the map automatically face north every time you open the app?
Yes, it’s totally possible! And you can do that by following these simple steps:
- Open Google Maps.
- Go to the settings.
- Tap on Navigation.
- Locate ‘Keep map north up.’
- Enable the slider.
After the slider is turned on, Google Maps will always open with the map facing north. And if you don’t find it helpful, you can easily turn it off through the settings.

Set a Reminder to Leave on Google Maps
As mentioned earlier, Google Maps is not just a simple navigational app. It can act like your personal assistant! For example, you can make the app give you a notification around the time when you should be heading out. And the great part is that the app considers real-time traffic to alert you at the right time.
Now, to make Google Maps give you a reminder to leave, you need to follow these simple steps:
- Open Google Maps on your phone.
- Input the place you’re leaving from the place you want to go.
- Tap on the three dots icon.
- Press on ‘Set a reminder to leave.’
- Input the time you want to arrive at the preferred location.
- Press Finish.
If you don’t need to reach the place at a specific time, you can just input the time you want to leave in the Depart option. In that case, Google Maps won’t consider the traffic. Instead, it’ll notify you right at the time you have set.
Share Location in Real Time on Google Maps
This feature is something that I’ve recommended many to use when they’re traveling alone. It basically lets others know where you are and where you’re heading. And yes, it’s similar to the live location share feature of WhatsApp, Facebook Messenger, and other social media apps.
Want to know how you can use live location sharing on Google Maps? It’s pretty easy and requires just these simple steps:
- Open Google Maps.
- Tap on your profile icon.
- Click on location sharing.
- Select at which time you want to start sharing.
- Tap the share button.
- Select how much you want the location to be shared.
- Choose the contacts you want to share the location with.
Alternatively, you can press the More Options button and copy the link from Google Maps. Send this link to the ones you want to share the location with.

Customize Your Navigation Settings
If you’ve been relying on Google Maps for a long time, you might’ve already made some changes to the app. For example, you may have asked the app to avoid tool roads while you were on a journey. Well, the app remembers your choices and applies them for future navigation.
But the good news is that you can change the settings you’ve made in the past. To do so, go through these steps before you start a journey:
- Tap on your profile icon.
- Go to Settings.
- Click on Navigation.
- Select Route options.
- Check all the options and adjust them as required.
On that note, you can make Google Maps not save your preferences by turning on incognito mode. To do so, select your profile icon and then press Turn on incognito mode. This mode will also restrict the app to collect your search and location data.
Popular News


Latest News
Loading