It’s common for the storage on your PC to fill up over time, and in some cases, you might need to upgrade or replace the SSD. The best laptops usually come with ample storage, but if you’re facing the need to move your Windows installation and data to another drive, it’s entirely possible. This process is applicable for both Windows 11 and older versions of Windows.
If you’re looking to move your Windows installation to a different drive, you have the option of using Windows itself or a third-party program. While tools like EaseUS Partition Master offer an easy and paid option for full drive cloning without a complex restore process, the built-in Windows solution, although a bit more intricate, is free. We’ll focus on the free built-in Windows solution for this explanation.
What will you Need in Order to Move Windows to Another Drive?
For you to successfully move Windows from one drive to another, you will need to have the following around you:
- The functioning Windows PC that you want to back up.
- The drive you want to move Windows to (it needs to be larger than the source drive).
- An additional external drive to create the backup image.
- A flash drive with at least 16GB of storage to create the recovery image.
It’s important to note that all the drives mentioned above should be empty before starting the process, as their contents will be deleted during this procedure. While you might already have the necessary equipment, it’s still a substantial amount. If you don’t have everything, you can explore some of the options below.
Create a System Image
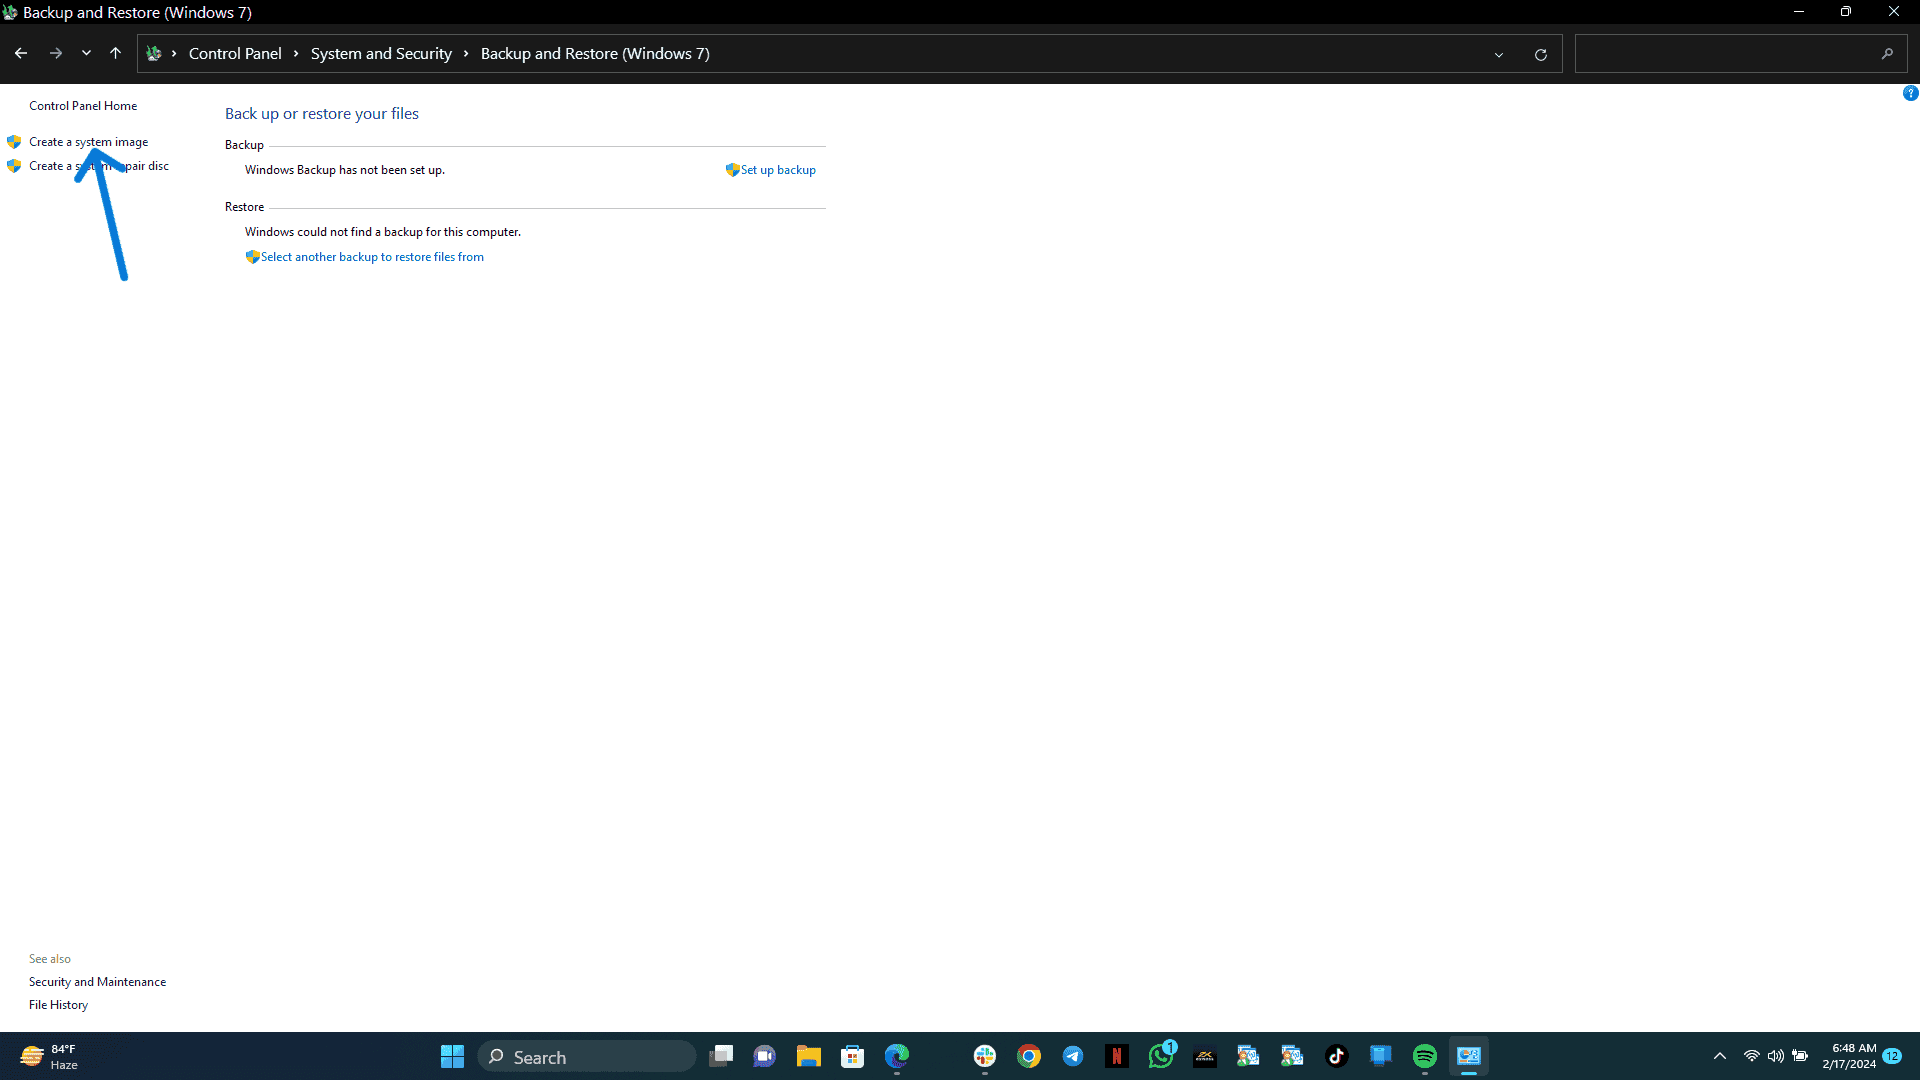
The most cost-effective method to move your Windows system to another drive is by utilizing the built-in Backup & Restore (Windows 7) feature. Despite its name, this feature is available on Windows 11 as well. To initiate the process, the first step is to create a system image for your current disk.
- Open your Windows Start menu and search for Control Panel.
- In the Control Panel, click on Backup & Restore (Windows 7) from the list.
- Connect your external hard drive to the PC. This drive will be storing your Windows Backup.
- From the left sidebar, click on Create System Image.
- Select the required Drive that you would like to store your Backup onto. At this point, we recommend selecting that drive that you connected in the third point above. We also recommend that you don’t connect any other Drive to your PC as this can cause confusions in certain cases.
- Click on the Next button and choose the drives you want to back up. By default, the necessary drives for Windows to operate will be included in the backup. If you wish to include additional drives, you can select them manually. However, keep in mind that including more drives may impact your ability to restore the backup in the future.
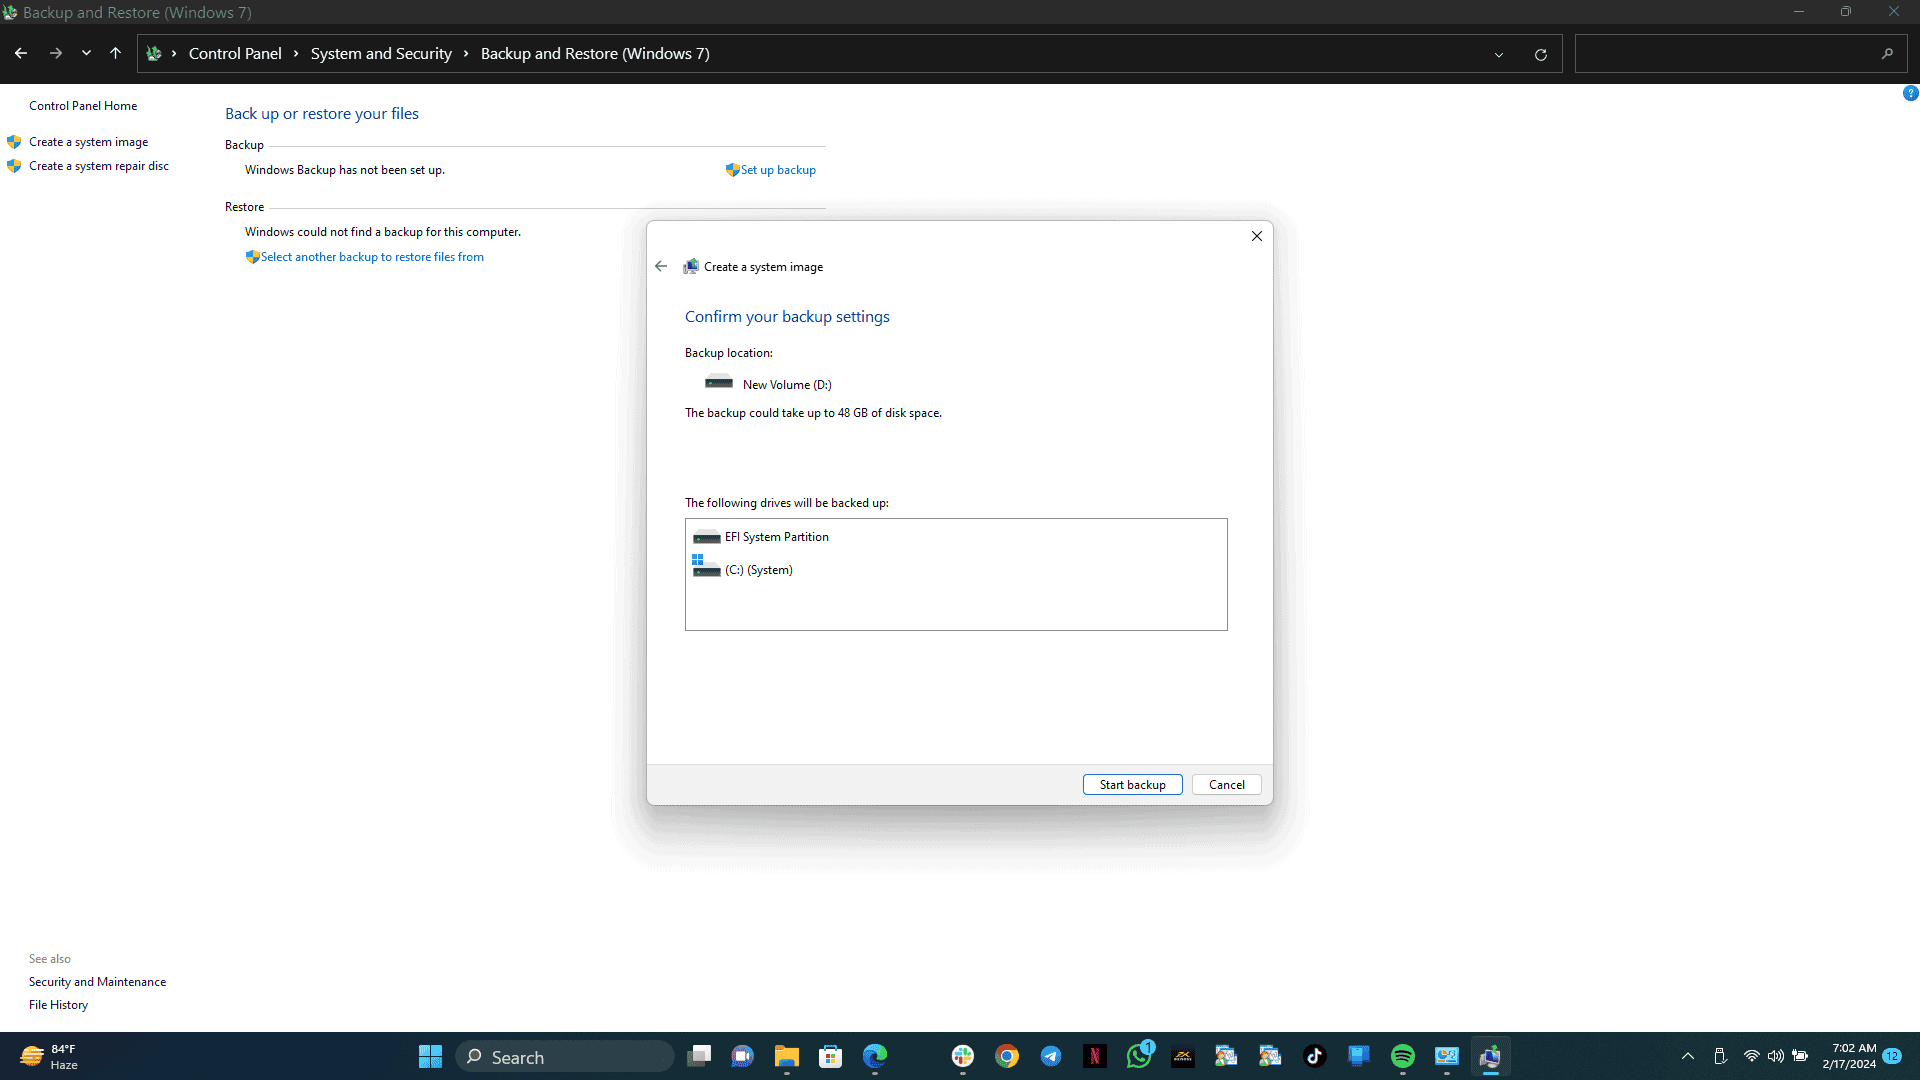
- Upon clicking Next, you will see a warning message informing you on the possibility of deleting files available on your Backup Drive. Just click on OK and Start backup. Leave the rest for your PC to complete the task within a few minutes.
Create Windows Recovery Drive
After creating the system image, the next step involves generating a recovery drive using the smaller USB flash drive. This recovery drive serves as a bootable environment, enabling you to restore the system image when you insert your new drive, which doesn’t have an operating system yet. Here are the steps to accomplish this:
- Insert the USB flash drive (with at least 16GB) into your PC.
- Press the Windows key, type “Create a recovery drive,” and select the corresponding option.
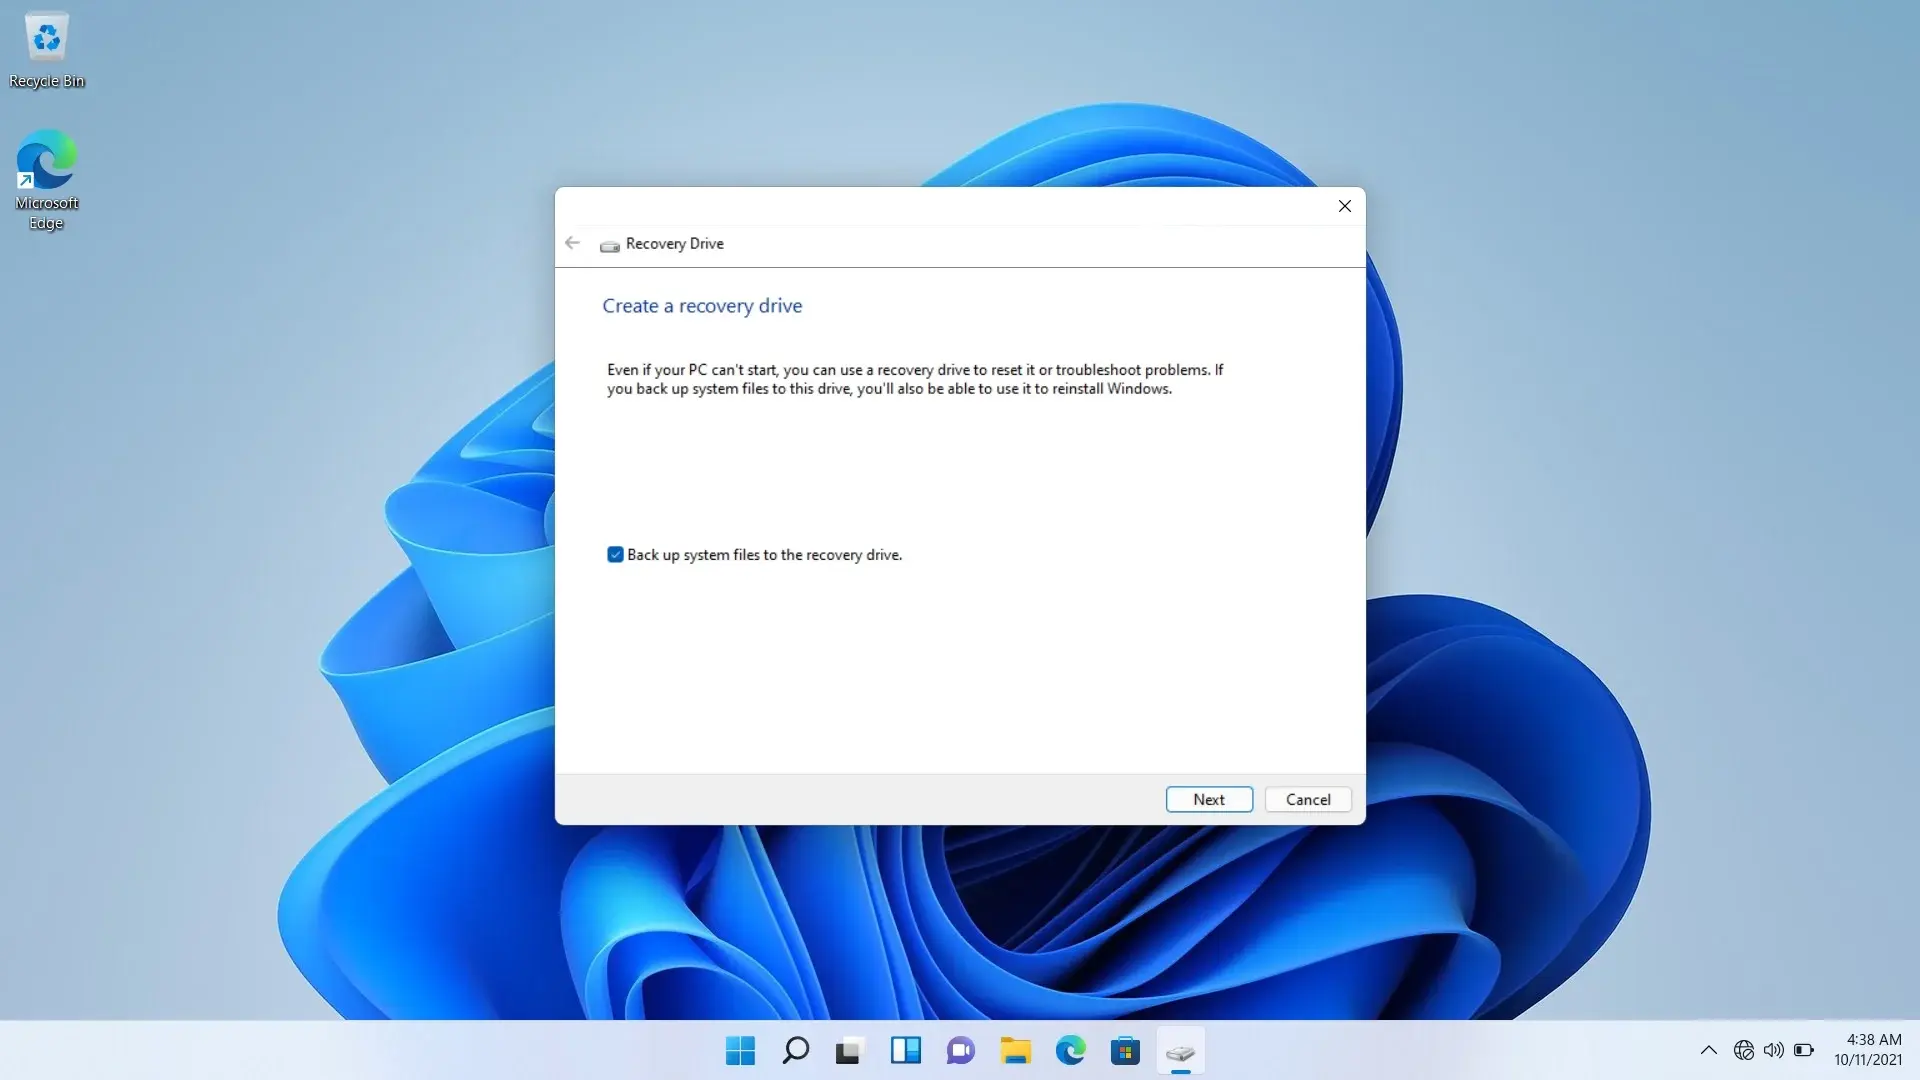
- In the Recovery Drive tool, check the box for “Back up system files to the recovery drive” and click “Next.”
- Choose the USB flash drive you inserted and click “Next.”
- Confirm that you want to create the recovery drive by clicking “Create.”
- Once the process is complete, click “Finish.”
Now, you have a USB recovery drive ready for use.
Replacing the Old Drive with the New Drive Inside your PC
Now, it’s time to transfer your Windows to the new drive. If you haven’t done it yet, you’ll need to put the new drive into your PC. To do this, open your computer or laptop, take out the current SSD or drive, and put in the new one.
The way you do this will be different depending on what type of computer you have. However, we have a guide on how to put in an SSD on a regular desktop computer that might be useful. The main steps are:
- Completely turn of your PC and disconnect the power source from the socket.
- For desktop users, remove the side panel from the PC case. For laptop users, you may have to remove your laptop battery (laptops with removable batteries) before removing the back cover. Please be sure of the type of back cover that your laptop uses as certain laptops require the use of screw drivers in order to remove the back covers.
- Next, look around to locate the SSD in your PC.
- Unscrew the screws that are securing the SSD and remove it from the slot.
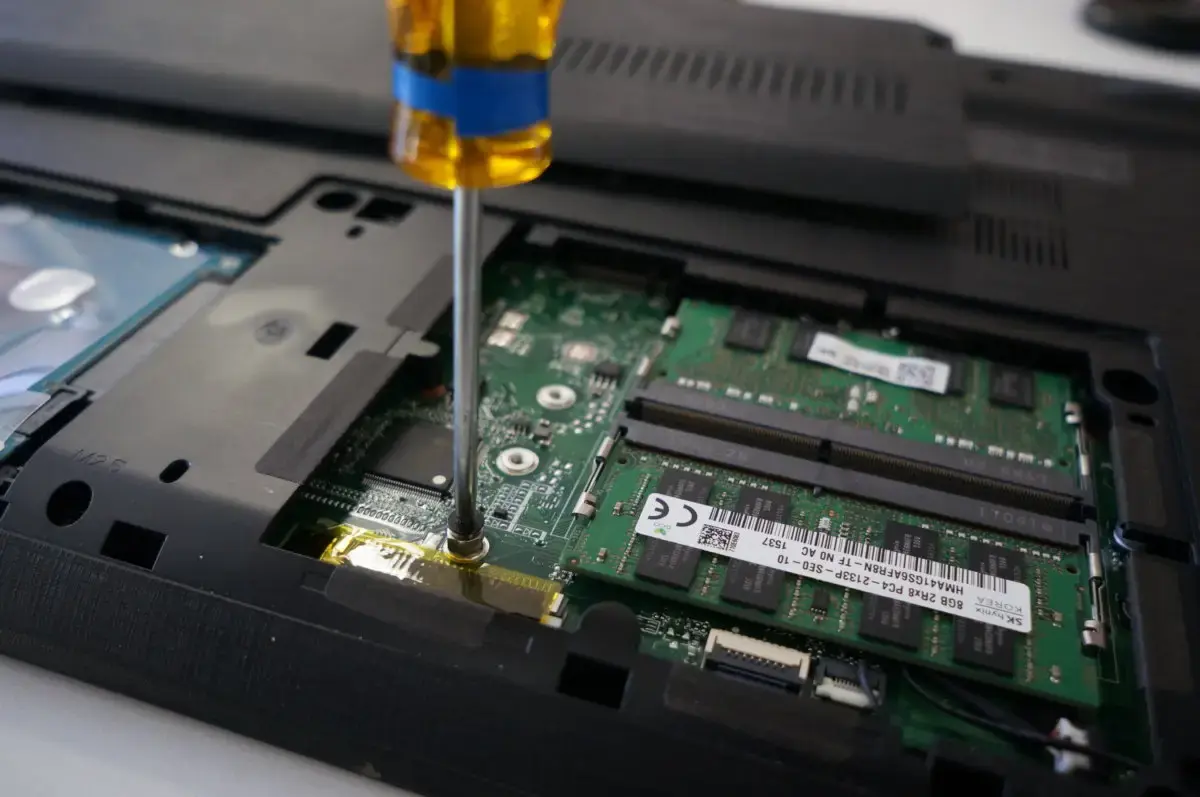
- Insert your new SSD into the same slot, tighten it using the screws you just removed and cover your PC. Please note that if your PC has multiple SSD slots, you can insert the new SSD without necessarily removing the old one.
Restoring Windows Image on the New SSD
Now that you’ve installed the new SSD, the final step is to restore the system image using both the recovery drive and the system image drive. To complete this process, follow these steps:
- Connect both the recovery drive and the system image drive to your computer while it’s turned off.
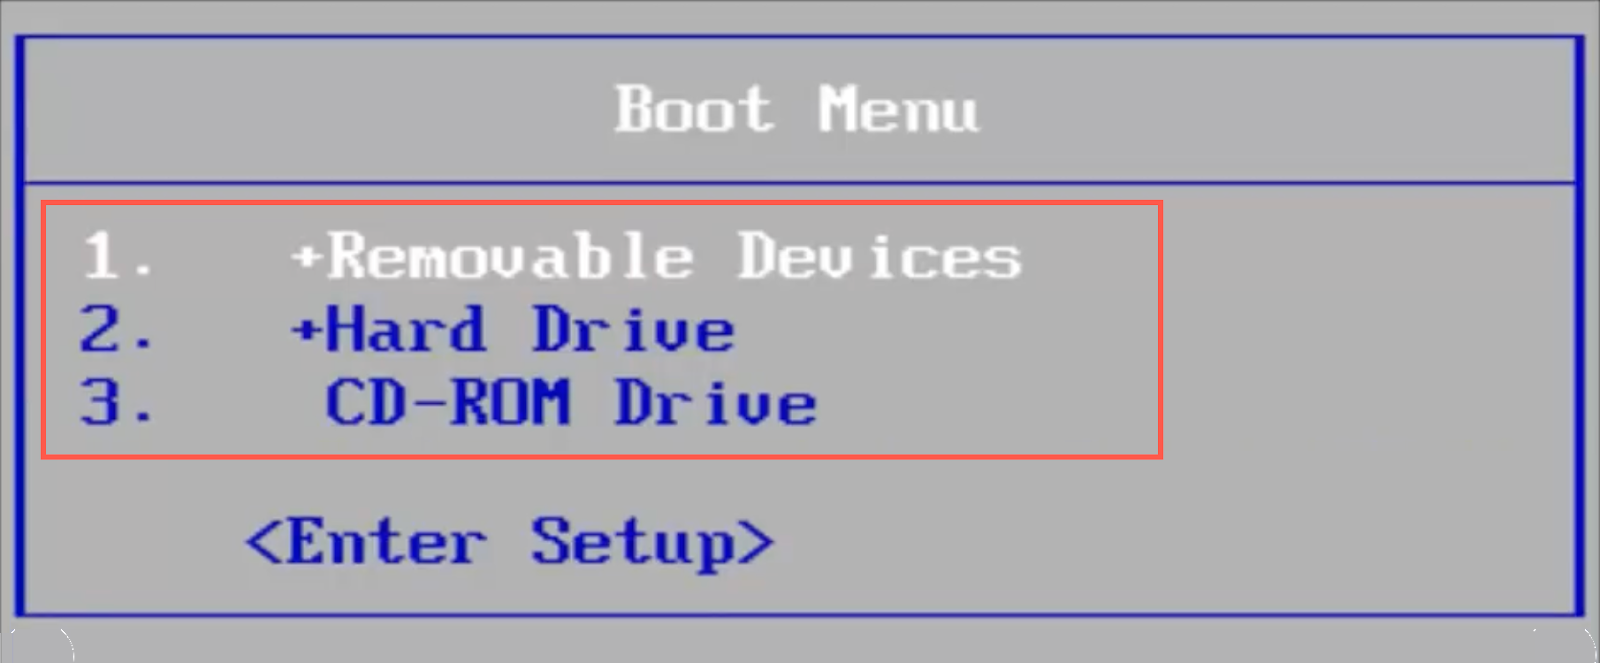
- Turn on your computer and press F2, Delete, or another key to enter the boot menu or BIOS on your PC.
- Go to the boot options and make sure that your recovery drive is set as the first option for your PC to boot from.
- Save your changes and exit to restart the computer.
- Your PC will begin in a recovery environment. Begin by selecting your preferred language and region.
- Choose Troubleshoot from the next screen and click on Advanced options next.
- Click on “System Image Recovery” (the position may vary depending on your Windows version).
- If the drive you’re restoring to is protected by BitLocker, you might need the recovery key. This key is connected to your Microsoft account, or you should have saved it somewhere else. However, this is unlikely as you’ll be using a new drive.
- You’ll see the most recent system image available for recovery on your external drive. Click “Next.”
- Check the box that says “Format and repartition disks” to ensure the new drive matches your old one exactly.
- Click “Next,” and then click “Next” again on the confirmation page.
- You’ll get a warning to confirm that you want to delete the data on your target drive. Click “OK.”
- The process might take some time depending on the amount of data being restored. Once it’s done, you’ll receive a warning informing you that you’ll need to re-enable encryption for the restored drives. Click “OK,” and then click “Restart now” to restart your computer with the new drive.
- Now, remove the USB drives from your PC. If necessary, go back into the BIOS to set your SSD as the primary boot option again (refer to step 3).
- Restart your PC again, and you’ll be back in Windows, just like it was on your old drive.
Steps to Take After Restoring Windows on your PC 
Once you’re back in Windows, there shouldn’t be any major additional steps to take since everything should be in its place. The only thing left to do is re-enable encryption for your PC if you want that extra layer of security. In Windows 11, you can do this by going to Settings > Privacy & Security > Device encryption.
Another thing to consider is your disk management, especially if your new drive has more space than the old one. When restoring the drive, Windows will use the exact same layout as the original drive, so any additional space will be unallocated. You’ll need to go into Disk Management to extend your partitions so you can use that space, or create a new partition if extending isn’t possible.
Apart from that, you’re all set. While some caution is necessary, the process isn’t too difficult to follow, so you should be up and running relatively quickly.
Conclusion
Moving your Windows installation to a new drive requires multiple steps and preparation but offers valuable benefits like a storage upgrade or replacing a failing drive. While free methods exist, they involve creating backups and using external drives, making the process more intensive than paid cloning software. If you’re comfortable following detailed instructions and have the necessary equipment, this method can save you money. Remember to back up your data beforehand and carefully follow each step to ensure a successful transfer and a fresh Windows experience on your new drive.