dr.fone is one of the best iOS and Android data recovery and data transfer softwares for smartphones and tablets. It has one of the highest recovery rate in the industry, it recovers photos, videos, contacts, messages, notes, call logs, etc. Beside providing an easy way to transfer data between different phones and it is compatible with the latest iOS devices.
Contest : Vote and get a chance to win iPhone XR.
Coinciding with Apple’s release date of iOS 12 and 2018 new iPhones, dr.fone developer company Wondershare bring out a new contest to win the new iPhone XR. The theme of the contest is “Transfer to New iPhone, iPhone XS, iPhone XS Max, iPhone XR: Which One Do You Prefer?” You can vote here [Contest page] and get a chance to win the new iPhone XR. the list of prize winners will be announced on the dr.fone facebook page [Facebook page] on Oct 10th 2018, So make sure to like the page and share the post with your friends.
How To : Use 1-Click solution to Copy One Phone to Another
dr.fone Switch has a 1-Click solution that lets you transfer data between different phones with one click, moving data between devices with different operating systems including iOS, Android, Symbian, and WinPhone. And with the new apple iPhones, transfer to new iPhone using this solution is very easy.
Step 1. Connect your device to the computer
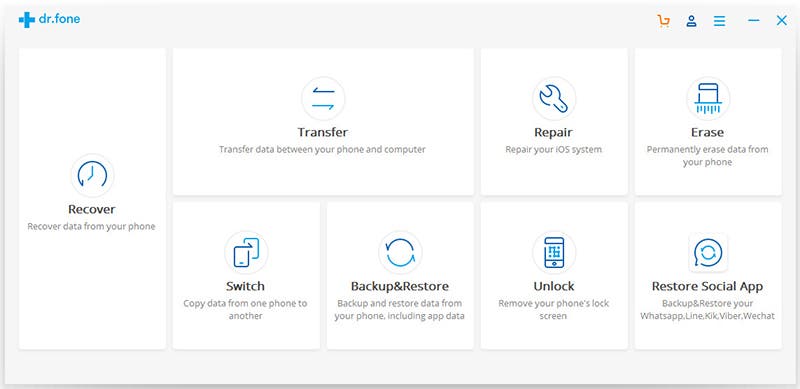
Open dr.fone on your computer, and select Switch among the modules.
 Then get both of your devices connected. Here let’s take an iOS and an Android device as an example.
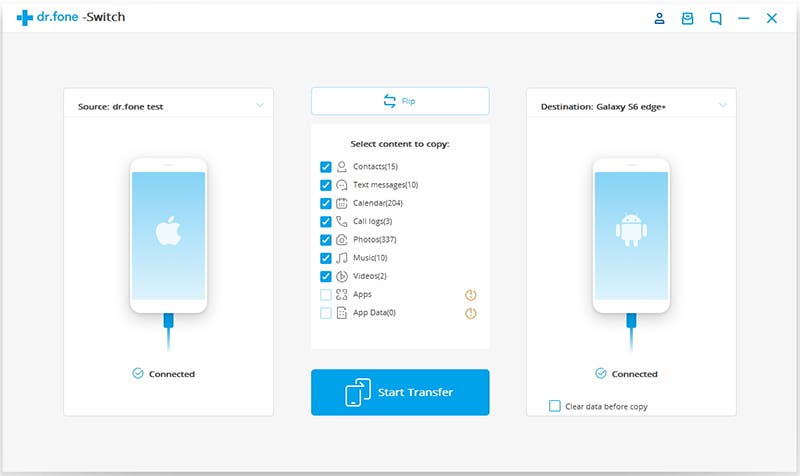
The data will be transferred from the source device to the destination one. You can use the “Flip” button to exchange their position.
Step 2. Choose the file and start to transfer
Select the file types you would like to transfer. Then click on Start Transfer to begin the process. For efficiency, don’t disconnect the devices until the process is complete.
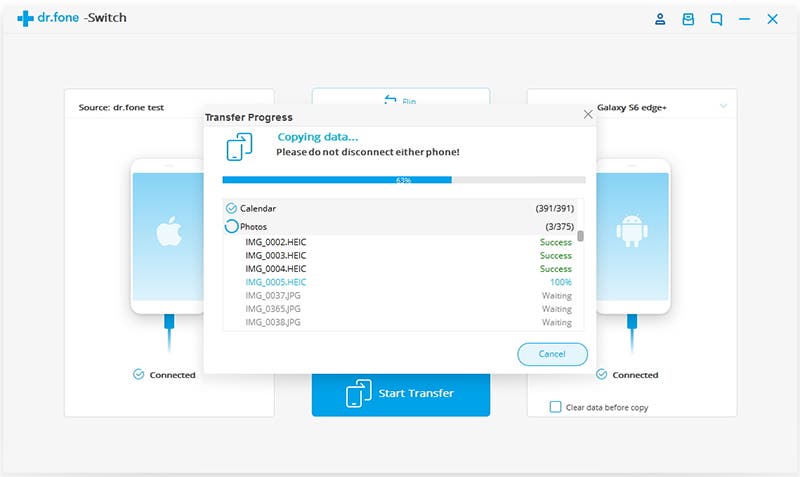
You can check the “Clear Data before Copy” box if you want to erase data on the destination phone before transferring the data to the target phone.
Within a few minutes, all selected files will be transferred to the target phone successfully.

How To : Recover Data from iOS Device
Step 1. Connect iOS Device with Computer
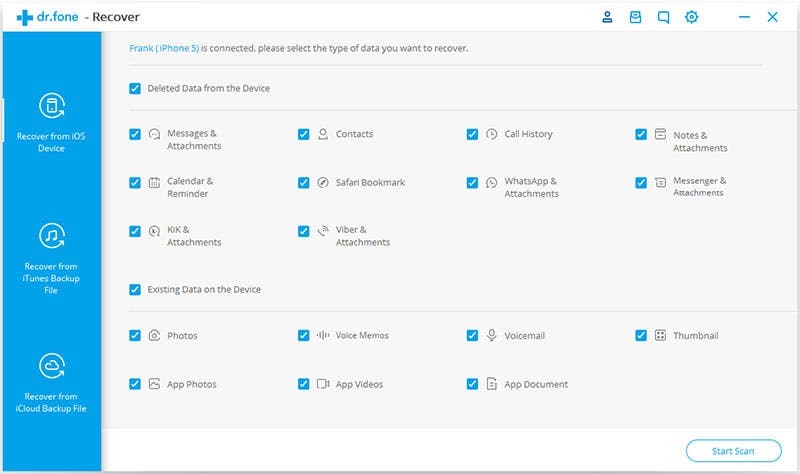
Use the USB cable that comes with your iOS device, connect your iPhone, iPad or iPod touch, to your computer. Then launch dr.fone on your computer and choose “Recover”.
Once the program detects your device, it will show you the window as follows.
Tips: Before running dr.fone, you’re supposed to download the latest version of iTunes. To avoid the automatically sync, don’t launch iTunes when running dr.fone. I suggest you to disable the automatical syncing in iTunes beforehand: launch iTunes > Preferences > Devices, check “Prevent iPods, iPhones, and iPads from syncing automatically”.
Step 2. Scan Your Device for Lost Data on It
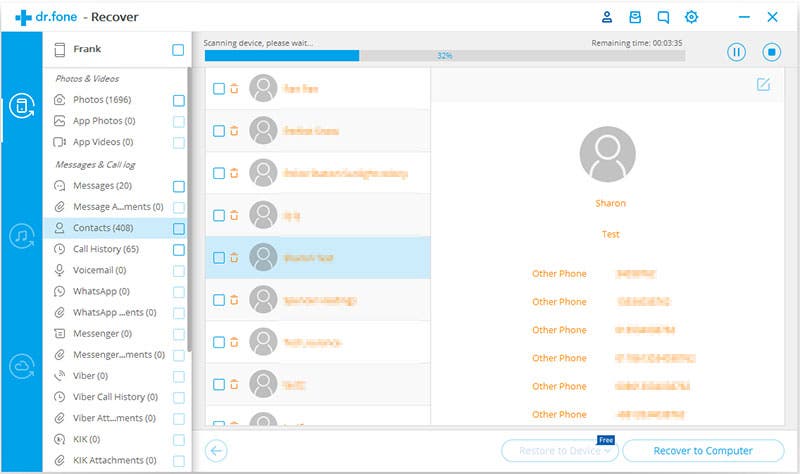
Simply click the “Start Scan” button to let this program scan your iPhone, iPad or iPod touch to scan for deleted or lost data. The scanning g process may last a few minutes, depending on the amount of data on your device. During the scanning process, if you see that the data you’re looking for is there, then you can click the “Pause” button to stop the process.
Step 3. Preview and Recover the Scanned Data
Gizchina News of the week
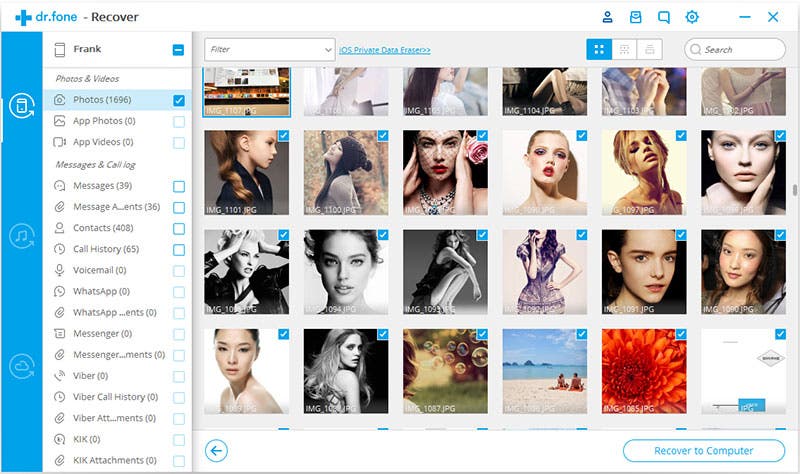
The scan will take you some time. Once it’s completed, you can see a scan result generated by the program. Data both lost and existing on your device are displayed in categories. To filter out the deleted data on your iOS device, you can swipe the option “Only display the deleted items” to ON. By clicking the file type in the left side, you can preview the found data. And you can see there is a search box on the top right of the window. You can search for a specific file by typing a keyword in the search box. Then save the data to your computer or your device by clicking the recovery button.
Tips: About recovering data
When you find the data you need, just put the check mark in front of the box to select them. After then, click the “Recover” button at the bottom right of the window. By default, the recovered data will be saved to your computer. As for text messages, iMessage, contacts, or notes, when you click Recover, a pop-up will ask you to “Recover to Computer” or “Recover to Device”. If you want to put these messages back to your iOS device, click “Recover to Device”.
How To: Recover Data from Android Device
Step 1. Connect Your Android Phone Launch dr.fone on your computer, and select “Recover”.
Connect your Android phone to the computer using a USB cable. Please make sure you have enabled USB debugging on your Android phone. When your device is detected, you will see the screen as follows.
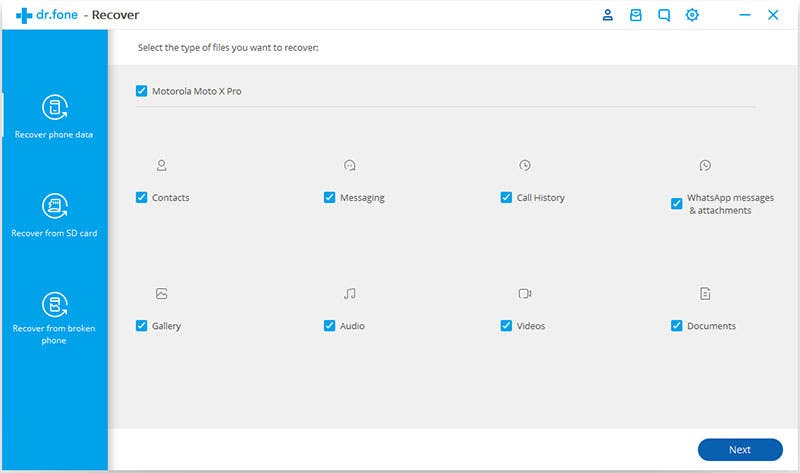
Step 2. Select file types to scan
After the phone is connected successfully, dr.fone for Android will display all the data types it supports to recover. By default, it has checked all the file types. You can just select the type of data that you’d like to recover.
If your phone is not rooted, dr.fone will offer two options: Scan for deleted files and Scan for all files. Scan for all files will take longer time, but will scan for files more thoroughly.
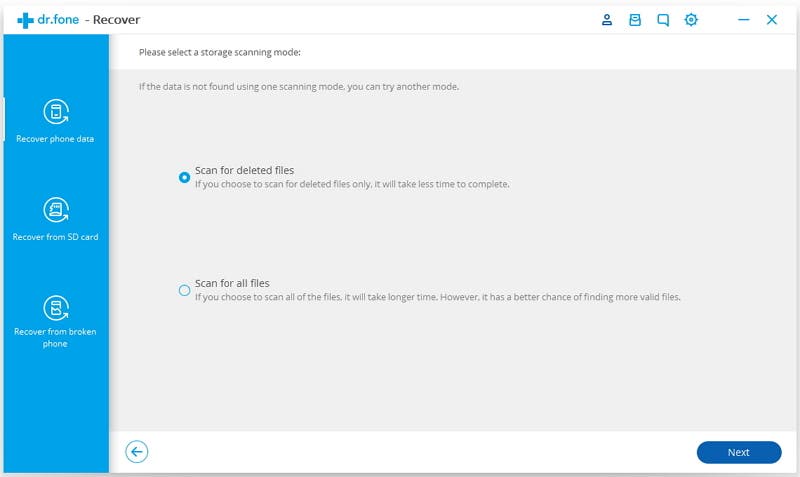
And then click “Next” to continue the data recovery process. The program will analyze your device first.
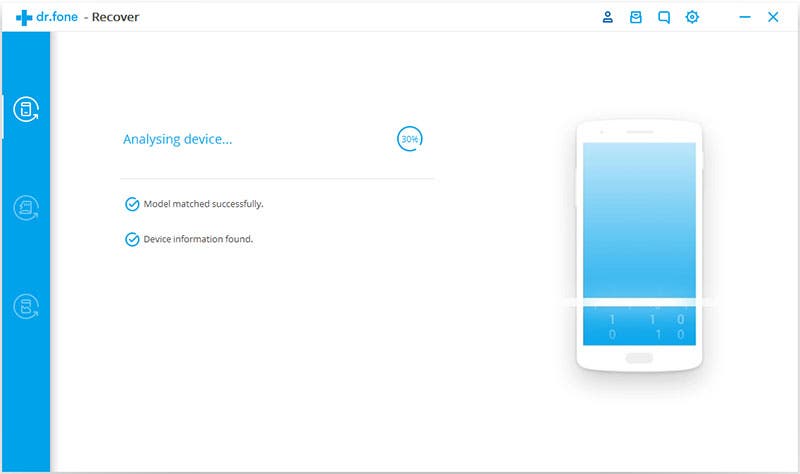
After that, it will continue scanning your Android phone to recover deleted data. This process will take a few minutes. Just be patient. Precious things are always worth waiting for.
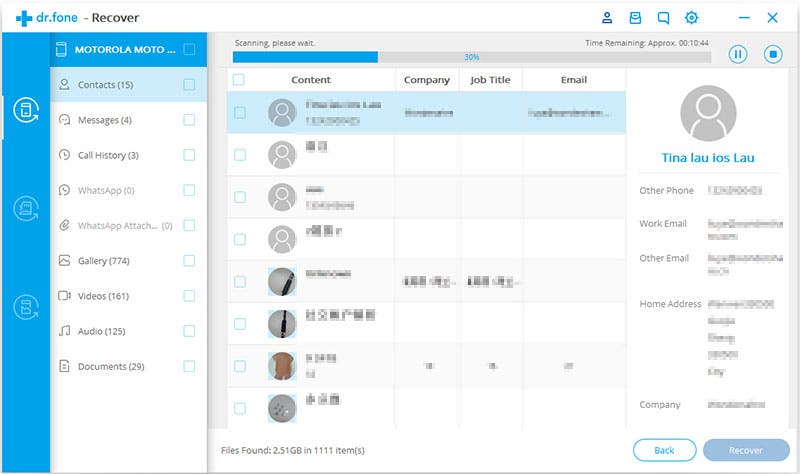
Step 3. Preview and recover deleted data on Android devices
When the scan is complete, you can preview the found data one by one. Check the items you want and click “Recover” to save them all on your computer.

How to activate Dr.Fone ?
When you launch Wondershare dr.fone trial version, a window for register will pop up, asking you to type in licensed email and registration code. From there, you can see the “Buy now” button. Click it to pay for the software as required. After then, you’ll receive the registration code in your email. Copy and paste the licensed email and registration code in the boxes respectively and click “Activate”.
Note: The unregistered version, namely trial version is only able to scan your device for deleted or lost files. You can use it to check out whether files you’ve deleted or lost are recoverable or not. To recover the found files, you have to register the software.