Mastering Document Scanning on Windows 11: Unlock the Power of Your Webcam
How to's | GuidesThursday, 17 August 2023 at 10:39

There might be times when you have to scan a document on Windows 11. It could be a paper you signed and need to email, or just something you want to keep as a digital copy. If you have a Windows tablet or an external webcam, scanning documents is quite simple. The Windows 11 camera app lets you scan a document and save it as a photo on your device. You can utilize apps like HP Scan and Capture to convert your pictures into scans. Additionally, although it requires a bit more effort, you can use an OCR tool to extract text from images, which can help you avoid the need to scan.
Scanning Document on Windows 11 Using the Camera App
If you're using an external webcam or your tablet has both front and rear cameras, you can use the Windows 11 camera app to scan documents. However, if you're on a laptop with an integrated 1080p webcam that faces the user, you won't be able to scan documents using the built-in camera. In this case, you'll need to follow this guide using an external webcam.
- Launch the Windows 11 camera app. If you can't locate it, simply search for "Camera" in the Windows 11 Start Menu.
- Select the switch webcam button located at the top right corner of the app. This will let you switch to an external webcam or a rear-facing webcam if available.
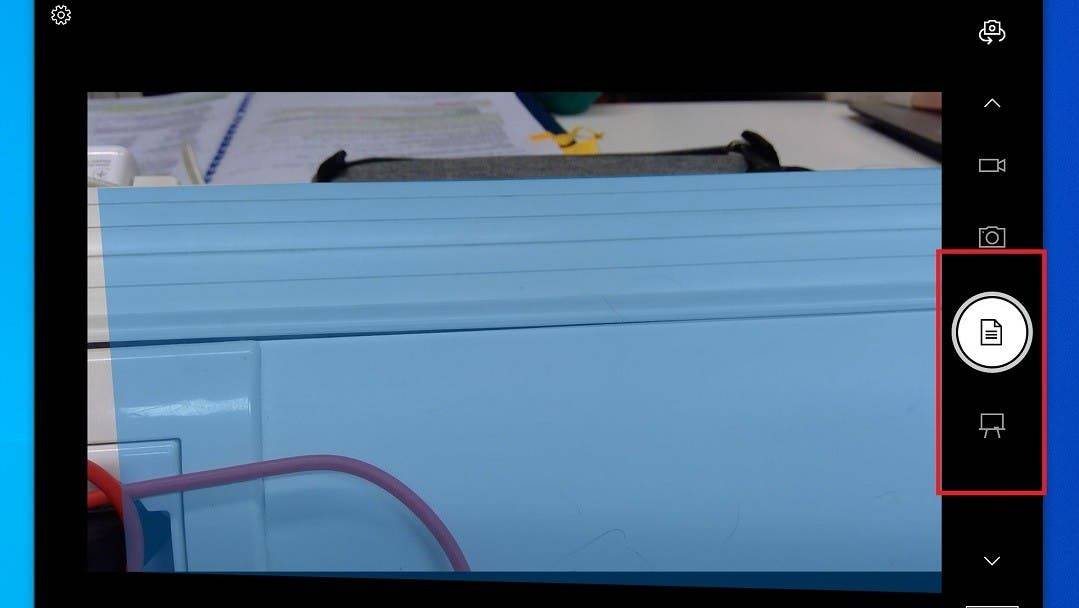
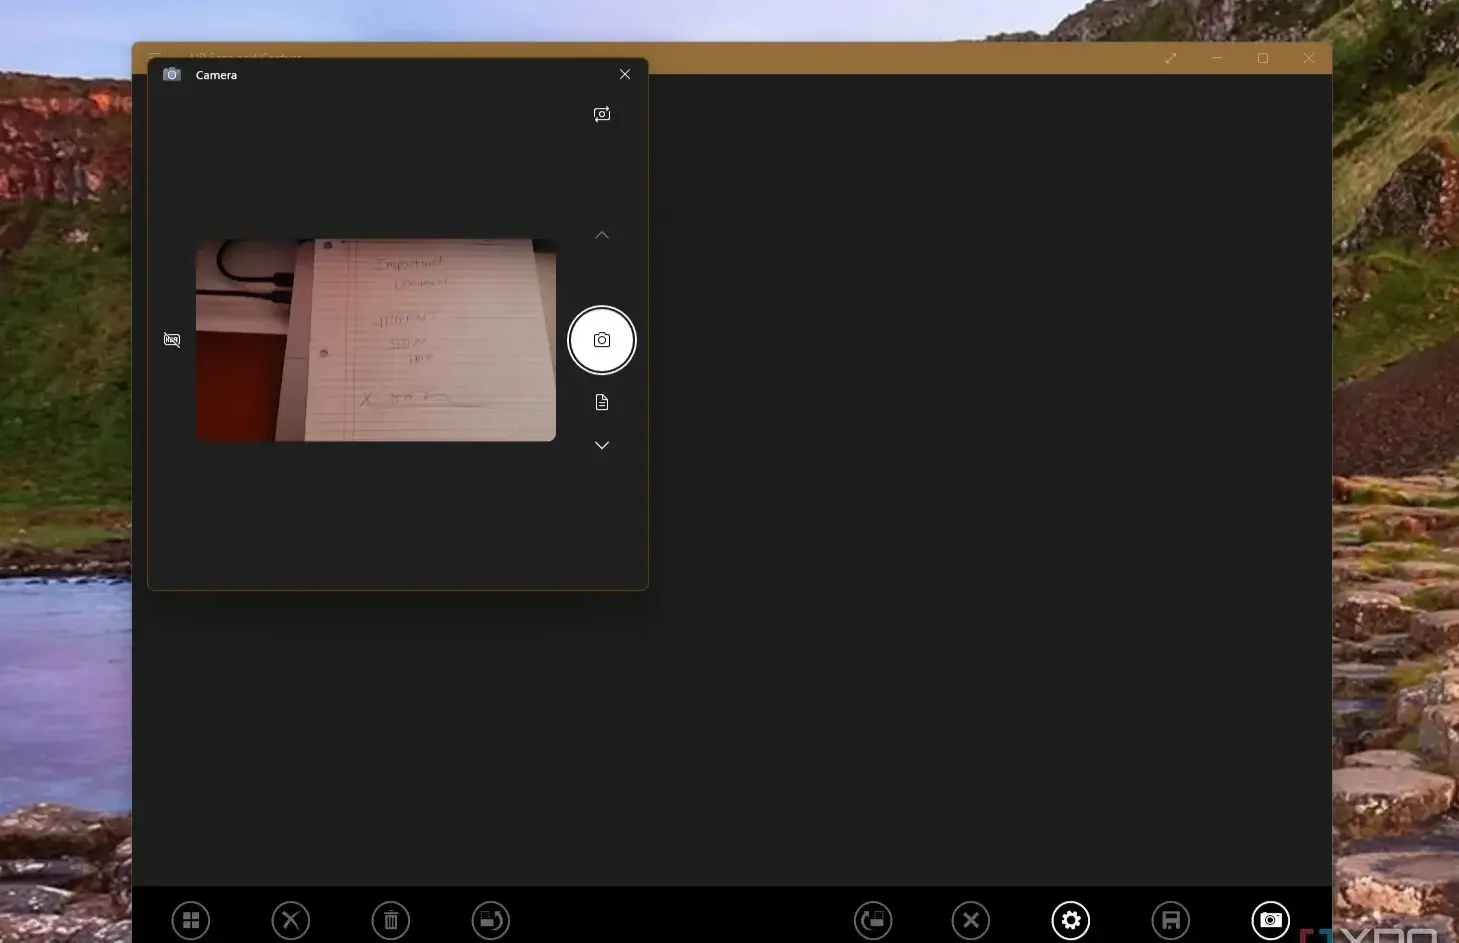
- Place the document you wish to scan on a table.
- Click on the up or down arrow next to the capture button until you see an icon that looks like a document. This is the scanning feature.
- Align your document within the blue frame displayed by the camera app. Then, tap the circular icon to capture the scan.
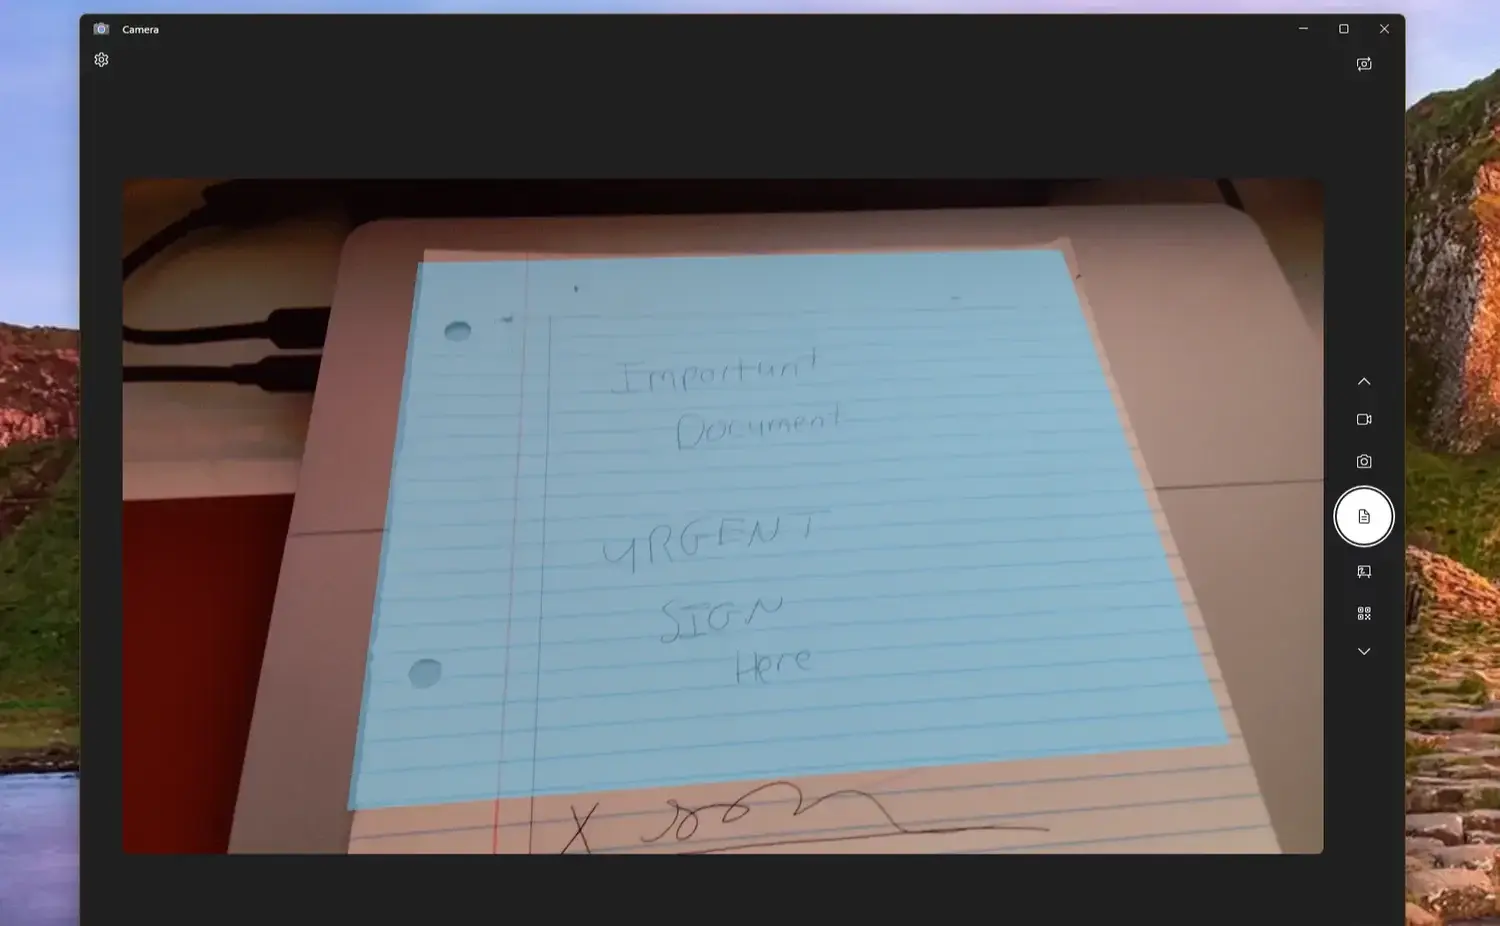
- Your scanned photo will be saved in the camera roll. To view it, open File Explorer, select "Pictures," and then choose "Camera Roll."
After you locate the scanned photo, you can change it into a PDF by using an online converter. Alternatively, you can send the photo via email according to your needs.
Using Third-Party Apps to Scan Documents on Windows 11
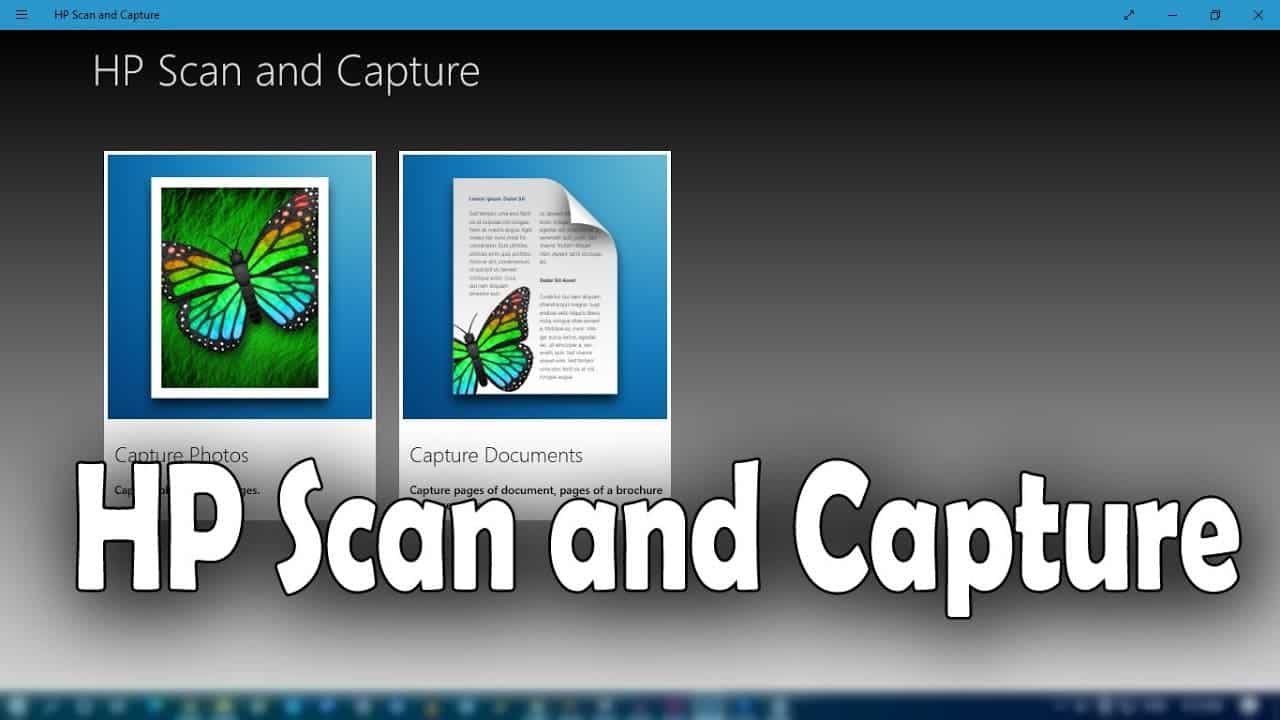
If you're having problems with the Windows 11 camera app for scanning documents, you might want to think about using a different app from a third-party. A good option is HP Scan and Capture.
- Open the HP Scan and Capture app.
- Select the Capture Documents option.
- When asked, go to the Settings menu and select "Select Device," then pick "Camera."
- Place the Document you want to scan on a table.
- After the camera app opens, click on the circular capture icon to take a photo of your document.
- The app will capture the photo. You can double-click on the photo, select "Crop" to adjust the document's photo as needed, and then click "Crop Original" to save the changes.
- Click the back button, and then select "Save." Choose a location to save the photo.
Once you've saved the photo, you can attach it to an email or share it in an app, just like you do with any other document. You don't need to do anything extra!
As you can see, scanning a document in Windows 11 with your webcam is quite straightforward. While the quality of the image might not be as high as a dedicated scan from a printer or scanner, it's a handy technique to use for quick situations. With this trick, you can quickly scan documents whenever there is no scanner available, or your scanner does not seem to be working. This can help you get things done faster when you need it the most. It may not be as good as a traditional scanner, but it will definitely be enough to save you when in a tight spot.
Popular News


Latest News
Loading