How to cast your Meta Quest 3 to a TV or PC for a shared VR experience
How to's | GuidesMonday, 11 August 2025 at 15:29

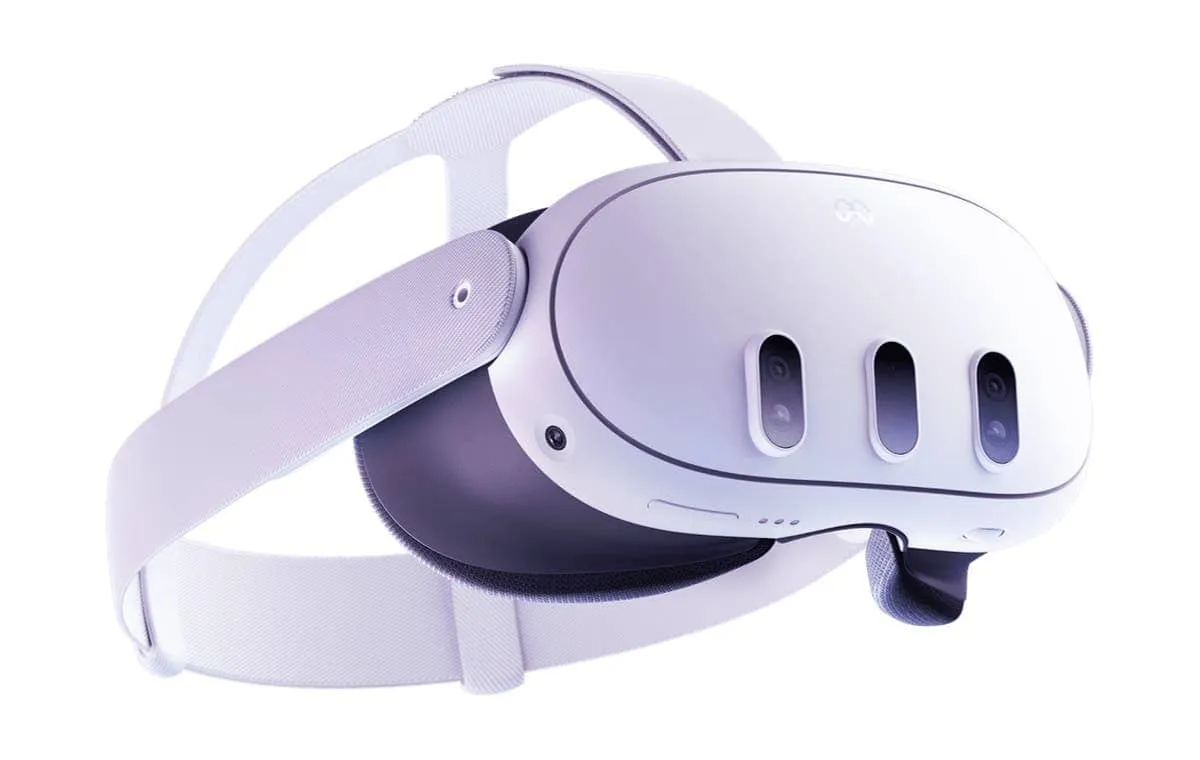
Although often considered a solitary form of entertainment, virtual reality has plenty of moments where sharing a glimpse of the headset’s view enhances the experience. Meta’s newest standalone virtual headset, Meta Quest 3, allows users to cast gameplay and share their view to external devices like TV and PC, enabling family and friends to watch in real-time. It is also useful if you want to share your gameplay of Beat Saber, demonstrate some VR apps to the team, or stream VR sessions to your online audience. For Quest 3 users, knowing how to cast is a must.
Some VR games are more fun when shared with others. This way, spectators can follow the action without wearing a headset. Furthermore, it also creates an opportunity for collaborative play, tutorials, or presentations in educational and professional environments.
Preparing for casting
Before attempting to cast your Quest 3, ensure you have the correct setup. Your Quest headset, the receiving device (TV or PC), and the phone running the Meta Quest app must all be connected to the same Wi-Fi network. This network should be stable and fast, since casting live VR footage demands significant bandwidth, especially for fast-moving scenes. A slow or unstable connection may result in lag, stuttering, or video dropouts.
It is also important that both the headset and the Meta Quest app are logged into the same Meta account. This ensures proper communication between devices and avoids unnecessary troubleshooting later.
Casting your Meta Quest 3 to a TV
Casting your VR gameplay to a TV is probably the best way of sharing your current view with others in a room. Thankfully, many current TVs support features like Google Cast, which makes this process easy. In fact, you will not need any hardware to make this happen. Other streaming devices also support Google Cast, so they are also options. A dedicated Chromecast can also make this happen but in many cases, you will not need it.
Steps to cast to a TV:
- Ensure that you have one Wi-Fi for all devices, including Quest 3, TV, and your phone with the Meta Quest app
- All devices also have to be connected to the same Meta account.
Put on your Quest headset and enter the home environment.
Open the universal menu by pressing the Meta (Moebius) button on your controllers.
From the bottom menu bar, select Camera.
Choose Cast, then select your TV from the list of available devices.
To stop casting, return to Camera > Cast and select Stop Casting.
Check for a mismatch in network IDs (SSIDs) if your TV does not appear in the list. Some homes have separate Wi-Fi names for their 2.4GHz and 5GHz bands. Ensure that your TV, Quest, and phone are all on the same SSID.
Casting your Meta Quest 3 to a PC
For those who prefer to share VR gameplay online or record it for later use, casting to a PC is a better option.
Steps to cast to a PC:
On your computer, open a supported browser such as Google Chrome or Microsoft Edge.
Visit oculus.com/casting and log into your Meta account.
On your Quest 3, open the universal menu by pressing the Meta button.
Select Camera > Cast > Computer to begin sharing the video feed.
When you want to stop, go to Camera > Casting and select Stop Casting.
As with TV casting, both your PC and Quest must be on the same Wi-Fi network. If the headset cannot find the PC, check that they share the same SSID. A strong Wi-Fi signal is essential to avoid dropped frames or visual artifacts.
While Chrome and Edge are officially supported, other browsers like Firefox or Opera might work, but they are not guaranteed to provide the same reliability since Meta’s casting technology is designed for specific platforms.

Enhancing your casting experience
Your casting session’s quality is determined by the stability of the network, the compatibility of the device, and the performance of the headset. Here are a few pointers to achieve the best outcomes:
- Use Wi-Fi networks with higher speeds: VR casting logs into the network. A streaming video, and latency is an issue; the session will be frustrating for people attempting to watch. A 5GHz Wi-Fi band is usually better than 2.4GHz due to less interference and greater speeds.
- Keeping devices closer to the Wi-Fi router: Line of Sight (LoS) is a very important factor, as distance and physical barriers reduce signal strength. If the casting area is located close to the router, quality will improve.
- Restrict other users on the network: Other users attempting to stream, download large files, or online gaming compete for bandwidth and will impact your casting feed.
- Consider operating systems: Computers and TVs that can plug into a router via Ethernet would have a more reliable connection, which would reduce the interference.
When to choose TV casting vs. PC casting
In the case of TV casting, the person casting from the TV and the viewer may not be in the same location. This happens in cases of PC casting as well. In both cases, the person operating the PC shares the screen with a select audience.
When friends or family members are located nearby and wish to see your gameplay, TV casting is the best option for them. It is best for spontaneous viewing. It does demand some setup, but it is easier than PC casting.
Why is your device not showing up
Verify that the device not showing up is connected to the same network and SSID as the other devices. Sometimes, simply restarting your headset or the Meta Quest app can resolve the issue. If the issue is still occurring, or you are having issues like lag, distance from the router and other devices contribute greatly. Try having the devices a distance from the router, or make other bandwidth-heavy network activities stop. These could solve the issue.
Why your audio is not casting
PCs can require their audio to be expertly configured. Ensure that permissions for both the mic and speaker devices are set. Sometimes for the audio needs to be separate and configured in what is called a “Settings Invite.” Make sure speakers and the microphone have connection permission.

Loading